
 By DQCS
You can turn your loft into valuable living space or organized storage, but you’ll only get a solid return if you confirm it’s structurally sound, accessible, and compliant. Start by checking head height, joist strength, and roof type, then map a layout that fits your goal and budget without expensive rework. Prioritize insulation, ventilation, and safe electrics early, because they drive comfort and costs—then you’ll face the decision that makes or breaks the outcome…
Is Your Loft Space Suitable to Renovate?
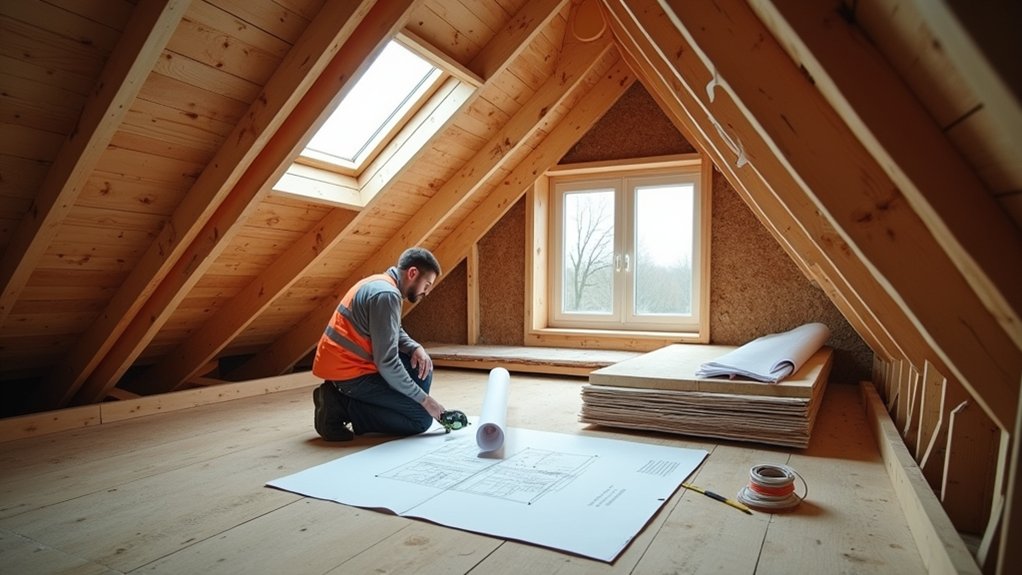
Before you spend money on plans and finishes, confirm your loft can actually support a renovation without triggering major structural or code-driven costs. Measure head height and usable floor area, then check the roofline for obstructions like collars, webs, and bracing.
Verify joist size, span, and spacing; undersized members can force costly reinforcement that erodes ROI. Inspect for water staining, sagging, pests, and inadequate ventilation, since remediation must happen before any Loft decoration.
Confirm safe access: a code-compliant stair may be required, not a pull-down ladder. Map HVAC, plumbing stacks, and wiring runs to avoid expensive relocations.
Finally, validate insulation depth, air sealing potential, and egress feasibility—key aesthetic considerations won’t matter if the space can’t be legally occupied.
Plan the Loft Renovation Layout and Budget
Once your loft passes the suitability checks—headroom, structure, access, and egress—you can put numbers to the project by locking in a layout that avoids expensive rework. Map the use first: storage, office, guest nook, or playroom, then place stairs, doors, and built-ins to minimize wasted floor area.
Keep plumbing and electrics near existing routes to cut labor and keep quotes comparable. Price your shell: insulation, lighting, loft flooring, and plastering, then add a 10–15% contingency for surprises.
Spend where it pays back: durable flooring over budget finishes, and targeted upgrades like rooflights for perceived space. Use creative decor strategically—paint, mirrors, and modular storage—to lift value without heavy construction.
Track costs weekly to prevent scope creep.
Meet Building Regs for a Safe Loft Space
How do you turn a loft upgrade into usable, insurable square footage that won’t get flagged on sale? Start by confirming whether you need planning permission, then apply for Building Regulations approval so your lender and future buyer can trust the work.
Treat structure first: get an engineer to review Roof truss considerations, load paths, and any steel requirements before you cut, notch, or relocate members.
Specify compliant stair geometry, headroom, and guarding so access passes inspection and reduces liability.
Add fire safety basics: protected escape route, correct doors where required, smoke/heat alarms, and compliant separation to the floor below.
Choose Loft flooring options rated for imposed loads; avoid thin chipboard on existing ceiling joists unless they’re upgraded.
Keep certificates and photos for resale.
Insulate, Ventilate, and Heat the Loft Space
If you want your loft conversion to feel like valuable living space—not a seasonal hotbox or icebox—you need to plan insulation, ventilation, and heating as one system. Prioritise high-performance thermal insulation at rafters and gable walls, then seal gaps around eaves, pipes, and recessed fittings to stop drafts and heat loss. Use the right vapour control layer so moisture doesn’t condense and damage timbers.
Next, design reliable airflow ventilation: continuous eaves-to-ridge paths, trickle vents, or a small MVHR unit if the space will be occupied often. Balance it so you don’t over-ventilate and waste heat.
Finally, size heating to the new heat-load—radiators, underfloor, or electric panels—and add smart zoning so you only pay to heat when you’re using it.
Choose Access, Lighting, and Storage Solutions

With insulation, ventilation, and heating planned, you’ll get the best return by making the loft easy to use every day—safe access, bright lighting, and storage that doesn’t steal headroom. Choose a code-compliant fixed staircase when possible; it boosts usability and resale more than pull-down ladders. Add a handrail, non-slip treads, and a clear landing to reduce risk and claims.
Layer lighting: a central LED batten for general light, task LEDs at eaves, and motion sensors for hands-free entry. Run wiring before Loft flooring goes down, and include extra sockets for vacuums or chargers.
For storage, fit low-profile drawers and hinged knee-wall doors; label zones so you won’t waste time. Finish with durable trim and aesthetic finishes that stay scuff-free.
Frequently Asked Questions
What Is the Typical Return on Investment for a Loft Renovation?
You’ll typically see a 50–80% return on investment, depending on market comps. Control renovation costs, prioritize loft insulation, and document permits and upgrades. You’ll boost appraised value and buyer appeal, especially where space sells.
How Long Does a Standard Loft Renovation Usually Take to Complete?
You’ll typically finish a standard loft renovation in 6–10 weeks. Protect ROI by scheduling early Roof insulation and Structural support reviews, locking permits, ordering materials upfront, and tracking weekly milestones to prevent costly delays.
Do I Need Planning Permission for Converting My Loft in My Area?
You might not need planning permission if your conversion fits permitted development, but you must meet Building regulations. You’ll maximize ROI by confirming local limits, protected status, dormer size, and neighbor impacts with your council.
Will Renovating the Loft Increase My Home Insurance Premiums?
Like adding a new sail to your ship, yes—it can raise premiums. You’ll see Insurance impact and premium adjustments if value, rebuild cost, or risk changes. Notify your insurer, upgrade wiring, add alarms, document costs.
How Can I Minimize Disruption to the Rest of the House During Work?
You’ll minimize disruption by scheduling loud tasks, using noise reduction barriers, sealing rooms for dust control, and keeping crews on a single access route. You’ll protect finishes, maintain HVAC filters, and prevent costly rework.