
 By DQCS
You can’t “add” natural light later, so you start by using your plot’s orientation and the sun path to your advantage. Place the rooms you use most where daylight lasts longest, then size windows for balanced brightness instead of max glass that drives up cost and overheating. Add rooflights only where side windows can’t reach, and plan simple shading early. Get these choices right and the rest of the design gets easier…
Start With Plot Orientation and Sun Path
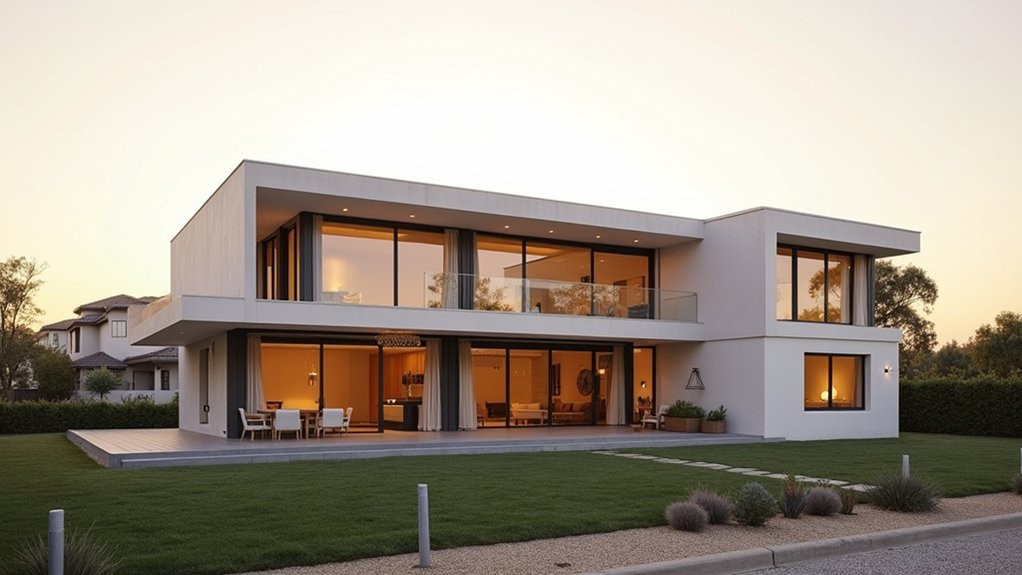
Before you sketch floor plans or price out finishes, stand on your plot and map the sun’s path, because orientation will quietly drive your comfort and energy bills for decades. Note where morning light lands, where afternoon glare hits, and where winter shadows from trees, сосед houses, or hills fall.
Use that info to position the building footprint for steadier daylight and fewer heating and cooling swings, saving on HVAC sizing and long-term running costs. Choose Landscaping strategies that support light: keep tall evergreens off the sunniest side, use deciduous trees for seasonal shading, and grade hardscapes to avoid reflected heat.
Then align Interior color schemes with your exposure: cooler rooms benefit from warm whites, while bright rooms look balanced with softer, matte finishes.
Plan Room Layout for Natural Light
Where will daylight do the most work for you each day? Put the rooms you use most—kitchen, living, home office—on the brightest side of the plan, and place storage, utility, and bathrooms where light matters less.
Keep circulation routes short and avoid deep, narrow floorplates that trap rooms away from the sun. Use open-plan zones where shared light can reach farther, but control glare by arranging seating and screens out of direct beam lines.
Create simple sightlines so light can travel through internal doors or glazed partitions without adding costly structure changes.
Separate bedrooms from noisy social spaces to protect Acoustic privacy.
Support Indoor air quality by positioning wet rooms near vertical services for efficient ventilation runs.
Size and Position Windows for All-Day Daylight
You’ll get brighter rooms for less when you size and position windows to match each aspect—bigger where you need steady daylight, smaller where glare and heat can cost you.
Balance window sizes across the home so light feels even without overspending on glass you won’t use.
Then place openings strategically—higher, wider, or on two sides of key spaces—so daylight carries from morning to evening.
Orient Windows By Aspect
Although it’s tempting to size and place windows for looks alone, orienting them by aspect gives you brighter rooms all day without paying for extra glass or lighting. Start with window placement that matches how you live: put main living areas on the sunniest side so you benefit from longer daylight hours.
Use aspect considerations early in your layout, before you lock in room locations and rooflines. South-facing glazing delivers steady light; east-facing windows boost morning kitchens; west-facing openings suit evening lounges but may need simple shading to prevent glare.
Keep north-facing rooms for utility spaces, stairs, and storage where softer light’s acceptable. When you align windows to the sun’s path, you cut artificial lighting time and improve comfort year-round, without costly upgrades.
Balance Window Sizes
Once you’ve chosen the best aspects, balance window sizes so daylight spreads evenly from morning to evening instead of pooling in one bright spot. Aim for a consistent “glass-to-wall” feel across key rooms, so one oversized pane doesn’t force you to spend more on blinds, glazing upgrades, or cooling later.
Use larger windows where you’ll live most, then scale down in secondary spaces to keep costs tight while still meeting daylight needs. Match head heights and align sill levels where you can; that simple move supports architectural symmetry and improves window aesthetics without pricier custom units.
If privacy or furniture placement matters, choose taller, narrower windows rather than widening them, keeping light penetration strong while controlling heat loss and glare.
Place Openings Strategically
Balanced window sizes set a consistent baseline, but the real payoff comes from where you place each opening and how you tune its height and width for the sun’s path.
Put taller glazing on south-facing walls to pull in winter sun, then cap heat gain with modest overhangs.
Use higher sills on east and west to catch morning and late light without glare at eye level.
Add narrow clerestories over hallways and stairwells to drive daylight deep into the plan without sacrificing indoor privacy.
Keep bedrooms calmer by aiming primary windows away from busy streets, and upgrade key openings with laminated glass or tighter frames for better acoustic insulation.
You’ll spend smartly by prioritising fewer, better-placed windows.
Choose Glazing That Boosts Light and Comfort
Once you’ve sized and placed your windows for daylight, you’ll get more comfort for your money by choosing high-performance glazing.
Pick Low‑E coatings to cut heat loss in winter and reduce overheating in summer without sacrificing natural light.
Use tints only where glare or strong sun is a problem, so you don’t pay for darker rooms you’ll need to re-light.
High-Performance Window Glazing
Because windows can be one of your biggest comfort and energy wildcards, choosing high-performance glazing is a smart place to spend for measurable payback. Start by matching glazing to orientation: use higher-insulating units on south-west and exposed elevations, and simpler specs where solar gain is welcome.
Double glazing is the baseline; upgrade to triple where winters are harsh or rooms feel draughty. Look for a low U-value, warm-edge spacers, and gas-filled cavities to cut heat loss without dimming daylight.
For energy efficiency, prioritise airtight frames and proper installation, not just the glass. If you’re near roads or neighbours, laminated panes and varied glass thickness improve acoustic performance dramatically.
Ask for whole-window ratings, warranty terms, and quotes per elevation.
Low-E Coatings And Tints
Even if you’ve already picked good double or triple glazing, a Low‑E coating can noticeably cut heat loss while keeping rooms bright. You’ll get better Energy efficiency without paying for thicker glass everywhere, and you can often upgrade just key elevations to control costs.
Ask your supplier for visible light transmittance and solar heat‑gain figures so you’re comparing like for like.
Add tints selectively. A light neutral tint can deliver glare reduction on south- or west-facing rooms, cutting eye strain and fading without turning the space gloomy.
Avoid dark tints unless you’re solving a specific overheating problem; they reduce daylight and may push you toward more electric lighting.
For bathrooms and stairwells, consider a low‑iron Low‑E option instead of tint to keep the clearest daylight.
Add Rooflights and Lanterns to Top-Light Spaces
If your layout leaves hallways, stairwells, or rear extensions feeling dim, rooflights and lanterns deliver the most daylight per pound by pulling sun straight down into the plan. Put them where wall windows can’t: over landings, internal corridors, and kitchen work zones.
Keep costs predictable by choosing standard sizes and aligning openings with roof joists early; smart rooflight integration avoids expensive structural upgrades and awkward flashing. Specify insulated, Low-E glazing and warm-edge spacers to cut heat loss, then add a simple blind if glare’s likely.
For larger rooms, sky high lanterns brighten deep areas without widening the footprint, but check planning height limits and cleaning access. Finally, insist on certified installers and robust warranties—leaks erase savings fast.
Use Open-Plan Sightlines to Spread Daylight
While you can’t add more sun to the site, you can move it further through the plan by keeping open-plan sightlines clear between your brightest windows and the rooms that need help. Skip unnecessary nib walls, chunky columns, and tall joinery that block the beam. If you need zoning, use low shelving, glass, or open slats so light keeps travelling.
Use interior color to bounce daylight: choose lighter walls, ceilings, and flooring in the core, then add contrast in soft furnishings.
Optimise furniture placement by keeping high-backed sofas, tall bookcases, and statement cabinets away from window-to-door lines. Float seating slightly off walls and pick legs over solid bases so light passes underneath.
A simple mirror opposite a window doubles brightness for little cost.
Design Shading to Stop Glare and Overheating
Because big, bright glazing can quickly turn a new build into a greenhouse, you should design shading in from day one to cut glare, protect finishes, and keep summer cooling costs down.
Start with orientation: south-facing glass needs overhangs sized to block high summer sun while letting in winter light; east and west need tougher control.
Use External shading first—brise-soleil, awnings, shutters, or deep reveals—because it stops heat before it hits the glass.
Add budget-friendly options like pergolas with deciduous planting for seasonal cover.
Inside, specify simple blinds for privacy and to tame indoor glare on screens, but don’t rely on them for heat control.
Plan fixing points and wiring now so upgrades later won’t mean patching plaster or replacing windows.
Pick Finishes That Reflect Natural Light Indoors
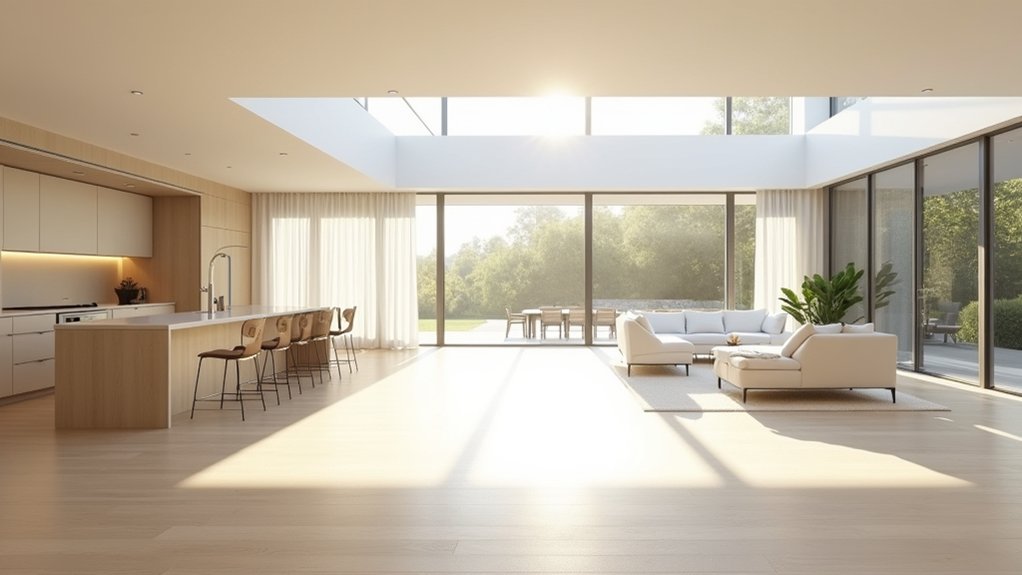
Good shading keeps harsh sun out; now make the daylight you do let in work harder by choosing finishes that bounce it around the room.
Start with walls and ceilings: pick light, warm neutrals in Decorative paint with a durable eggshell or satin finish, which reflects more than flat matt while staying wipeable. Paint ceilings a notch lighter than walls to lift the whole space without extra windows.
Choose pale flooring or a matte clear seal on timber to avoid glare yet keep brightness.
Add reflective surfaces where they pay back: a large mirror opposite a window, gloss splashbacks, and glass or lacquered cabinet fronts.
Keep interior accessories purposeful—light rugs, sheer textiles, and metallic accents—so you brighten rooms without overspending or creating visual clutter.
Frequently Asked Questions
Do I Need Planning Permission for Larger Windows or Rooflights?
It depends—like opening a bigger door to the sky, you might need permission. If you’re altering elevations or in protected areas, apply. Check Window regulations and Building codes early to avoid costly redesigns.
How Can I Maximise Daylight While Protecting Privacy From Neighbours?
You can maximise daylight and protect privacy by using high-level glazing, frosted panels, and angled windows. Add Interior shading and Landscape integration with hedges or screens. Choose cost-effective blinds and plantings for long-term value.
What Window Treatments Work Best Without Reducing Natural Light?
Choose sheer curtains, Window film, and Light diffusers; they’ll soften glare without dimming rooms. Like a lantern’s paper shade, you’ll keep brightness while gaining comfort. Buy peel-and-stick film and washable sheers for value.
How Does Maximising Daylight Affect Heating Costs in Winter?
Maximising daylight can cut winter heating costs by boosting solar gain, but you’ll lose savings if you don’t control heat loss. You’ll improve energy efficiency with insulated glazing, tight seals, and budget blinds at night.
Which Builders or Trades Should I Involve Early for Daylight Design?
Involve your architect, builder, structural engineer, window supplier/installer, and HVAC designer early. You’ll coordinate Interior layout and Window placement before pricing locks in. It prevents costly changes, optimises glazing sizes, and aligns shading and insulation.