
 By DQCS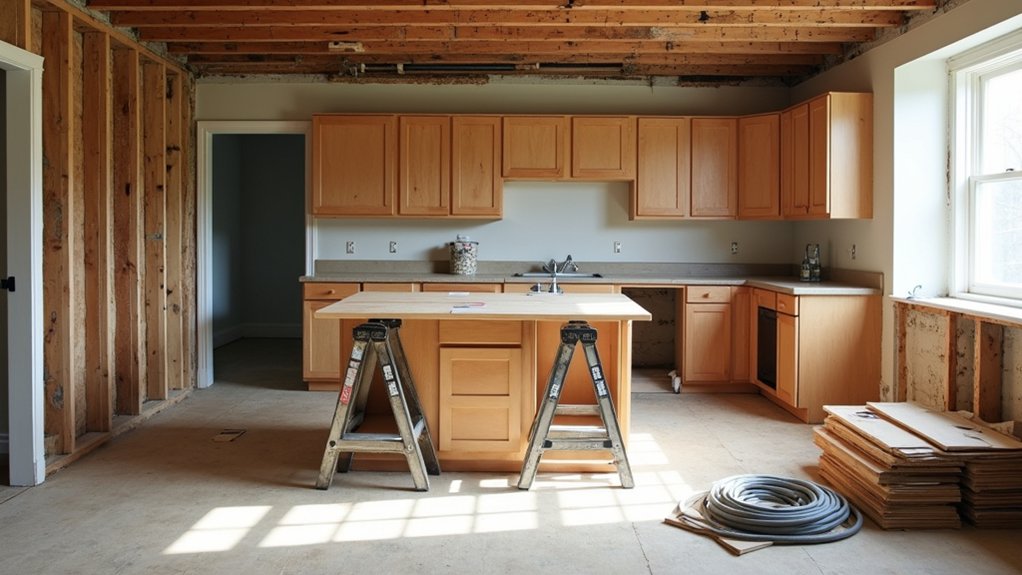
Coincidentally, the moment you start pricing cabinets is when you notice how much your current layout wastes steps and money. You’re better off walking the space first, flagging bottlenecks, and confirming what can’t move—load‑bearing walls, plumbing stacks, and electrical runs—before you choose an L, U, or galley that matches how you cook. Set clear prep, cook, and clean zones, protect aisle widths, and plan storage and layered lighting for payback—but there’s one layout mistake that quietly drains ROI…
Audit Your Current Kitchen Layout Problems
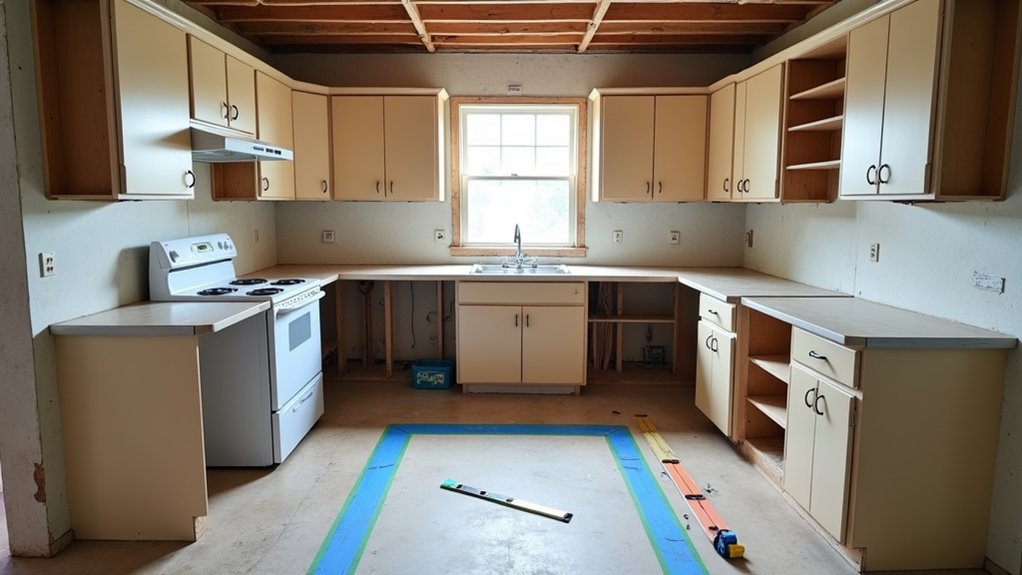
Before you buy a single cabinet or call a contractor, audit what’s actually making your kitchen feel tired—because fixing the right layout problems delivers the biggest ROI on the smallest budget. Walk the room during real cooking and note every extra step, bottleneck, and collision point. Measure clearances at pinch spots: around the fridge, sink, and range, and in aisle widths where two people pass. Map your work triangle and flag long hauls from prep to cooking to cleanup.
Check Appliance placement: does the dishwasher block a walkway when open, or does the fridge door trap you? Audit landing zones beside each appliance so you’re not improvising with counters.
Finally, list quick wins you can delay: Decorative accents don’t solve flow, so fix function first.
Confirm Renovation Constraints (Walls, Plumbing, Electrical)
Where can you actually move things without blowing up your budget? Start by confirming what’s fixed: load‑bearing walls, main plumbing stacks, gas lines, and your electrical panel’s capacity. Pay for a contractor or engineer to verify structure before you plan Wall modifications—removing or widening openings can trigger permits, beams, and drywall work that quickly erodes ROI.
Next, map every water and drain line. Plumbing adjustments get expensive when you move a sink or dishwasher far from the stack, because you’ll need longer runs, venting, and deeper floor or wall access.
On electrical, count circuits for fridge, hood, microwave, and small appliances, then price new runs versus reusing existing pathways. Keep changes inside current chases whenever possible.
Choose a Kitchen Layout That Fits Your Cooking Habits
Now that you know which walls, pipes, and circuits can’t move, you can pick a layout that matches how you actually cook—without paying for needless relocations. If you cook nightly, favor a simple U or L that keeps steps short and storage close; if you entertain, an island or peninsula can add seating without expanding the footprint.
Prioritize Appliance placement based on frequency: keep the fridge and microwave accessible, and place the range where venting stays inexpensive. If you bake a lot, allocate longer runs for mixing and cooling, then choose durable countertop materials that won’t punish your budget—laminate for value, quartz for low maintenance, or butcher block for a targeted accent.
This approach cuts custom work, speeds installs, and preserves resale appeal.
Set Up Prep, Cook, and Clean Zones
You’ll get the biggest ROI by clearly defining prep, cook, and clean zone boundaries, so tools and supplies live where you actually use them.
Then you’ll tighten your workflow triangle—fridge, sink, and stove—so each step takes fewer moves and less time.
You won’t need a full remodel; a few smart shifts in storage, counter space, and landing zones can make your kitchen feel faster and bigger.
Define Zone Boundaries
Even if your kitchen’s finishes look dated, you can make it feel faster and bigger by defining clear boundaries for prep, cook, and clean zones. Use low-cost cues first: change countertop materials by zone, switch backsplash tile behind the range, or add a contrasting paint band to mark the cook wall.
Anchor prep with a dedicated landing strip—cutting board storage, knife rail, and a small trash pullout—so the zone reads instantly. Define clean with under-cab lighting over the sink and a narrow shelf for soap and towels.
Budget-savvy dividers like open shelving, a slim cart, or a half-height panel separate tasks without stealing square footage. Finish with indoor plants and decorative accents to signal “stop here” without construction.
Optimize Workflow Triangles
When you tighten the “triangle” between your sink, fridge, and range, the kitchen stops wasting your steps and starts feeling larger without a renovation. Keep each leg 4–9 feet, and don’t let islands or doors cut through the path. You’ll save time daily and reduce the temptation to overbuild cabinetry.
Set clear zones: prep between fridge and sink, cook adjacent to range, clean centered on sink and dishwasher. Prioritize Appliance placement before you buy finishes; moving a fridge six inches can prevent costly electrical or vent changes.
Put trash and compost at the prep edge, not across the room. Use lighting and Decorative accents—like a backsplash stripe or runner—to “mark” zones cheaply, guiding traffic and protecting resale-friendly flow.
Plan Kitchen Clearances and Traffic Flow
You’ll get the best ROI when your work triangle supports your prep, cook, and clean zones, so you’re not paying for steps you shouldn’t have to take.
Map your main traffic path first, then place zones so through-traffic doesn’t cut between the sink, stove, and fridge.
Lock in practical aisle widths and clearances around doors, appliances, and seating so the kitchen works smoothly without expensive rework.
Work Triangle And Zones
Before you spend a dollar on cabinets or counters, map your kitchen’s work triangle—sink, stove, and fridge—and the zones that support it, because a smart layout saves more time (and remodel money) than most upgrades.
Keep the legs direct and obstacle-free, then build task zones around them: prep between fridge and sink, cooking around the range, cleanup at the sink, and a landing zone for groceries and small appliances.
Put everyday items where you use them—knives and boards at prep, pots by the stove, dishes near the dishwasher—so you don’t buy extra cabinetry to “fix” bad flow.
Finalizing zones before choosing color schemes and material choices is important; layout drives what you actually need, not what looks good in photos.
Aisle Widths And Clearances
Your work triangle and zones won’t pay off if traffic jams block them, so set aisle widths and clearances next. Start with clearance standards: aim for 42 inches in a one-cook aisle and 48 inches if two people regularly work together. Keep 36 inches as a hard minimum only in tight remodels, because cramped aisle ergonomics slow you down and raise frustration costs.
Plan for appliance swing and landing space. Leave 24 inches in front of dishwashers, ovens, and fridge doors so you’re not sidestepping hot pans. Maintain 15 inches of counter next to the fridge and 12 inches beside the cooktop for safe drop zones.
At seating, allow 32 inches behind stools for pass-through. These clearances prevent rework and protect resale value.
Plan Storage and Layered Kitchen Lighting
Although a kitchen refresh can start with paint and hardware, the real ROI comes from planning smarter storage and layering your lighting so the space works harder without a full remodel. Audit what you use daily, then assign it prime zones: drawers for pans, pull-outs for trash, and a narrow pantry for small appliances. Add vertical dividers for sheets and boards, and you’ll buy fewer organizers later.
Layer lighting to cut mistakes and make the room feel bigger: bright, even ambient overhead; task lights under uppers; and a dimmable accent pendant or toe-kick strip for nights. Pick LEDs with consistent color temperature to match your Color schemes, and choose durable lenses and trims that suit your Material choices.
Put key circuits on separate switches so you only light what you need.
Frequently Asked Questions
How Long Should a Full-Scale Kitchen Renovation Typically Take?
Expect 6–12 weeks, because contractors love suspense. You’ll shorten delays by locking your kitchen layout early, ordering long-lead items fast, and choosing storage solutions upfront—protecting ROI, preventing change orders, and keeping contingency spending contained.
What Renovation Budget Range Is Realistic for a Mid-Size Kitchen?
You’ll likely spend $25,000–$60,000 for a mid-size kitchen, depending on finishes and layout changes. Prioritize budget allocation for cabinets, appliances, and labor, and use renovation financing only if it boosts resale ROI.
Do I Need Permits or Inspections for My Kitchen Remodel?
Yes—you’ll likely need building permits and meet inspection requirements if you change plumbing, electrical, walls, or gas. Call your local building department early; permits prevent costly redo work and protect resale value.
How Can I Set up a Temporary Kitchen During the Renovation?
Set up a temporary kitchen by claiming a nearby outlet and water access, using Portable appliances, and organizing Temporary storage in bins. You’ll cut takeout costs, protect your schedule, and avoid buying duplicate tools.
When Should I Order Appliances, Cabinets, and Materials to Avoid Delays?
Nearly 30% of remodels run late—order early. You should lock appliances and cabinets 8–12 weeks ahead, confirm appliance delivery windows, and stage materials before rough-ins so cabinet installation starts on schedule, protecting budget and ROI.