
 By DQCS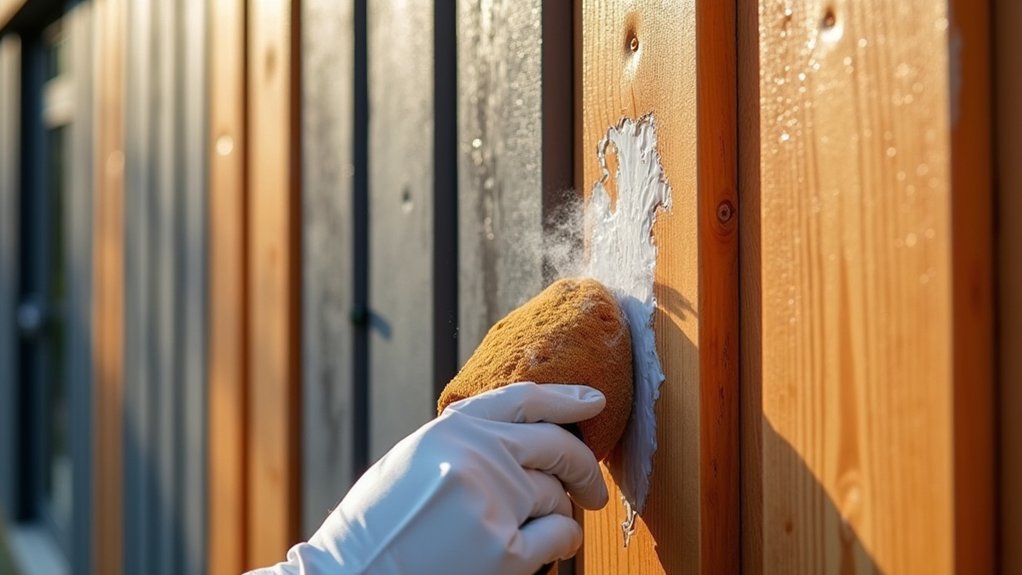
You can often restore weathered timber cladding without replacing it, but you’ll only get a clean, even finish if you treat the cause, not just the colour. Start by checking for rot, loose boards, and failed fixings so you don’t waste money cleaning timber you’ll need to swap out. Then you’ll tackle grey UV damage, grime, and algae with gentle tools and the right cleaners, before you decide if sanding is worth it…
Check If Your Timber Cladding Can Be Restored
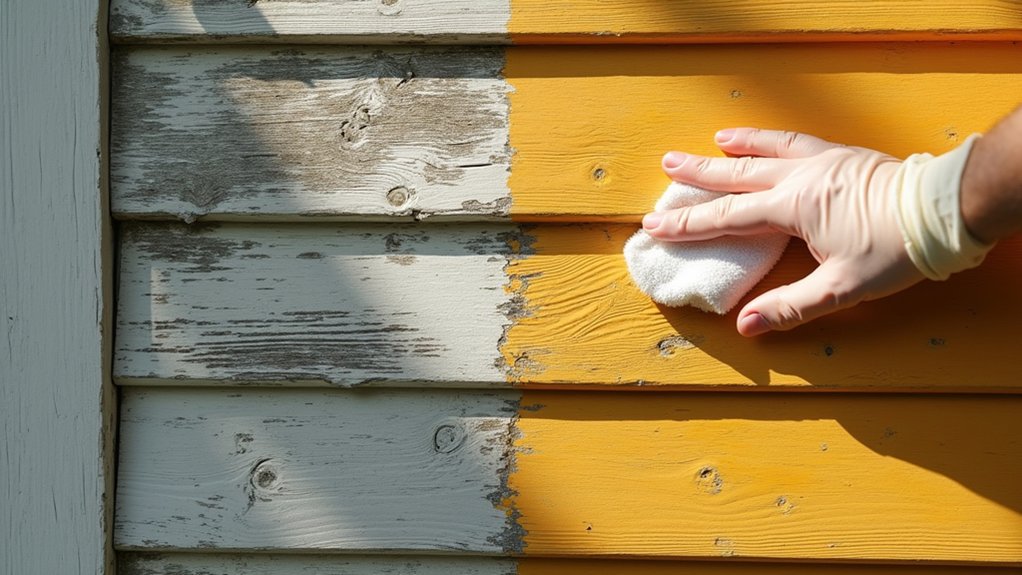
Before you spend money on cleaners, sanders, or new boards, check whether the cladding is still structurally sound enough to justify restoring it. Walk the elevations and probe suspect boards with a screwdriver: you want firm resistance, not spongy rot. Look for split tongues, failed fixings, and boards that cup so badly they won’t sit flat after sanding.
Check end grain near ground level and around gutters, windows, and decks where moisture lingers. If decay is local, you can replace only the damaged lengths and keep the rest, saving labour and matching the timber texture.
Confirm you can preserve details with historical significance by comparing profiles to any replacement stock. If more than a third is compromised, re-cladding usually costs less long-term.
Why Timber Cladding Turns Grey (UV, Rain, Pollution)
When your timber cladding turns grey, UV light breaks down surface lignin and leaves dull fibres that won’t hold a finish for long.
Rain then leaches tannins and pulls dirt into streaks, so the staining spreads and your maintenance costs climb.
Add pollution deposits that oxidise on the surface, and you get a stubborn film that needs the right cleaning and prep to restore colour efficiently.
Ultraviolet Breakdown Effects
Although timber cladding looks solid, UV light steadily breaks down the surface lignin that binds the wood fibres, so the face loses colour and turns silvery grey. Rain then washes the loosened material away and leaves a rougher, more porous layer that soaks up grime.
That’s classic UV damage, and it accelerates timber aging most on sunny elevations and on boards with thin, clear, or failing coatings. As fibres fray, you’ll see patchy fading, raised grain, and a chalky feel that traps airborne pollution.
If you ignore it, you’ll spend more later on deeper sanding, extra cleaner, and higher coating consumption. You cut costs by restoring sooner: lightly abrade, remove degraded surface, then apply a UV-rated finish with adequate film build.
Rainwater Leaching And Staining
Why does one wall of timber cladding go blotchy grey while another stays cleaner for longer? Rain drives uneven wetting and drying. On exposed faces, water penetrates open grain, then leaches tannins and water-soluble extractives to the surface. As it dries, those compounds lock in as streaks and patches, especially under drips, joints, and end grain.
Sheltered walls dry faster and leach less, so they look more even.
You’ll get better weather resistance by stopping water pathways: seal end grain, flash horizontal joints, cap boards, and keep gutters working. Choose finishes that repel liquid water yet breathe, and recoat before they thin out. This boosts material durability and cuts sanding and replacement costs. Fix splashback and keep clear drainage too.
Pollution Deposits And Oxidation
Even if you’ve kept rain off the boards, UV still breaks down lignin at the surface and leaves soft fibres that grab onto airborne grime. Traffic soot, industrial dust, and salt haze settle into that roughened skin, then oxidise with moisture and oxygen, pushing the colour toward a flat grey. You’ll see it most on sheltered faces where deposits aren’t rinsed away.
To fix it without overspending, start with a low-pressure rinse and a mild, biodegradable exterior cleaner to cut the Environmental impact.
If grey remains, use an oxalic-acid brightener to reverse oxidation and lift embedded staining, then rinse well.
Finish with a UV-resistant oil or microporous stain so fewer particles stick next season, delivering reliable Aesthetic enhancement and longer intervals between cleans.
Clean Weathered Timber Cladding Safely (No Gouging)
How do you clean weathered timber cladding without leaving gouges and fuzzy grain behind? Start with the gentlest method that still shifts grime: a soft nylon brush and a bucket of warm water with a small dose of pH-neutral soap. Work top to bottom, scrubbing with the timber grain so you don’t cross-score boards. Rinse frequently so loosened dirt doesn’t re-deposit and exaggerate weathering patterns.
Skip stiff wire brushes and aggressive sanding at this stage—they’re costly in time and can thin profiles. If you use a pressure washer, keep it low, use a wide fan tip, stand back 300–450 mm, and sweep steadily; never point into joints or end grain. Test a hidden spot first, then repeat. Let it dry fully before inspection.
Remove Mould, Algae, and Tannin Stains
Start by identifying what you’re dealing with—black mould, green algae, or brown tannin bleed—so you don’t waste money on the wrong cleaner.
Use a targeted solution for each stain type, apply it as directed, and rinse thoroughly to stop the marks from coming back through your finish.
Then cut future growth by improving airflow and shade, keeping the cladding dry, and choosing a coating with built-in mildew resistance.
Identify Stain Types
Before you spend money on cleaners or sanding, pinpoint what you’re actually seeing on the timber: mould and algae usually show up as black, green, or slimy surface growth (often in shaded, damp areas).
While tannin stains look like brown-to-black streaks that bleed from knots, end grain, or around fasteners after rain. Run a quick fingertip test: surface growth often smears, while tannin marks sit in the fibres and follow the timber grain.
Check patterns: mould clusters where airflow’s poor; tannins trace drip lines and fixings. Note whether staining repeats after wet weather—tannins commonly do.
Also separate UV greying from stains; greying looks even and doesn’t feel raised. Correct ID saves labour, preserves coatings, and protects weather resistance by avoiding unnecessary abrasion.
Apply Targeted Cleaning Solutions
Now that you’ve nailed down whether you’re dealing with surface growth or tannin bleed, match the fix to the stain so you don’t waste time or strip sound timber.
For mould and algae, start with a low-cost oxygen bleach or a purpose-made exterior biocide, applied with a pump sprayer. Let it dwell per label, then scrub with a soft-bristle brush and rinse gently; you’ll lift growth without roughing the grain, supporting timber durability.
For tannin stains, skip bleach and use an oxalic-acid timber brightener. Work in small sections, keep it wet, and rinse thoroughly so residue doesn’t interfere with coatings.
Track cleaning frequency: treat only when staining returns, not on a calendar, to cut chemical use and labour costs.
Prevent Future Biological Growth
Why let mould and algae keep coming back when a few low-cost changes can break the cycle? Start by cutting moisture at the source: clear gutters, fix drips, and trim vegetation so sunlight and airflow dry the boards faster. Rinse dirt off twice a year; grime feeds growth and traps water.
Next, lock out spores with timber sealing once the cladding is fully dry. Choose a breathable, UV-rated oil or water-based sealer so moisture can escape without inviting regrowth. Add biological barriers by applying a long-lasting fungicidal wash or additive compatible with your finish, especially on shaded elevations.
For tannin stains, prime with a stain-blocking undercoat before recoating. Keep splashback down with gravel strips and maintain a 150 mm ground clearance.
Prep for Your Finish: When to Sand (and When Not To)
Once you’ve cleaned and dried the cladding, decide whether sanding will actually improve the finish or just waste time and abrasives. If the boards feel fuzzy, show raised grain, or have stubborn stain marks that cleaning didn’t shift, a light sand tightens the surface and helps you get a cleaner, more uniform result. That small effort protects timber durability by removing degraded fibres that hold moisture.
Skip sanding if the face is sound, profiles are crisp, or you’re working with thin boards—over-sanding can round edges, open up end grain, and reduce weather resistance. Don’t sand through mill glaze on newer cladding; instead, scuff lightly for grip.
Use 80–120 grit, follow the grain, and vacuum dust so you don’t pay twice in rework.
Choose Oil vs Stain vs Paint (Look, Cost, Lifespan)
Although they can all make tired cladding look new, oil, stain, and paint deliver very different trade-offs in upfront cost, how often you’ll recoat, and how much weathering they hide.
Oil is usually the cheapest per litre and fastest to refresh, but it won’t cover blotches. It enhances wood grain and suits a natural look, yet you’ll typically re-oil more often.
Stain costs a bit more, adds UV protection, and evens tone while still showing wood grain. It’s the best balance if you want subtle color matching without a solid film.
Paint costs the most and takes longer between repaints, but it hides defects and gives the strongest color matching for a uniform, modern finish.
Apply the Finish Properly (Coats, Drying, Weather)
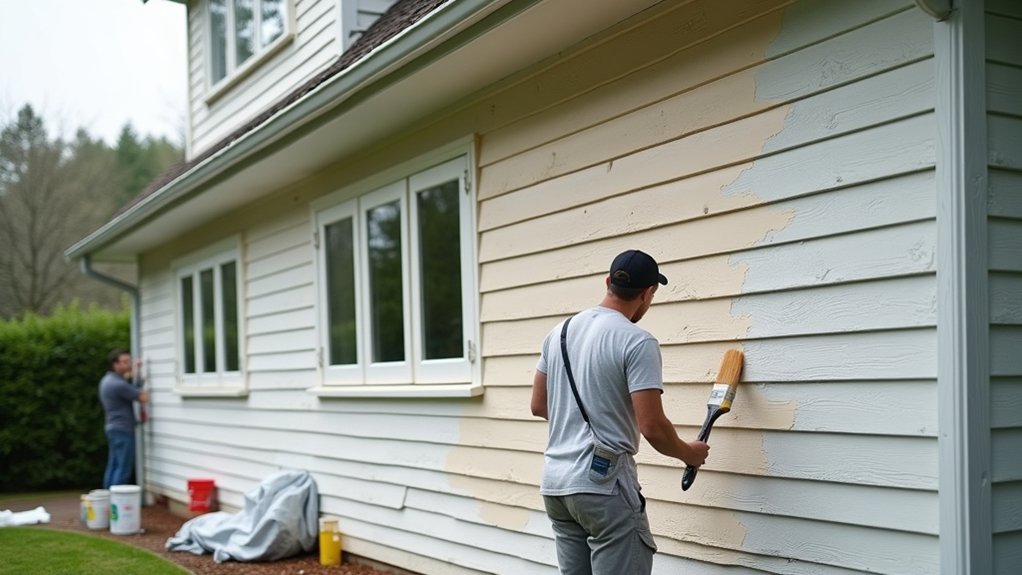
If you apply the finish in the wrong weather or rush the drying time, you’ll waste product and end up recoating sooner. Pick a dry spell: no rain forecast, low wind, and mild temps (about 10–25°C). Avoid hot sun on the boards; it flashes solvents and kills finish adhesion.
Apply thin, even coats instead of one heavy pass. You’ll get better penetration, fewer runs, and more consistent colour for less material. Back-brush after spraying to push finish into grain and joints.
Follow the label’s spread rate, then stop—over-application traps moisture.
Respect recoat windows. Let each coat dry fully before the next, and don’t “test” it with wet fingers. Proper drying boosts timber durability and reduces touch-ups.
Maintenance Plan to Stop Timber Cladding Re-Greying
A simple, scheduled maintenance plan keeps timber cladding from re-greying and costs far less than another full strip and refinish. Start with quick inspections every 3 months: look for dull patches, water beading loss, and exposed timber grain on sunny or wind-driven faces.
Wash annually with a mild exterior cleaner and soft brush to remove grime before it embeds and accelerates UV damage.
Plan a light maintenance coat every 12–24 months, timed to your local weather patterns: pick a dry week, moderate temps, and low overnight dew. Spot-sand rough fibres, then recoat those sections first to stop uneven fading spreading.
Keep gutters clear and sprinklers off the wall; reducing wetting cycles protects the finish and your budget year after year.
Frequently Asked Questions
How Long Does Timber Cladding Restoration Usually Take From Start to Finish?
You’ll usually finish timber cladding restoration in 2–7 days, depending on size, repairs, and drying weather. You’ll save money by planning timber treatment coats, staging restoration tools, and avoiding rework from rushed curing.
Do I Need to Remove Cladding Boards to Restore Them Properly?
You usually don’t need Cladding removal; you can restore in place with smart Restoration techniques like cleaning, sanding, and recoating. Remove boards only if they’re rotted, warped, or hide damage—saving labor, improving results, keeping costs down.
Can I Restore Cladding During Winter or in Consistently Damp Climates?
You can, but don’t tempt fate: winter restoration works if you pick dry spells, use fast-curing products, and guarantee ventilation. Damp climate challenges mean longer drying, higher failure risk, and extra prep—budget accordingly for durable results.
Will Restoration Affect Nearby Plants, Pets, or Outdoor Furniture?
Yes, it can, unless you plan for plant safety and pet protection. You’ll cover or move furniture, wet and shield plants, keep pets indoors, and rinse runoff fast. You’ll avoid damage and costly replacements.
How Can I Match the Restored Cladding Colour to Existing Timber Features?
Compare colour chips closely: sand a small spot, test samples, and view in sun/shade. Use Color matching techniques with stain selection tips—choose tinted stains, dilute if needed, and seal for consistent, cost-saving results.