
 By DQCS
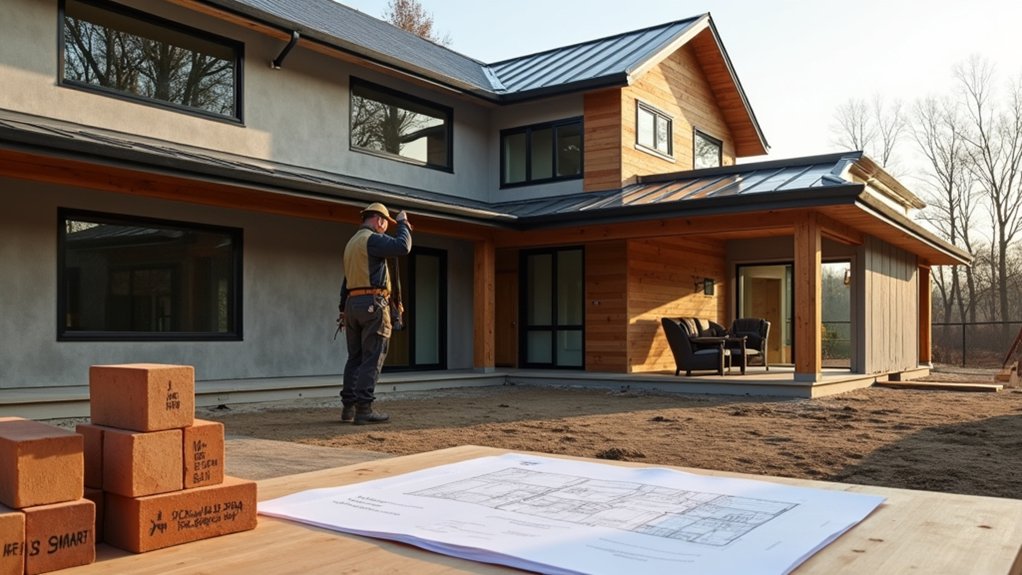
Designing a new build is like packing for a long trip—you’ve got limited space for extras, so every choice has to earn its spot. You’ll get the best value by setting a clear budget with contingencies, keeping the layout simple, and spending where it protects the structure. Focus on the envelope first: air sealing, water control, and insulation. Then choose long-life roofing, siding, and windows. The upgrades you skip matter just as much, because…
Set Your New Build Budget + Contingencies
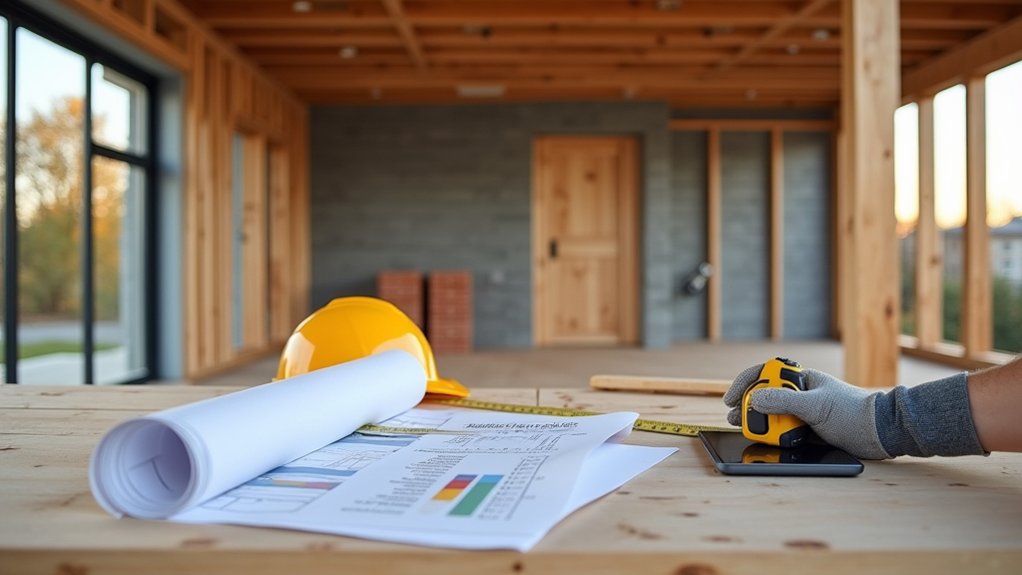
Before you pick finishes or sketch floor plans, lock in a realistic new-build budget that covers the essentials and the surprises. Start with hard costs: site work, foundation, framing, roofing, windows, HVAC, plumbing, electrical, insulation, and permits. Price durable, code-plus assemblies first; don’t let cosmetic upgrades crowd them out.
Then add soft costs: surveys, engineering, insurance, utility hookups, and lender fees. Build a contingency of 10–15% for unknowns, and a separate allowance for scope choices you haven’t finalized.
Match your financing options to risk: fixed-price contracts can protect you, while cost-plus needs tighter tracking. Tie cash flow to the project timeline so draws land before major material orders, and keep reserves ready for delays or change orders.
Design a New Build Layout That Costs Less
Although finishes grab attention, your floor plan does most of the damage—or savings—to the budget. Keep the footprint compact and close to a simple rectangle; every bump-out adds foundation, framing, and roofing cost.
Stack bathrooms, laundry, and kitchen on shared walls so you run shorter plumbing and electrical lines. Limit hallway space by using open sightlines and multi-use rooms, and right-size bedrooms to what you’ll actually furnish.
Choose a repeatable structural grid and standard spans so you avoid expensive beams and custom engineering. Consider Modular construction for predictable labor and faster schedules.
Specify cost-effective materials where they won’t get abused: durable LVP, solid-core doors, and simple trim. Design storage as built-ins only where it replaces furniture.
Prioritize Your New Build Envelope (Air, Water, Insulation)
When you treat the envelope as a system—air sealing, water management, and insulation working together—you stop paying for leaks, rot repairs, and oversized HVAC. Start with a continuous air barrier and verify it with a blower-door test while walls are still open. Use taped sheathing, gasketed top plates, and sealed penetrations so drafts don’t bypass insulation.
Next, manage bulk water: slope sills, flash openings, and provide a clear drainage plane so water always has an exit path. Then control moisture vapor with correctly placed vapor barriers or smart membranes for your climate, preventing condensation inside assemblies.
Finally, choose insulation that matches the air barrier: dense-pack, batts, or foam, installed without gaps. You’ll spend a little more up front and save for decades.
Choose Long-Life Roofing, Siding, and Windows
After you’ve tightened the envelope, you’ve got to pick roofing, siding, and windows that won’t need replacing in 10–15 years.
You can spend a bit more upfront on high-durability roofing options and cut long-term repair and reroofing costs.
Pair that with energy-efficient windows and siding to reduce heating and cooling bills while keeping the exterior tough and low-maintenance.
High-Durability Roofing Options
A high-durability roof starts with picking materials that can take decades of sun, wind, hail, and freeze-thaw cycles without constant repairs. To keep costs predictable, compare roofing materials by lifespan, maintenance, and your local weather resistance needs.
Architectural asphalt shingles offer solid value when you choose impact-rated options and install proper underlayment.
Metal panels cost more upfront, but they shed snow, resist fire, and can last 40–70 years with minimal upkeep.
Clay or concrete tile delivers excellent longevity, yet you’ll need a reinforced roof deck and higher labor budget.
For flat or low-slope sections, consider high-quality single-ply membranes with reinforced seams.
Whatever you choose, prioritize ventilation, flashing, and ice-and-water barriers, because details prevent expensive leaks.
Energy-Efficient Window And Siding
For siding, pick fiber-cement, engineered wood, or insulated vinyl with proper rainscreen detailing. You’ll spend a bit more upfront, but you’ll avoid frequent repainting, warping, and moisture repairs.
Match trim, caulks, and fasteners to the manufacturer’s system so warranties stay intact and performance doesn’t fade.
Select Durable Floors, Cabinets, and Countertops
In your new build, you’ll save money over time by choosing high-wear flooring that won’t scratch, dent, or stain under daily traffic.
You should pair it with resilient cabinet materials that hold hinges and hardware tight and won’t swell from moisture.
Then you can top it off with low-maintenance countertops that resist heat and spills, so you’re not paying for constant repairs or refinishing.
High-Wear Flooring Choices
Because the busiest rooms take the most abuse, you’ll save money long-term by choosing finishes that can handle scratches, dents, moisture, and heavy traffic without constant repairs.
For kitchens, entries, and mudrooms, prioritize porcelain or ceramic tile, luxury vinyl plank (LVP), or sealed concrete with industrial finishes; they resist water, don’t gouge easily, and clean fast.
Pick textured surfaces for slip resistance and to hide grit, but avoid deep grooves that trap grime.
In living areas, consider engineered hardwood with a tough factory finish, or LVP for kids and pets.
Use large-format tile to reduce grout lines, and specify high-quality underlayment to cut noise and prevent seams from telegraphing.
Add walk-off mats and felt pads to extend wear even further.
Resilient Cabinet Materials
Where do cabinets actually fail first—at the doors, the edges, or the box? Usually it’s the box and edges, so start there.
Choose 3/4-inch plywood boxes over particleboard; they resist sagging and hold screws longer. If you need to save, use plywood sides with a reinforced back panel and solid wood face frames.
For doors, pick hardwood or quality MDF with a durable wrap only if you trust the installer; seams can lift near sinks. You’ll stretch your budget further by standardizing sizes and skipping fragile glass inserts.
For cabinet finish options, favor catalyzed lacquer or conversion varnish for scratch and moisture resistance.
Want eco-friendly cabinet materials? Look for FSC-certified plywood, low-VOC finishes, and formaldehyde-free cores.
Low-Maintenance Countertop Options
Want a countertop that won’t demand constant babying or expensive resealing? Start with Quartz countertops if you want a near-worry-free workhorse. They resist stains, don’t need periodic sealing, and handle daily splashes and light heat better than many natural stones.
You’ll pay more upfront, but you’ll save on maintenance and reduce replacement risk.
If you’re watching the budget, consider quality laminate surfaces. Today’s options look convincingly like stone or wood, clean up fast, and shrug off most household messes.
Choose thicker tops, tight seams, and a durable edge to prevent moisture from sneaking in. Use cutting boards and trivets, and you’ll stretch lifespan further.
For rental-proof durability, pick darker or patterned finishes that hide wear and small chips.
Skip New Build Upgrades With Weak ROI
Even if the upgrade list looks endless, you don’t have to buy everything the design center puts in front of you. Start by skipping luxury upgrades that don’t improve durability or daily function, like ornate trim packages, boutique tile mosaics, and specialty ceiling details. Many are just aesthetic enhancements you can add later for less.
Focus your money on items that are hard to change after closing: structural options, insulation, quality windows, and extra electrical circuits where you’ll actually need them. Say no to overpriced “premium” paint, designer light fixtures, and built-in speakers; you’ll replace them anyway.
If an upgrade won’t lower maintenance, prevent damage, or cut energy use, it’s probably weak ROI. Bank the savings for future repairs.
Frequently Asked Questions
How Do I Vet a Builder for Quality and Durability?
Roughly 80% of defects trace to poor workmanship, so you’ll vet by checking Builder credentials, touring past jobs, calling references, and reviewing inspection reports. Compare bids line-by-line and insist on clear, transferable construction warranties.
What Permits and Inspections Are Required for My New Build?
You’ll need zoning approval under Zoning regulations, building, electrical, plumbing, and mechanical permits, plus Environmental permits if needed. Expect footing, foundation, framing, rough-in, insulation, and final inspections. Schedule early to avoid delays and costly rework.
How Long Will Construction Take From Design to Move-In?
You should expect 9–18 months from design to move-in, depending on complexity and approvals. Set timeline expectations around construction milestones: design/permits, sitework, foundation, framing, MEP, finishes, inspections. Standardize materials to control costs, durability.
Should I Hire an Architect, Designer, or Design-Build Firm?
You should pick a design-build firm if you want one accountable team; otherwise, hire an architect for structure and durability, plus a designer for Interior lighting and Landscaping design—like choosing a sturdy compass.
How Can I Reduce My Home’s Carbon Footprint Without Overspending?
You can cut your home’s carbon footprint by air-sealing, upgrading insulation, and choosing right-sized HVAC. Use eco friendly materials where they last, and add renewable energy later. You’ll save upfront and avoid premature replacements.