
 By DQCS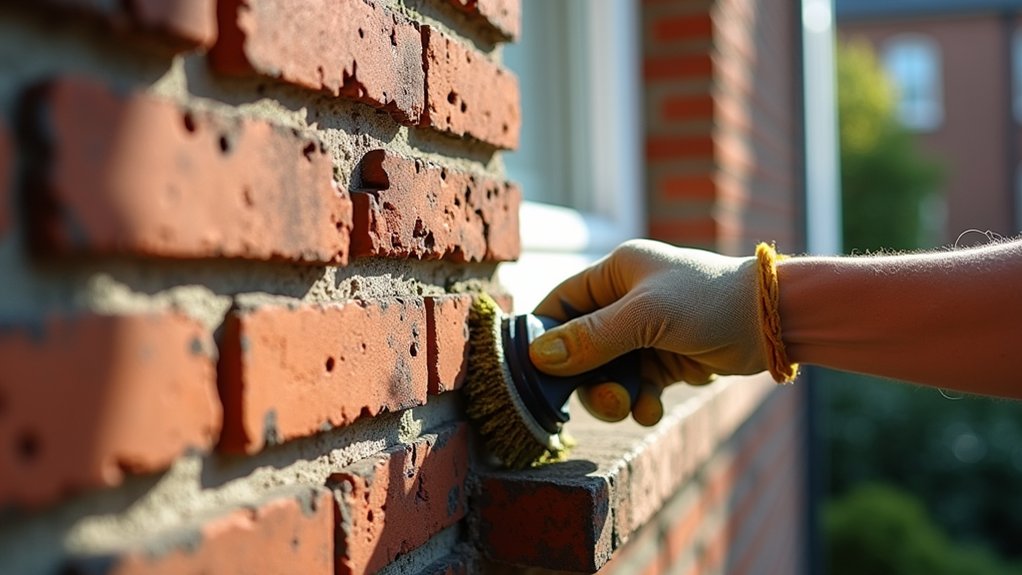
Your old brickwork can look like it’s been through a century of coal smoke and storms. You don’t need pricey blasting or harsh acids to fix it, but you do need a careful plan that won’t scar soft, porous bricks. You’ll start with dry brushing and a light rinse, then spot-test mild cleaners and address loose units before you touch mortar. Skip the shortcuts now, or you’ll pay twice when the first stains come back…
Why Your Old Brickwork Looks Dull or Stained
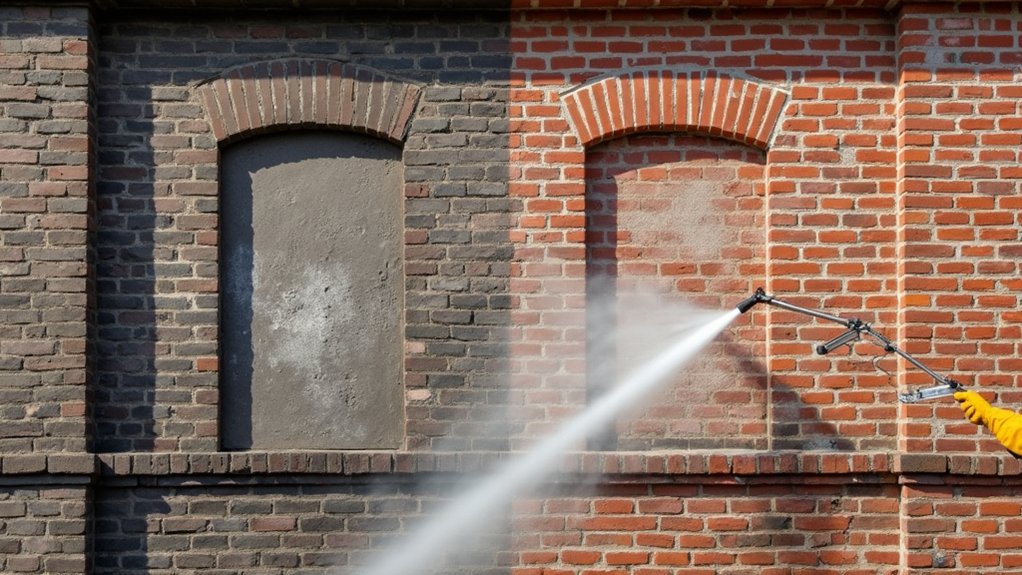
Although old brick is tough, its surface takes a daily beating that can leave it looking flat, blotchy, or dirty. You’re often seeing soot, traffic grime, and airborne pollutants that bond to rough pores, especially on windward walls and under eaves.
If gutters overflow, you’ll get dark run marks; if downspouts splash, you’ll see muddy staining near grade.
You may also notice white, dusty patches from salts migrating outward as moisture moves through the wall. That moisture can come from failed flashing, missing mortar, or trapped humidity behind dense coatings.
Previous paint or sealers can discolor unevenly, highlighting repairs. For Historical preservation and Aesthetic enhancement, you’ll want to identify the source first, so you don’t keep paying for repeat fixes.
Clean Old Brickwork Safely (Tools and Methods)
Before you reach for a pressure washer or acid cleaner, take a slower, safer approach that won’t chew up soft, older brick. Start dry: sweep with a stiff nylon brush, then vacuum or rinse lightly to remove grit that can scratch.
Pre-wet the wall so cleaning water doesn’t soak in fast, and work bottom to top to avoid streaks. Use a bucket of warm water with a small dose of mild detergent, scrub in small sections, and rinse often.
For stubborn stains, test Chemical cleaners on an inconspicuous spot, follow dilution labels, and neutralize/rinse thoroughly.
Skip high PSI Power washing; if you must, use a wide fan tip, low pressure, and keep distance. Protect plants and windows, too.
Fix Damaged Bricks Before You Restore Brickwork
Once the wall’s clean, you’ll spot the bricks that actually need attention—cracked faces, spalled corners, loose units, and powdery “soft” brick that crumbles under a screwdriver. Mark each suspect brick, then tap it; a hollow sound often means it’s detached.
Replace only what’s failed, not whole areas, to keep costs down and preserve character.
For Brick matching, salvage from hidden areas or buy reclaimed units with similar size, color, and texture. Cut out a bad brick by raking joints and drilling relief holes, then wiggle it free without bruising neighbors. Brush the cavity clean and dampen it.
With Mortar mixing, match strength to the original; avoid overly hard mixes. Butter the replacement, seat it flush, and tool the edges clean.
Repoint Old Brickwork to Stop Water Getting In
Because failed mortar joints let rain track behind the facework and freeze-thaw damage spread, repointing is the most cost-effective way to make old brickwork weather-tight without replacing good bricks. You’ll save money by cutting out only the loose, cracked mortar, not chasing sound joints.
Start with Brick surface preparation: brush off dust, rake joints 2–2.5× their width, then vacuum and lightly mist so the bricks don’t suck moisture from fresh mortar.
Use a mortar that matches the original strength; too-hard mixes can spall bricks.
For Mortar color matching, test small batches and let them dry fully before you commit.
Pack mortar in thin lifts, tool joints to match the existing profile, and keep it damp for a few days to reduce shrinkage cracks.
Seal Restored Brickwork for a Longer-Lasting Finish
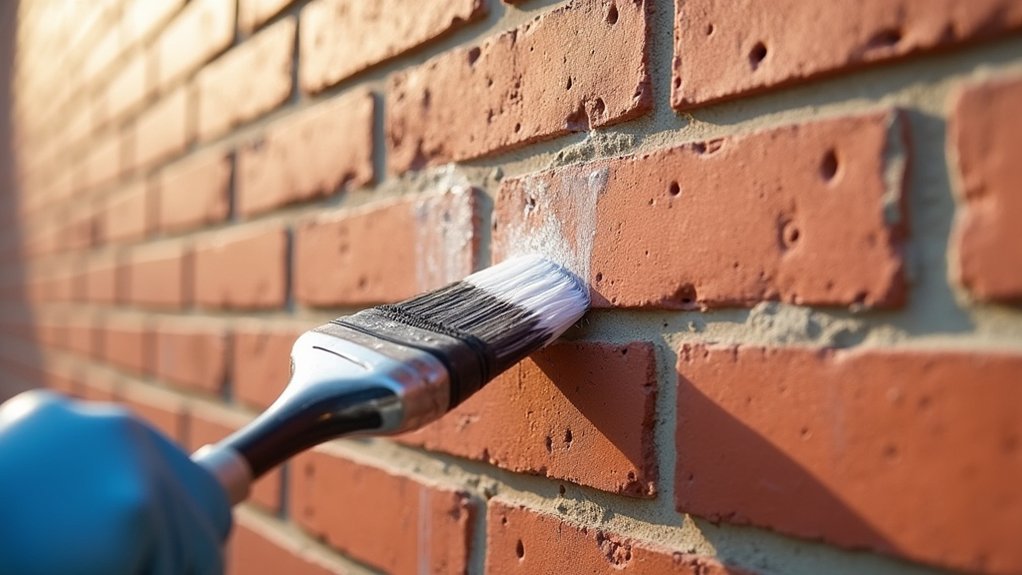
After you’ve replaced loose mortar and let the joints cure, sealing the brickwork helps shed wind-driven rain, slows down salt staining, and reduces freeze–thaw stress—without the cost of rebuilding sound areas.
Choose a breathable silane/siloxane sealer for most walls; avoid film-formers unless you’re managing specific staining. Test a small patch first, since Color enhancement products can deepen tone and highlight repairs.
Clean dust and efflorescence, then let the wall dry fully.
For Sealant application, work bottom to top to control runs, keep a wet edge, and apply two light coats rather than one heavy pass.
Protect windows, plants, and paving, and don’t seal if rain’s due within 24 hours.
Recheck coverage yearly, especially on parapets.
Frequently Asked Questions
Can I Paint Restored Brickwork, and Will It Trap Moisture?
Yes, you can paint restored brickwork, but it can trap moisture if you use non-breathable coatings—like wrapping bricks in plastic. Choose vapor-permeable masonry paint, prioritize Brick sealing, and protect Paint durability with proper prep.
Do I Need Planning Permission to Restore Brickwork on a Listed Home?
Yes—you’ll usually need Listed Building Consent, and sometimes planning permission, before restoring brickwork on a listed home. Check with your conservation officer; Historical preservation and Building regulations drive decisions. Get approval first to avoid costly enforcement.
How Much Does Professional Brick Restoration Typically Cost per Square Metre?
You’ll typically pay £40–£120 per m², depending on access, brick condition, and finish. Brick cleaning often runs £15–£40 per m²; Mortar repair repointing adds £25–£80 per m². Get itemised quotes.
What Time of Year Is Best for Restoring Exterior Brickwork?
Aim for late spring or early autumn—like working in a Goldilocks zone. You’ll balance Seasonal preparation and weather considerations: mild temperatures, low rain, and steady drying. You’ll avoid frost, heatwaves, rush fees, and rework.
How Can I Match Replacement Bricks to My Home’s Original Colour?
You’ll get the best color matching by taking a clean sample brick to local salvage yards and masonry suppliers, comparing in daylight. For brick selection, match size, texture, and porosity, and buy extra for shade variation.