
 By DQCS
Old houses charm you with character, then threaten your budget with hidden damage. You start with a whole-home condition check, not paint chips and fixtures. You look for structural movement, moisture paths, and unsafe wiring, because those failures cascade and get expensive fast. You plan your sequence to protect original trim and plaster while you upgrade the systems that keep the place dry, stable, and insurable. Next, you’ll decide what must happen first—before you touch a finish.
Start With a Whole-Home Condition Check
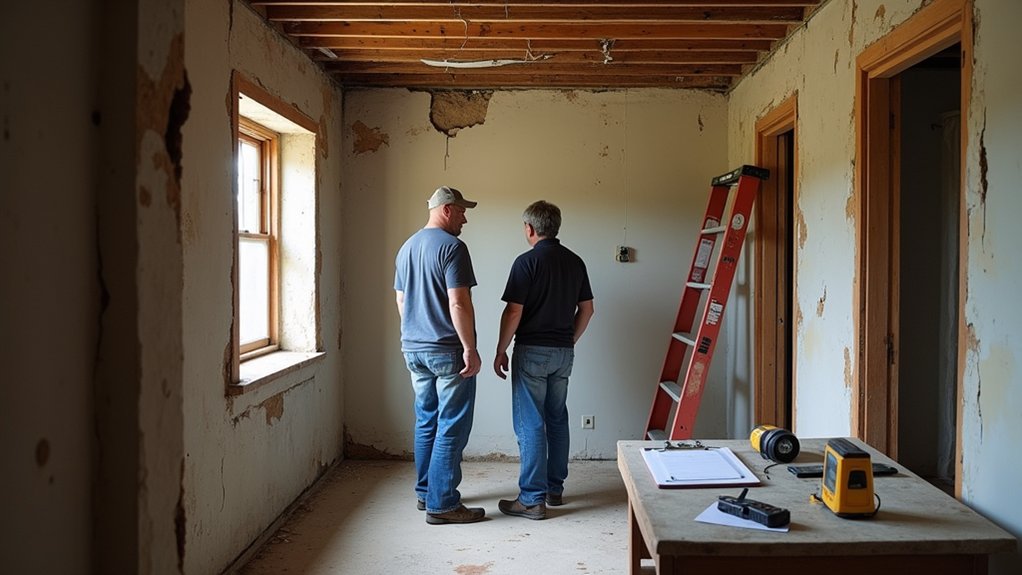
Before you pick finishes or start tearing out walls, do a whole-home condition check to find the problems that can blow up your budget later. Walk every room, attic, basement, and exterior, and document what you see with photos, notes, and rough measurements.
Build a repair log that lists urgency, estimated cost ranges, and who you’ll call for quotes.
Test outlets, run every faucet, flush toilets, cycle HVAC, and look for moisture clues like stains, odors, and efflorescence.
Review permits and past work so you don’t inherit code violations.
If you’re aiming for Historical preservation, inventory original trim, windows, doors, and hardware before you change anything.
Then plan aesthetic enhancements only after you’ve priced required updates and set a contingency line item.
Fix Structural Problems in Older Homes First
Before you spend on finishes, you’ll save money and reduce risk by checking the foundation and framing for movement, rot, or undersized members.
Next, you’ve got to stop water and moisture at the source—grading, drainage, leaks, and ventilation—so repairs don’t fail twice.
Finally, repair the roof and confirm continuous load paths from rafters to foundation so wind, snow, and time don’t turn small defects into expensive structural damage.
Identify Foundation And Framing
If you don’t identify foundation and framing issues early, you’ll waste money covering up problems that will crack drywall, buckle floors, and ruin finished work. Start with a professional foundation inspection and a careful walk-through: look for sloped floors, stuck doors, gaps at trim, and sagging rooflines. Document what you see and measure it so you can track movement and price repairs accurately.
Next, open up small, targeted areas to confirm what’s happening in the structure. Check joists, beams, and load-bearing walls for notches, rot, splits, or undersized members. Plan framing reinforcement before you touch finishes: sister joists, add blocking, install posts or headers, and correct spans.
Get permits when required, and budget a contingency—structural fixes often uncover more work once walls open.
Address Water And Moisture
Even when the framing looks solid, water and moisture can quietly undermine it, so you’ll save money by finding and stopping leaks and dampness before you close anything in.
Start by mapping stains, musty odours, efflorescence, and peeling paint, then trace them to the source. Check plumbing joints, supply lines, tubs, and around windows and doors for water intrusion.
In basements and crawlspaces, look for wet soil, rusting fasteners, and soft sill areas. Correct grading and downspouts so water drains away from the house.
Improve moisture control with sealed penetrations, repaired flashing at openings, and a properly sized dehumidifier where needed.
Replace rotted sheathing or subfloor only after you’ve fixed the cause, or you’ll pay twice. Document fixes for future inspections and warranty claims.
Repair Roof And Load Paths
Where’s the house actually carrying its weight right now? Before you upgrade finishes, confirm the roof and structure can safely transfer loads to the foundation.
Start with a professional Load path analysis: rafters to ridge, ridge to posts, posts to beams, beams to walls, walls to footings. Look for sagging ridgelines, cracked plaster at corners, doors that stick, and joists not bearing fully.
Fix roof leaks first, then tackle Roof reinforcement only where it reduces risk: sister damaged rafters, add collar ties, replace failing sheathing, and install proper hangers and straps. Don’t overspend on “stronger everywhere”; target the weak links.
If you ignore load paths, cosmetic work can crack again, or worse, fail during storms.
Prioritise Safety Upgrades in Older Homes
Before you spend on finishes, you’ll save money and reduce risk by prioritising safety upgrades. Start by evaluating your electrical panel and wiring, then fix any structural hazards and fire risks that could fail inspection or threaten your family.
Next, improve plumbing and ventilation to prevent leaks, mould, and costly damage later.
Assess Electrical And Wiring
How confident are you that the wiring behind your walls can handle today’s loads without creating a fire or shock risk? Start with an electrical inspection: ask an electrician to check your service size, panel condition, grounding, and any aluminum, knob-and-tube, or brittle insulation. These issues often hide until you add appliances, EV chargers, or HVAC.
Focus electrical upgrades on the highest-risk, highest-payoff fixes. Replace unsafe panels, add GFCI/AFCI protection where required, and correct overloaded circuits. Improve wiring safety by labeling circuits, installing proper junction boxes, and replacing damaged outlets and switches.
If your budget’s tight, phase work room by room, but don’t postpone panel or grounding problems. Get written quotes, permit costs, and a load calculation so you’re paying for need, not guesswork.
Address Structural And Fire Risks
Once you’ve verified the wiring won’t overheat or shock anyone, turn to the parts of the house that keep it standing and slow a fire down. Start with a basic risk assessment: sagging floors, cracked foundations, roof spread, rot, and termite damage. Pay for a structural engineer where movement is visible; it’s cheaper than guessing and rebuilding later.
Prioritise fixes that stop water entry at the envelope, because moisture drives decay and weakens framing.
Next, tackle fire safety upgrades with the best cost-to-risk payoff. Add interconnected smoke alarms on every level and in bedrooms, replace hollow-core doors on escape routes, and seal gaps around penetrations with approved fire-rated materials.
If the house has balloon framing, install fire blocking to limit vertical spread. Keep exits clear and confirm windows open.
Improve Plumbing And Ventilation
After you’ve stabilised the structure and tightened up fire protection, move on to plumbing and ventilation, because hidden leaks and trapped moisture can quietly drive mould, rot, and indoor-air hazards. Start by mapping shutoff valves, testing water pressure, and checking for galvanised, lead, or polybutylene lines that may fail or contaminate water. Replace the worst runs first, and add Pipe insulation to reduce freezing risk and stop condensation that feeds damp walls.
Next, control moisture at the source: vent baths and kitchens outdoors, seal duct joints, and clean dryer vents. If your home’s tight after air-sealing, install Smart ventilation (like a humidity-sensing fan or ERV) so you don’t trade drafts for stale, wet air.
Budget for a plumber’s inspection; it’s cheaper than water damage.
Seal and Insulate to Stop Ongoing Damage
Even if your renovation plans are still on paper, you should seal air leaks and add insulation early, because uncontrolled airflow and moisture keep degrading framing, plaster, wiring penetrations, and finishes. Start by finding drafts at rim joists, attic hatches, basement sills, and around windows and doors; use caulk, foam, and gaskets, and add weatherstripping where it’s worn.
Next, insulate the attic first for the best payback, then address crawlspaces or basements with vapor control suited to your climate. Keep soffit and ridge vents clear so you don’t trap moisture.
This low-cost sequencing improves Energy efficiency, prevents mold and rot, and protects future aesthetic enhancements from peeling paint and warped trim. Budget for a blower-door test to verify results.
Update Plumbing and Wiring Before Finishes
Before you hang drywall or lay new flooring, bring your plumbing and electrical systems up to date, because opening walls later can double labor costs and force you to redo finished surfaces.
Start with an inspection: check for galvanized or lead supply lines, undersized drains, ungrounded outlets, knob-and-tube, overloaded panels, and DIY splices. Replace what’s unsafe or near end-of-life, and add shutoffs, GFCI/AFCI protection, and modern grounding.
If you’re keeping Vintage fixtures for historic preservation, upgrade the hidden connections—new valves, traps, and supply lines—so they look original but perform safely.
Run any needed circuits, data lines, and venting now, and document everything for permits, resale, and future repairs.
You’ll cut risk, avoid leaks and fires, and protect your budget.
Plan Older Home Renovations by Room Function
Once your plumbing and wiring plan is set, map the renovation room by room based on how each space works and what it demands. Start with high-use, high-risk zones: kitchen, baths, laundry, and any room with a fireplace.
Check for moisture routes, venting needs, and load-bearing changes before you touch finishes. In kitchens and baths, prioritise durable substrates, proper waterproofing, and safe clearances around appliances and fixtures.
In bedrooms and living areas, focus on insulation, window performance, and floor repairs that prevent squeaks and bounce.
Treat stairs, entries, and hallways as safety projects: lighting, handrails, and slip resistance.
Protect Historic charm by repairing trim, doors, and plaster instead of replacing. You’ll keep aesthetic appeal while avoiding hidden damage later.
Budget and Timeline for Older Home Renovations

Because older houses hide expensive surprises behind walls and under floors, you need a budget and timeline that assume change orders will happen.
Start with realistic cost estimation: price structural fixes, electrical upgrades, plumbing, insulation, and permits before finishes. Add a 15–25% contingency, and keep it liquid so you don’t stall work.
Get at least three bids, compare scopes line by line, and flag allowances that can balloon.
For renovation scheduling, sequence risk-first tasks: demo, inspections, framing, roof, windows, mechanicals, then drywall and paint.
Build slack for lead times on specialty trim and custom cabinetry.
Require weekly check-ins, document decisions fast, and lock selections early.
If cash flow tightens, pause cosmetics, not safety or weatherproofing.
Always track spend against milestones.
Frequently Asked Questions
Will Renovating My Older Home Increase Its Insurance Premium?
Yes, renovating can raise your insurance premium. Major upgrades may trigger a Premium increase by boosting replacement value and risk. You can limit Insurance costs by updating wiring/plumbing, pulling permits, bundling policies, and comparing quotes.
Do I Need Planning Permission for Renovating a Period Property?
You might need planning permission—especially if you alter the exterior or it’s listed. Example: you replace sash windows; council flags historic preservation. You must also meet building regulations, or you’ll face delays, fines, extra costs.
How Do I Find Reliable Contractors Experienced With Older Homes?
Find them through local heritage groups and trusted architects, then run Contractor vetting: check insurance, licenses, and references. Do Experience verification by reviewing similar project photos, speaking to past clients, and insisting on detailed quotes/contracts.
Can I Claim Tax Credits or Grants for Renovating Older Homes?
Old beams can hide buried treasure: you can claim Tax incentives and, sometimes, grants, if you meet Grant eligibility rules. Check federal, state, utility, and historic programs; keep receipts, permits, audits, and deadlines to reduce risk.
How Do I Match New Finishes to Existing Historic Features?
You’ll match new finishes by sampling existing colors, sheens, and profiles, then testing finish matching in hidden spots. Follow historic preservation guidance, use salvage yards, and hire pros for risky lead/asbestos areas. Keep receipts.