
 By DQCS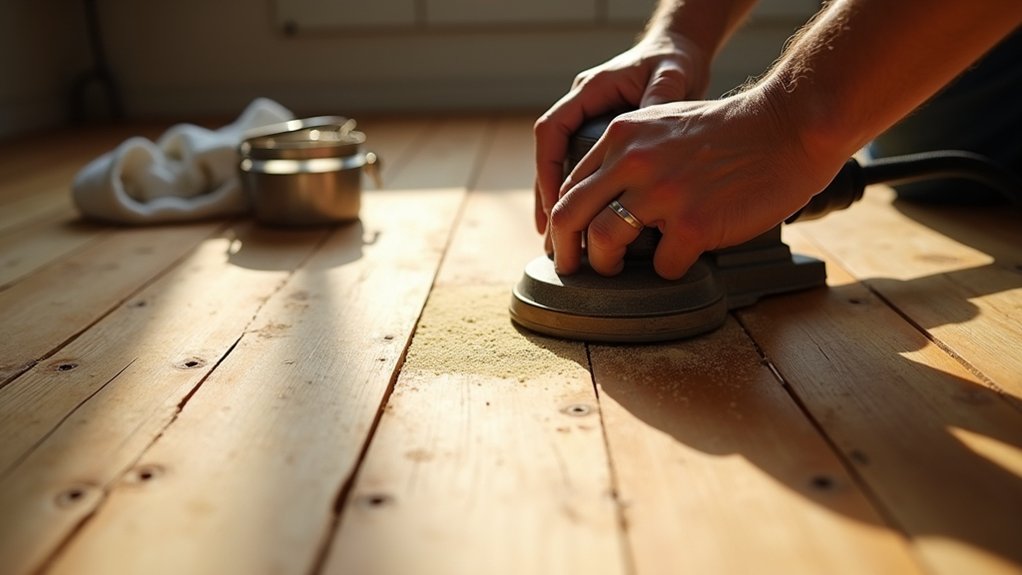
You might not know that many “worn” original floorboards only need targeted repairs and a light sand, not a full replacement. If you want a warm, authentic finish without blowing your budget, you can start by checking thickness, moisture, and how the boards move underfoot. From there, you’ll tackle squeaks, gaps, and damaged sections before choosing a finish that protects but doesn’t plasticize the grain—yet one step matters more than you’d expect…
Are Your Original Floorboards Worth Restoring?

Before you spend money on sanding and refinishing, you need to know whether your original floorboards can realistically deliver a solid, long-lasting result. Start by checking thickness: if nails sit proud or boards feel springy, you may not have enough material left for another sand.
Probe for rot near exterior doors, fireplaces, and plumbing runs; widespread softness usually means replacement costs less than repeated repairs. Look for active insect damage and ongoing moisture, since finishes won’t fix structural problems.
Next, weigh Historical accuracy: if the boards match your home’s era, restoration can boost value and cohesion. Choose preservation techniques that keep character—spot repairs, selective board replacement, and gentle sanding—so you don’t erase patina.
If defects are localized, restore; if systemic, replace strategically.
Prep the Room Before Restoring Floorboards
If you prep the room like a contained work zone, you’ll cut sanding time, reduce cleanup costs, and protect the parts of your home you aren’t renovating.
Start with furniture arrangement: move everything out if you can, or cluster heavy pieces in the centre and cover them with taped plastic. Remove rugs, curtains, vents, and door thresholds where possible. Seal doorways with plastic and painter’s tape, and block HVAC returns so dust doesn’t spread.
Vacuum thoroughly, then wipe skirting boards so grit won’t get dragged across the timber.
Plan power: run extension leads safely along walls, not across walk paths.
For lighting enhancement, add a bright work light at floor level to reveal scratches and uneven spots before you start.
Keep a labelled box for hardware and trims.
Fix Squeaks, Gaps, and Damaged Floorboards
Once you’ve got clear access to the boards, deal with squeaks, gaps, and damage now—repairs are cheaper and cleaner before sanding and finishing lock problems in place.
Track squeaks by walking the room and marking noisy spots. Drive thin screws into joists (or re-nail with cut nails) to pull boards tight; countersink heads so they won’t snag later.
For gaps, vacuum debris, then fit timber slivers or rope for period-correct antique restoration; avoid soft filler that will crumble under foot traffic.
Replace split, rotten, or heavily cupped boards with matching reclaimed stock; careful floorboard replacement preserves level height and grain direction.
Reset loose knots, remove protruding nails, and patch deep gouges with hardwax or wood plugs.
Check again—quiet, stable boards save time and finishes.
Sand Original Floorboards for Clean, Even Wood
Quiet, solid boards give you the best shot at a flat, good-looking finish, so shift to sanding while everything’s still exposed and easy to control. Rent a drum sander only if the floor’s badly cupped; otherwise a random-orbit plus an edge sander saves money and reduces gouges.
Start with 40–60 grit to strip high spots, then move to 80 and finish at 100–120 for better surface smoothness. Always sand with the wood grain on straight runs; on diagonals, keep passes light and overlap to avoid chatter marks.
Use a bright work light to spot swirl patterns and low patches before you change grits. Vacuum between steps and wipe with a barely damp cloth so grit doesn’t re-scratch. Hand-sand corners, thresholds, and around nails for uniformity.
Choose the Best Finish for Warm Floorboards

After sanding, how do you lock in that warm, natural look without overspending or signing up for constant upkeep? Start by matching Finish options to traffic and budget.
For a classic glow, choose hardwax oil: it enhances grain, feels natural underfoot, and spot-repairs easily, though it costs more upfront.
For best value and strong protection, pick water-based polyurethane; it stays clearer and dries fast, reducing downtime.
If you want deeper amber warmth, oil-based polyurethane delivers, but it yellows more and smells longer.
Dial in Color choices with a test patch: clear for pale boards, light oak to even tone, or a warm stain to unify mixed planks.
Apply thin coats for a smoother, less plastic look overall.
Keep Restored Floorboards Looking Authentic for Years
Although a fresh finish makes your boards look period-correct today, day-to-day wear can quickly push them toward shiny “new-build” unless you maintain them with the right habits. Keep grit out with doormats and a weekly vacuum using a soft brush, not a beater bar.
Damp-mop sparingly with a pH-neutral cleaner; excess water swells edges and erases Floorboard history fast. Fit felt pads, lift furniture, and rotate rugs so sunlight and traffic fade evenly.
When scuffs appear, spot-buff with fine abrasive and recoat before you sand again—full resands cost more and thin the boards. Store basic Restoration tools (scraper, filler, touch-up oil or wax) for quick repairs.
Re-wax or refresh oil on a schedule, and you’ll keep that warm, honest patina.
Frequently Asked Questions
Can I Restore Floorboards Without Sanding Them Completely?
Yes, you can restore floorboards without full sanding if they’re sound. Start with thorough floorboard cleaning, then use restoration techniques like screening, spot-sanding, chemical deglossing, and a budget-friendly recoat for fast, durable results.
How Do I Identify the Wood Species of My Original Floorboards?
You’ll identify your floorboards’ species by checking Wood grain identification: pore size, ray fleck, color, hardness, and end-grain with a loupe. Compare against historical wood types for your region, then confirm via sample testing.
Will Restoration Affect Underfloor Heating Performance or Compatibility?
Yes, restoration can impact underfloor heating, but you’ll keep performance if you preserve board thickness, fix gaps, and use breathable finishes. Check material compatibility of adhesives/insulation, avoid thick underlays, and control moisture to prevent warping.
Do I Need Planning Permission for Restoring Floors in Listed Buildings?
Yes, you’ll often need listed building consent. For example, if you sand oak boards in a Grade II cottage, you’ll trigger preservation guidelines. Check Building regulations, avoid altering joists, and budget for surveyor fees.
How Long Should I Wait Before Placing Rugs on Newly Finished Floorboards?
You should wait 7–14 days before placing rugs, longer for oil-based finishes. Prioritise finish curing and good airflow. Handle area preparation cheaply: use felt pads, breathable underlay, and avoid rubber backing.