
 By DQCS
You can spend months choosing finishes, yet lose thousands if the basics go unchecked. You’ll get the best ROI when you understand what should happen at each stage—plot and permissions, groundworks and foundations, structure and weatherproofing, then first fix through snagging—and when you know what to inspect before you sign anything off. Miss one verification point and the build’s “small” issue can become a long-term defect… and it usually starts earlier than you think.
New Build Stage 1: Plot, Plans, and Permissions
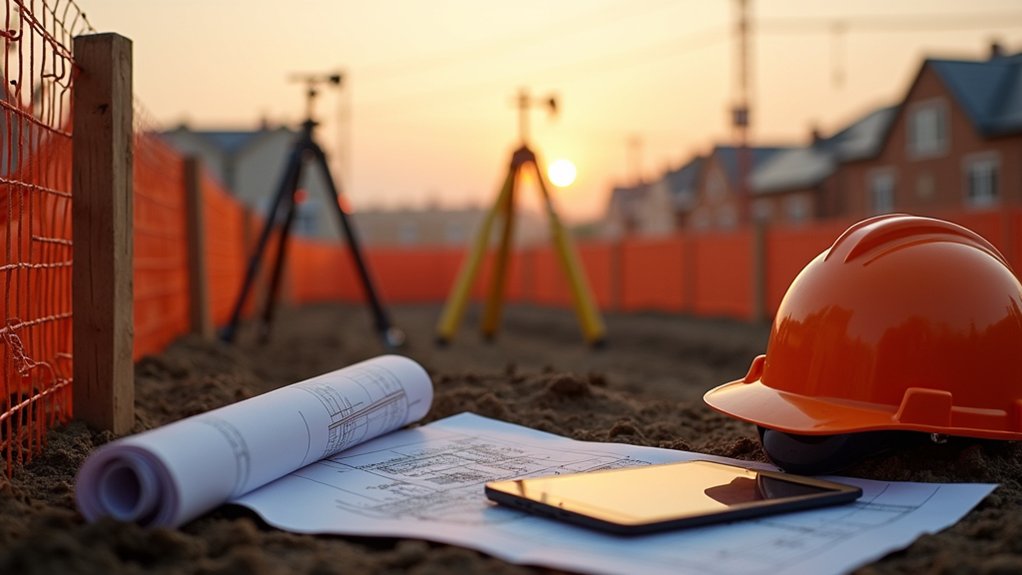
Before you spend a dollar on materials, lock down the fundamentals: the plot you’re buying, the plans you’ll build from, and the permissions you need to break ground. Verify title, boundaries, easements, utilities, drainage, and access; one bad constraint can erase your margin. Price the plot against resale comps, not wishful layouts, and budget for surveys and soil reports to de-risk the deal.
Next, drive Design coordination early: align architect, engineer, and any prefab supplier so dimensions, structural loads, services routes, and energy targets match. Freeze a scope and spec list to stop change orders before they start.
Finally, map the permit pathway, required drawings, fees, and timelines, then submit complete packages to speed permit approval. Track conditions and inspections so you don’t trigger costly redesigns.
New Build Stage 2: Groundworks and Foundations
Once your plans and permits line up, groundworks and foundations become the point where small mistakes turn into permanent (and expensive) defects. You’ll safeguard your budget by validating levels, boundaries, and service runs before excavation starts, then insisting on clear records (photos, depths, and test results).
Prioritise soil preparation: strip topsoil, confirm bearing capacity, manage groundwater, and compact in controlled layers. If conditions vary, push for solutions now, not after cracking appears.
Review foundation types with your engineer—strip, trench-fill, raft, or piles—based on soil, loads, trees, and nearby drains. Check reinforcement, formwork, and concrete spec, and don’t pour until inspections pass.
Finally, ensure damp protection details and drainage falls are correct, because rework here costs far more than prevention.
New Build Stage 3: Structure, Roof, and Weatherproofing
As soon as the frame starts rising, you’re buying long-term performance with every decision on structure, roof build-up, and weatherproofing details. Check timber or steel members for straightness, correct fixings, and bracing, because small errors multiply into squeaks, cracks, and costly rework. Confirm openings match drawings so windows and doors fit without packing that weakens airtightness.
Track Roof installation processes closely: verify truss setting-out, restraint straps, ridge alignment, and ventilation paths before coverings go on. Insist on membrane laps, taped joints, and correctly dressed flashings at valleys, chimneys, and abutments. These Weatherproofing techniques prevent rot, mould, and heat loss, protecting resale value.
Get photos of hidden layers, and sign off only once the shell is watertight and structurally sound.
New Build Stage 4: First Fix, Second Fix, and Snagging
When the shell’s watertight, Stage 4 shifts your focus to the work that’s hardest to fix later: first fix services, second fix finishes, and the snagging that protects your budget. You’ll lock in Electrical wiring routes, consumer unit location, and enough sockets, data points, and exterior feeds before plasterboard hides them.
You’ll also confirm Plumbing installation for hot/cold runs, waste falls, ventilation, and boiler or heat-pump connections, then pressure-test and photograph everything for future repairs and warranties.
Second fix is where you pay for what you see: switches, lights, sockets, radiators, sanitaryware, doors, and trims. Use a snagging list to catch gaps, leaks, misaligned fittings, and poor sealant, and withhold final payments until fixes are signed off.
Frequently Asked Questions
How Do I Choose the Right Builder for My New Build?
You choose the right builder by comparing bids, verifying licenses, and checking builder reputation through recent references. When choosing contractor, demand transparent timelines, warranties, and change-order pricing, so you control costs and protect resale ROI.
What Financing Options Are Available for Funding a New-Build Home?
Even if you think you need huge savings, you don’t. You can fund a new-build with Mortgage options (fixed, variable, construction-to-permanent), Government schemes, developer incentives, and bridge loans—compare total cost to protect ROI.
How Can I Reduce My New Build’s Long-Term Energy Bills?
You’ll cut long-term energy bills by prioritizing airtight insulation, high-performance windows, and efficient HVAC sizing. Add solar panels where payback works, and use smart thermostats to trim usage, track savings, and optimize schedules.
What Insurance Cover Do I Need During and After Construction?
You’ll need Construction insurance during the build—like a hard hat in a storm—covering works, materials, liability, and theft. After completion, switch to buildings and contents, plus warranty/defects. Compare coverage options to protect ROI.
What Warranties and Guarantees Should I Receive When the Build Finishes?
You should receive Warranty coverage for structural defects, workmanship, and major systems, plus manufacturer guarantees for appliances and materials; confirm Guarantee duration in writing, transferability, exclusions, and the claims process to protect resale value.