
 By DQCS
If you’re building new, you’ll save the most money by planning your smart-home backbone before drywall goes up. You can run extra conduit, pull Cat6 to key spots, and add a few dedicated circuits now for a fraction of the retrofit cost later. You’ll also protect resale value by avoiding single-brand lock-in and budgeting for solid Wi‑Fi and power protection. The question is which upgrades pay back fastest—and which ones you’ll regret skipping.
Plan the Smart Home Backbone First
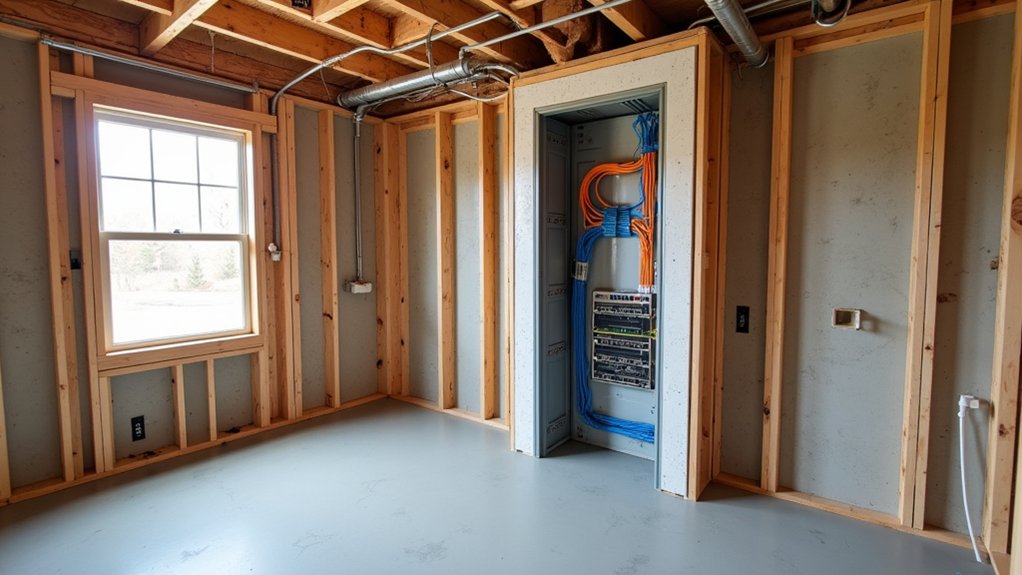
Before you spend money on smart lights, locks, or speakers, plan the backbone that makes everything reliable: wiring, network coverage, power, and a central location for gear.
Map where you’ll place access points, cameras, and hubs so you don’t pay later for drywall cuts, patching, and repainting.
Size your internet service, router, and switches for the number of devices you’ll actually run, not today’s starter kit.
Put core gear on a small UPS so outages don’t knock out home automation routines or security.
Add dedicated circuits where you’ll charge EVs or run high-draw loads, then tie them into basic energy management monitoring.
A well-planned backbone reduces service calls and extends equipment life while protecting resale value.
Future-Proof a New Build With Structured Wiring
Once your network and power plan is locked in, structured wiring is the cheapest way to keep your new build flexible for decades. You’ll spend a little more on low-voltage runs now, but you’ll avoid opening drywall later, where labor and patching crush ROI.
Pull extra conduit and home-run Cat6A and fiber to key rooms, plus speaker, sensor, and shade prewire where upgrades are likely. Terminate everything in a labeled central panel so changes stay fast and inexpensive.
Add ceiling boxes and backer plates for future cameras, touch panels, and access points for better aesthetic integration. Even if you prefer wireless alternatives today, prewire gives you optionality, higher resale appeal, and fewer compromises when devices change over time.
Build Rock-Solid Networking for Smart Technology
You’ll get the best ROI from smart tech when you build a wired-first backbone with Ethernet to key rooms, keeping Wi‑Fi for mobility instead of reliability.
Run everything back to a centralized rack so upgrades, troubleshooting, and device adds take minutes, not paid callouts.
Put networking gear and smart hubs on dedicated power (and a small UPS) to cut outages and protect your investment.
Wired-First Network Backbone
A wired-first network backbone gives your new build the highest ROI in smart tech because it prevents the expensive headaches that come from unreliable Wi‑Fi—dropouts, lag, and constant “upgrades” that don’t fix the root problem. Run Cat6A (or better) from your demarc to key rooms, ceilings, and exterior points, then terminate cleanly for fast, low-latency links to access points, TVs, PCs, and cameras. You’ll buy fewer boosters and waste less time troubleshooting.
Treat Wi‑Fi as coverage, not core. Keep wireless alternatives for phones and temporary devices, while hardwiring anything stationary or mission-critical. Specify conduit and extra drops now; it’s cheap during framing and costly later.
Plan aesthetic integrations by placing low-profile wall plates and hiding runs in stud bays and ceilings.
Centralized Equipment And Power
Because every smart device ultimately depends on clean power and stable routing, you’ll get the best ROI by centralizing your networking gear and power in a dedicated rack or structured media cabinet. Put your modem, router, switch, controller, and PoE injector in one spot so you can troubleshoot in minutes, not hours.
Plan equipment placement early: choose a cool, dry, accessible location near your main cable entry, with clearance for airflow and service.
Add a UPS and a surge protector to prevent outages, corrupted updates, and premature failures.
Use labeled patch panels and short runs to cut signal loss and reduce install labor.
For energy efficiency, pick managed switches, right-size your UPS, and set schedules for noncritical loads.
A clean, centralized setup lowers maintenance costs and extends hardware life.
Choose Smart Home Standards That Won’t Box You In
If you don’t want pricey rewires or forced brand swaps later, you should choose smart home standards built on open protocols. You’ll protect your ROI by buying devices that interoperate across platforms, so upgrades don’t mean replacing everything.
Start by confirming compatibility in writing—protocol support, hubs, and app ecosystems—before you commit to any system.
Prioritize Open Protocols
When you choose smart home gear that speaks open protocols, you keep your options open and your upgrade costs down. You avoid being locked into one brand’s hub, app, or subscription, so you can shop sales and replace parts without ripping out the whole system.
Prioritize standards with broad market backing and published specs, so your build stays valuable even if a vendor folds or changes terms. Open protocols reduce integration labor during install and cut future service calls because installers can source equivalents quickly. You’ll also protect resale value: buyers won’t inherit a “single-vendor” house that’s expensive to maintain.
Before you buy, check the product’s roadmap and update policy, and confirm long-term device compatibility across multiple ecosystems—not just a single lineup.
Ensure Interoperability Compatibility
Even though plenty of smart devices claim they “work with everything,” you’ll get a better ROI by choosing standards that guarantee interoperability across brands and platforms. Start by committing to Matter for Device compatibility at the app and ecosystem level, then pair it with Thread, Zigbee, or Z-Wave where they make sense for range, reliability, and low-power sensors.
You’ll avoid paying twice for hubs, replacements, and rewiring when a vendor sunsets a product line.
Plan Protocol integration early: specify controllers and gateways that support multi-protocol radios, local control, and firmware updates. Demand documented APIs and avoid “cloud-only” gear that locks features behind subscriptions.
When you standardize now, you’ll swap devices later without redoing the whole system or hiring costly specialists.
Future-Proof Power for Smart Tech and EV Charging
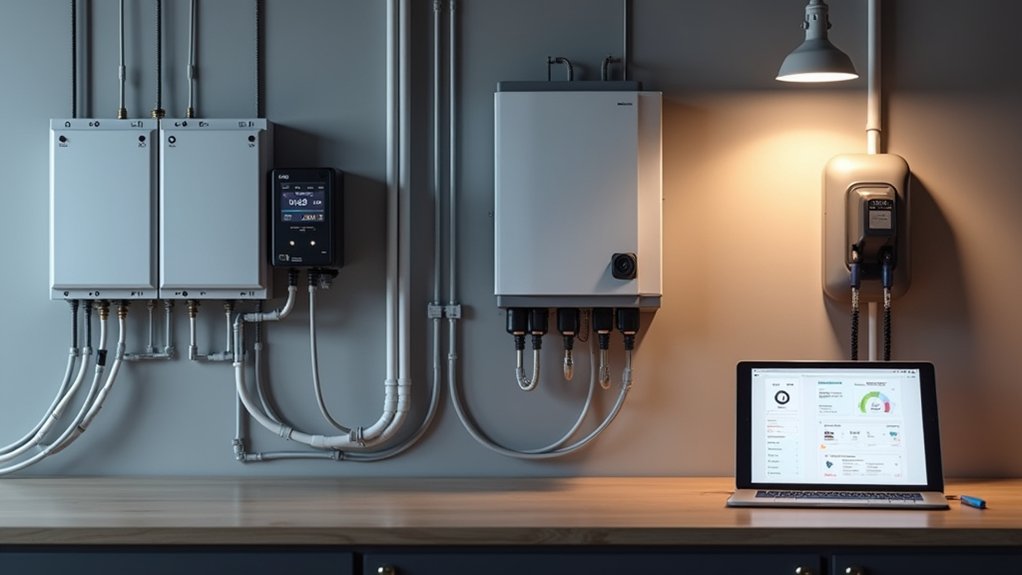
Because your smart home and future EV charger will pull more power than today’s basics, it pays to design your electrical system for headroom now instead of buying expensive fixes later. Specify a larger service panel, spare breaker spaces, and oversized conduit runs to key locations (garage, utility room, attic).
Pre-wire a dedicated 240V circuit to the garage and leave capacity for a second charger so you won’t reopen walls. Add whole-home surge protection and a subpanel for high-load tech to reduce downtime and replacement costs.
Plan energy management with smart load shedding so EV charging, HVAC, and appliances don’t trip breakers at peak rates. Include outlets where you’ll want wireless charging pads and device docks, minimizing adapters and future rewiring.
Design Smart Security and Access Into the Build
If you plan smart security and access while the walls are open, you’ll save far more than the cost of the hardware later. Run Cat6 to doorbells, exterior camera points, gate motors, and the network rack so you don’t pay for surface conduit or patchwork Wi‑Fi fixes.
Prewire for powered locks and strikes, plus a wired door contact at every exterior door; that’s cheaper than battery devices and reduces maintenance. Put readers or keypads at the garage entry and main door for real Access control, then choose hardware that can be rekeyed or swapped without replacing the door.
Centralize power and network switching for clean Security integration with alarms, cameras, and lighting triggers. You’ll cut installer hours, avoid rework, and reduce false alarms.
Make Smart-Home Upgrades Easy With Zones and Docs
Security cabling and centralized switching set the backbone, but you’ll protect your budget long-term by making future upgrades predictable. Start with zone planning: split your home into logical areas (entry, living, bedrooms, exterior) and run consistent conduit, power, and low-voltage drops to each zone. You’ll cut labor later because installers won’t fish walls or guess routes, and you can phase purchases room by room without rework.
Lock in documentation strategies before drywall: label every cable at both ends, map device locations, note spare capacity, and store photos of stud bays plus a simple as-built diagram in the cloud. When you add cameras, sensors, lighting, or Wi‑Fi access points, you’ll quote faster, avoid troubleshooting hours, and keep your ROI intact over years.
Frequently Asked Questions
How Much Does Smart-Home Future-Proofing Typically Add to a New-Build Budget?
You’ll typically add 1–5% to your new-build budget for smart-home future-proofing. Smart technology plus future planning pays back through lower energy bills, reduced retrofit labor, and higher resale appeal. Prioritize wiring, hubs, and HVAC.
Will Smart-Home Upgrades Affect My Home Insurance Premiums or Coverage Requirements?
Yes—smart-home upgrades can lower premiums if you add monitored alarms or leak sensors, but you may need documented installs. Compare insurer discounts versus subscription fees. Prioritize Insurance considerations and Privacy safeguards to avoid coverage gaps.
Do Smart-Home Devices Increase a New Build’s Resale Value, and by How Much?
Yes—smart devices can add resale value, often 1–3% (sometimes more). Like a well-placed key, Smart device compatibility and energy efficiency benefits signal lower bills, smoother upgrades, and stronger ROI, so you’ll recoup costs faster.
What Privacy Steps Should I Take When Installing Voice Assistants and Smart Cameras?
Lock down Voice privacy by disabling always-on mics, using local processing, and setting strong, unique passwords with 2FA. Boost Camera security with VLANs, firmware updates, no default ports, and minimal cloud plans.
Can I Transfer Smart-Home Setups to a New Owner Without Sharing My Accounts?
Yes—you can, with clean, cost-conscious handoffs. Use each platform’s Ownership transfer procedures, factory-reset hubs/cameras, then create a new-home profile. Confirm Smart device compatibility, revoke tokens, and leave local automations; you’ll avoid support costs.