
 By DQCS
You don’t get real ROI from a bathroom refresh until you fix the layout friction and upgrade the materials that fail first. Start by spotting choke points, bad door swings, and wasted corners, then set a scope that avoids moving plumbing unless it pays back. Specify porcelain, proper waterproofing, and a quiet, right-sized fan so the room stays tight for years. Next, you’ll map the clearances and storage that change daily use.
Spot Bathroom Remodel Layout Problems Fast
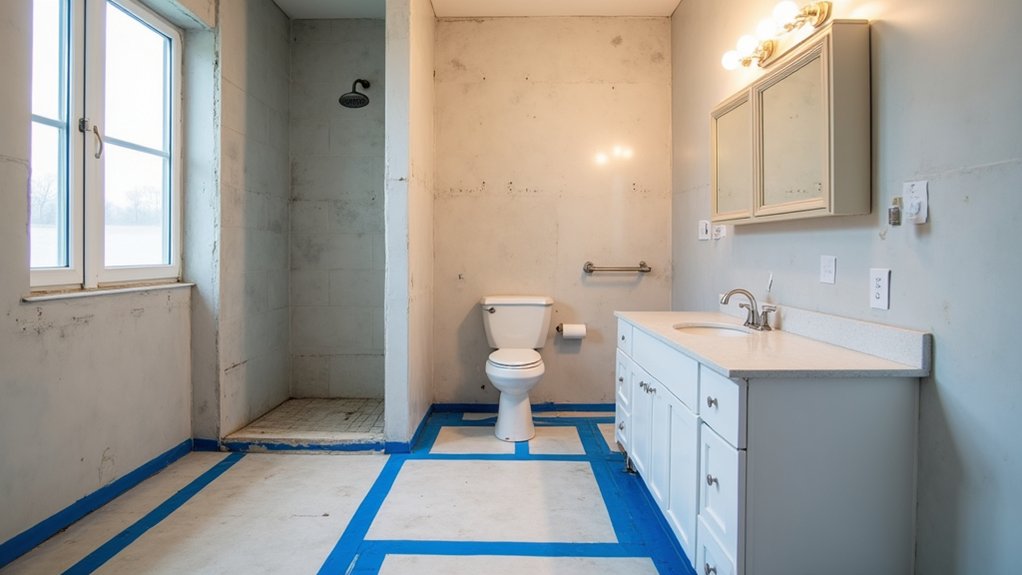
If your bathroom feels cramped even when it’s clean, the layout—not the finishes—is likely draining your remodel ROI. Start by mapping door swings, drawer pulls, and shower clearance; if two actions collide, you’ve found wasted square footage.
Check the vanity: a bulky depth steals aisle width, so consider a shallower cabinet with a durable quartz top for the same value signal. Flag “dead corners” behind doors and near the toilet—those are prime for recessed niches or a pocket door.
Then audit sightlines: you want the room to read longer, so align the tub or shower glass with the entry. Color schemes and lighting options matter here; lighter walls plus layered task lighting amplify perceived space without moving plumbing.
Set Your Bathroom Renovation Budget and Scope
Before you pick tile or fixtures, lock your budget and scope around the moves that return value: layout corrections, water management, and durable surfaces. Start by pricing “must-fix” items—subfloor rot, leaks, ventilation, and updated plumbing/electrical—so surprises don’t cannibalize finish selections.
Then set Budget allocation targets: 35–45% labor and rough-ins, 25–35% waterproofing and tile setting, 15–25% fixtures and cabinetry, and 10–15% contingency.
Choose materials for Material durability, not showroom sparkle: porcelain over soft stone, solid-surface or quartz over laminate, and proven waterproof membranes behind wet walls.
Keep scope tight by reusing plumbing locations when possible, but spend where failures are expensive—shower pan, valves, and exhaust. You’ll protect resale and reduce callbacks.
Plan Clearances, Door Swings, and Daily Flow
Although finishes grab attention, your ROI rises faster when you fix the “traffic engineering” first: verify clearances at the toilet, vanity, and shower, then map door swings and the daily path from entry to towel to sink so nothing collides or bottlenecks.
Start by checking door clearance against drawers, shower glass, and towel bars; if it’s tight, swap to a pocket or outswing door where code allows.
Keep 30–36 inches of walk space so two people can pass without hip-checking fixtures.
Align controls, niches, and lighting so you don’t reach across spray or slam elbows into jambs.
A clean daily flow reduces wear on hinges, paint, and caulk, protecting finishes and resale value.
Build a Vanity Zone With Storage and Outlets
Once you’ve cleared the traffic pinch points, turn the vanity into a true work zone that earns its keep every day. Size it to your routines: a wider top reduces clutter and resale objections, while a shallow depth preserves aisle space. Choose moisture-tough materials—quartz or porcelain tops, plywood boxes, and soft-close hardware—so you won’t pay twice in repairs.
Build storage where it pays back: full-extension drawers for grooming tools, a pull-out tray for daily items, and a recessed medicine cabinet to keep counters clean. Plan vanity lighting as task-first: vertical sconces or side strips at face height cut shadows better than a lone ceiling can.
Nail outlet placement with a GFCI inside a drawer for chargers plus one near the mirror for appliances.
Right-Size the Shower and Improve Drainage
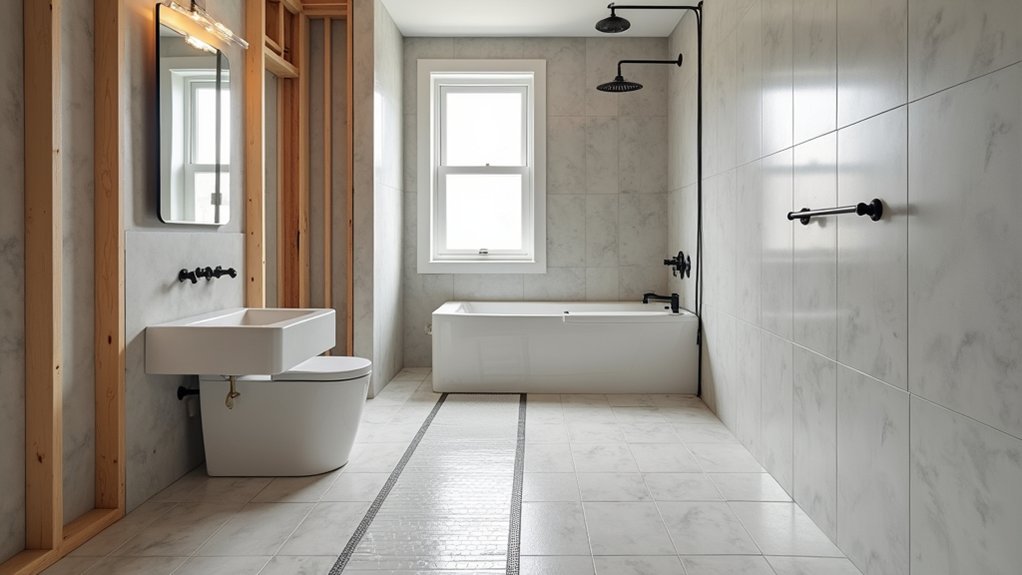
You’ll get more daily value when you right-size the shower footprint so it fits your routine without stealing floor space from circulation and storage.
Keep water where it belongs by upgrading the pan slope and pairing it with a properly sized, code-friendly drain that clears fast.
These layout and drainage choices reduce callbacks, protect your finishes, and stretch your renovation budget further.
Optimize Shower Footprint
When the shower footprint matches how you actually bathe, you reclaim floor space, simplify tile work, and cut long-term maintenance.
Start by measuring your stance, reach, and door swing, then size the shower enclosure to the smallest rectangle that still feels unconfined. If you never use a bulky corner seat, skip it and buy back inches for a wider vanity or clearer circulation.
Choose frameless glass only where it won’t demand constant wiping; a coated panel or partial-height screen can deliver similar openness with less upkeep.
Place controls where you can turn them on without getting sprayed, and shape the enclosure to keep water flow inside the wet zone. You’ll reduce splash damage, trim material costs, and boost resale appeal.
Upgrade Slope And Drainage
Where does a shower fail first—at the tile, or at the slope you can’t see? If your pan’s pitch is off, water sits, grout darkens, and you’ll pay for callbacks or mold remediation. Lock in a proper drainage slope (about 1/4 inch per foot) toward the drain, and you’ll protect every finish above it.
Right-size the shower so water hits the drain fast, not the corners. A linear drain at the entry can simplify the plane, reduce cuts, and let you run larger-format porcelain with fewer joints.
Use a bonded waterproofing membrane and a pre-sloped foam tray only if it matches your dimensions; otherwise, float mortar for true pitch. Test water flow with a flood test, then enjoy faster dry-down.
Waterproof, Ventilate, and Choose Moisture-Proof Materials
Lock in ROI by treating waterproofing as a continuous system—pan, walls, seams, and penetrations—so one weak link can’t trigger leaks and callbacks.
Pair that with right-sized, ducted ventilation that clears humidity fast and protects finishes without stealing layout space.
Then specify moisture-proof materials (cement board where needed, waterproof membranes, porcelain tile, PVC trim, and mold-resistant grout) so your bathroom stays tight, stable, and easy to maintain.
Seamless Waterproofing Strategy
How do you keep a renovated bathroom looking new—and protect your investment—year after year? You start with a seamless waterproofing strategy that treats water like a constant load, not an accident. Specify a continuous membrane on shower walls and floors, wrap it into corners, and tie it into the drain with a bonded flange so water can’t migrate beneath tile.
Keep connections simple: fewer seams, fewer failures, faster installs. Demand tight Waterproofing details at niches, benches, and curb joints by using pre-formed corners and reinforcing fabric. Then execute disciplined Sealant application where movement happens—tub-to-tile, tile-to-vanity, and all plane changes—so cracks don’t become leaks.
Choose compatible products from one system to avoid warranty gaps and costly tear-outs.
Ventilation And Moisture-Proof Materials
Even with flawless waterproofing, your bathroom won’t stay “new” unless you control humidity and specify materials that don’t swell, delaminate, or feed mold. Size the exhaust fan to the room, duct it straight outdoors, and add a timer or humidity sensor so it runs long enough for true airflow efficiency. Keep the grille accessible, and avoid long flex-duct runs that choke performance.
For finishes, buy durability: porcelain tile, epoxy grout in wet zones, and cement board or foam backer, not paper-faced drywall. Specify PVC or aluminum trim, and choose closed-cell shower niches and waterproof vanity panels.
Use mildew-resistant sealants at transitions, but don’t rely on caulk as your system. These upgrades pay back through mold prevention, fewer callbacks, and longer-lasting surfaces.
Avoid Bathroom Renovation Mistakes That Cost Money
Before you pick tile or fixtures, nail down the layout, waterproofing, and rough-in dimensions, because most expensive bathroom mistakes start behind the walls. Verify drain and supply locations, slope, and valve heights so you don’t pay for rework when your shower pan or vanity lands off-center. Spend on proven waterproofing membranes and compatible thinset; they protect resale value more than trendy finishes.
Choose plumbing fixtures with standard cartridges and available parts, not obscure imports that fail fast and cost more to service. Plan bathroom lighting on a layered circuit—task at the mirror, wet-rated overhead, and dimmable accent—so you avoid patching ceilings later.
Finally, confirm door swings, clearances, and storage before demo; inches saved can eliminate custom cabinetry costs.
Frequently Asked Questions
Do I Need Permits or Inspections for a Bathroom Renovation?
You’ll usually need permits and inspections if you move plumbing, change electrical, or alter walls; check local Building codes. Use contractor licensing to protect ROI, guarantee compliant materials, and avoid layout rework that costs.
How Long Does a Typical Bathroom Remodel Take From Start to Finish?
You’ll typically finish a bathroom remodel in 3–8 weeks, depending on scope. You’ll speed ROI by nailing Tile selection early, ordering fixtures fast, and planning Bathroom lighting upfront to avoid layout rework.
Can I Renovate a Bathroom While Living at Home During Construction?
Yes, you can—coincidentally, it’s easiest when your Living arrangements stay flexible. You’ll face Temporary disruptions, but you’ll protect ROI by sequencing trades, choosing durable materials, and keeping a layout-efficient temporary bath setup.
What Bathroom Upgrades Add the Most Resale Value?
You’ll add the most resale value by upgrading layout flow, installing luxury fixtures, choosing eco friendly materials, and improving lighting and ventilation. You’ll boost ROI with durable porcelain tile, quartz tops, and a frameless glass shower.
Should I Hire a Designer or Can I Plan Everything Myself?
You can plan it yourself, but you’ll boost ROI by hiring Professional design for layout and specs. Use DIY planning for finishes and budgeting. You’ll avoid costly rework, optimize flow, and choose durable materials.