
 By DQCS
You’re ready to pour footings, but the inspector tags the job because the setback on your plans doesn’t match zoning, and you’ve already paid for excavation. You can avoid that kind of hit if you confirm permits, HOA limits, survey lines, easements, soil results, drainage, and utility locates before anyone shows up with equipment. Lock your drawings, materials, budget, and contract terms early—or you’ll find out what’s missing after money’s spent…
Start With Permits, Zoning, and HOA Rules

Before you spend money on design, materials, or deposits, confirm what you’re legally allowed to build by checking permits, zoning rules, and any HOA restrictions. Call your city or county planning office and ask for the exact Permit processes for your project type, expected fees, review timelines, and required documents.
Then read the applicable Zoning regulations: setbacks, height limits, lot coverage, use restrictions, and parking rules can kill a plan or force costly redesigns.
If you’re in an HOA, request the architectural guidelines, approval steps, meeting dates, and fines schedule in writing. Don’t trust verbal “it’s probably fine.”
Build your budget around permit fees, consultant needs, and potential delays, and don’t order materials until you’ve got approvals.
Verify the Site Survey, Access, and Easements
Even if your plans fit zoning, you can still lose time and money if the property lines, access rights, or easements don’t match what you think you own and can use. Order a current boundary and topographic survey, then compare it to the deed, plat, and title commitment before you finalize design or sign a contractor.
Confirm you’ve got legal, buildable access for deliveries, dumpsters, and emergency vehicles. Walk the route and note site conditions that could force smaller equipment or staging changes.
Next, identify recorded and unrecorded easement rights—utilities, shared drives, drainage corridors, and neighbor encroachments. Ask the title company for exceptions, and have your attorney clarify what you can relocate, build over, or must protect.
Catching conflicts early prevents redesign fees, stop-work orders, and disputes.
Check Grading, Drainage, and Flood Risk Early
Although the lot looks flat on paper, small grading and drainage mistakes can trigger big costs—water damage, failed inspections, change orders, and neighbor disputes—so you should confirm slopes, stormwater flow paths, and discharge points as soon as you have a topo survey.
Map where runoff enters and exits, then verify you won’t concentrate flow onto adjacent properties. Check FEMA maps, local floodplain ordinances, and historical high-water marks to avoid redesigns or elevated insurance premiums.
Walk the site after rain to spot ponding, seepage, and soft areas that threaten soil stability. Price in erosion control early: silt fence, inlet protection, stabilized construction entrance, and temporary seeding cost far less than sediment cleanups and fines.
Confirm how roof drains and hardscape tie into approved outfalls.
Order Soil Tests and Confirm Foundation Approach
Once you’ve got a topo and a rough site plan, order geotechnical soil tests so you don’t guess your way into an expensive foundation change later. A few borings and lab reports can reveal Soil composition, bearing capacity, groundwater depth, and shrink-swell potential—stuff that drives real dollars in concrete, rebar, and excavation.
Use the engineer’s recommendations to lock in foundation types early: slab-on-grade, crawlspace, deep piers, or piles. If tests flag expansive clay, loose fill, or high water, you can budget for over-excavation, select fill, drainage layers, or piered systems before bids come back inflated.
Confirm required footing sizes, frost depth, and compaction standards so your builder can price accurately and you avoid change orders, delays, and warranty risk later.
Confirm Utilities and Plan Service Hookups
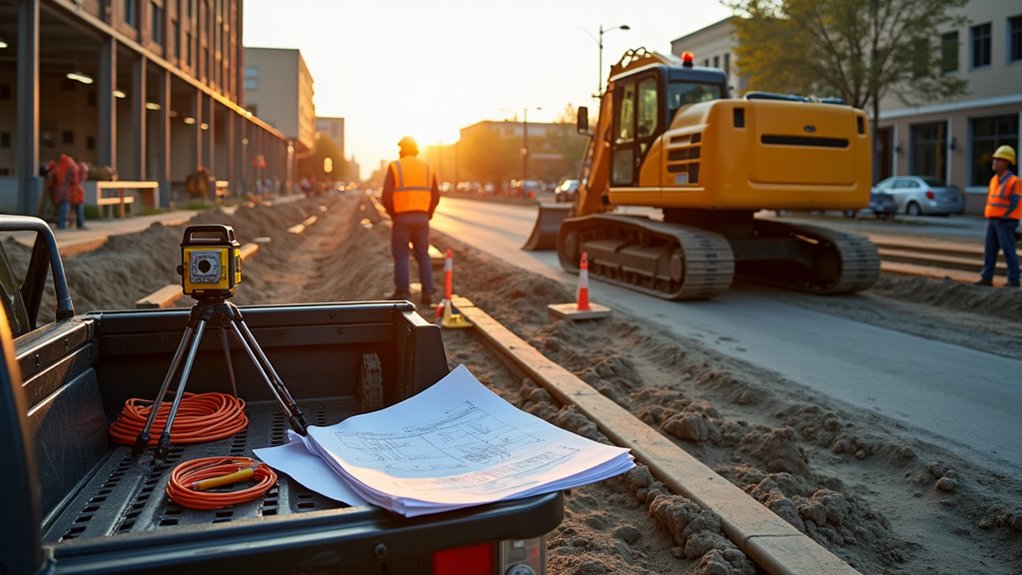
Before you break ground, you’ll locate and clearly mark every underground utility so you don’t pay for strikes, delays, or emergency repairs.
You’ll coordinate service-connection timelines with each provider early, because missed lead times can stall your schedule and inflate labor and equipment costs.
You’ll also verify utility capacity and required permits upfront, so you don’t get hit with surprise upgrades, fees, or failed inspections.
Locate And Mark Utilities
Since hitting an unmarked line can shut down your jobsite and rack up repair costs, you’ll want to confirm every underground and overhead utility early and get them clearly marked. Call 811 and document ticket numbers, dates, and scope so you’re covered if disputes arise.
Don’t rely on old as-builts alone; use utility mapping and underground detection to verify locations, depths, and conflicts, especially near additions, drive cuts, and fence lines.
Walk the site with your crew, flag paint codes, and protect marks from traffic and weather by restoring them before excavation. Mark overhead clearance zones for cranes and deliveries.
If anything looks off, stop and request a re-mark—downtime costs less than a strike, fines, and emergency repairs.
Coordinate Service Connection Timelines
How soon can you actually get power, water, gas, sewer, and telecom turned on when you need them? Don’t guess—call each provider now and ask for realistic lead times, site requirements, and inspection windows. A delayed utility connection can idle crews, trigger equipment standby fees, and force costly schedule reshuffles.
Build a simple matrix: provider, contact, required documents, estimated dates, and dependencies. Align your mobilization and concrete pours with confirmed hookup dates, not hopeful ones.
Track the permit timeline separately so you can see where reviews or inspections might slip without derailing every trade. If temporary service can bridge gaps, price it early and compare it to downtime costs.
Finally, confirm who installs meters, trenches, and backfill so scope gaps don’t become change orders.
Verify Capacity And Permits
Even if your utility timelines look workable, you can still lose weeks—and money—if the main lines can’t support your load or the permits aren’t in hand. Before you pour concrete, confirm electric, gas, water, and sewer capacity with the providers, not just your contractor. Ask for written load availability, pressure data, and any required upgrades, then price those upgrades into your budget.
Next, lock down Building permits early and verify your plans align with zoning laws, setbacks, and use restrictions. If you’re planning a larger service, schedule transformer, meter, or tap installs and confirm lead times. Don’t assume existing hookups qualify for your new demand.
A permit hold or utility redesign can idle crews, trigger change orders, and burn contingency fast.
Lock Scope, Drawings, and Material Selections

Before you break ground, you’ve got to lock the scope and deliverables so change orders don’t drain your budget.
You should confirm the latest drawings are issued, coordinated, and match what’s being priced and built.
You also need to finalize material selections (including alternates and lead times) to avoid substitutions, delays, and cost spikes.
Finalize Scope And Deliverables
Once you’ve settled on the design direction, lock your scope and deliverables in writing so pricing, scheduling, and accountability don’t drift. Define what’s included, what’s excluded, and who provides each item—permits, surveys, engineering, temporary utilities, protection, cleanup, and closeout docs.
Tie Design considerations to measurable requirements: room sizes, performance targets, tolerances, and code responsibilities. Bake in Sustainability practices as defined outcomes (waste diversion rate, VOC limits, efficiency goals) so you don’t pay later for “green upgrades.”
Set decision deadlines and a change-order path with unit rates or allowances, plus who approves. Confirm milestones, payment triggers, and retention. Add a punch list standard and warranty start date.
A tight scope reduces bids padding, disputes, and costly rework later.
Confirm Drawings And Materials
Where do budgets and schedules blow up fastest? When you build from outdated drawings or vague material choices. Before you break ground, lock the latest stamped set, confirm dimensions, and resolve clashes between architectural, structural, and MEP plans. If a detail isn’t drawn, it isn’t priced, and it’ll become a change order.
Next, freeze key selections: finishes, fixtures, equipment, and alternates. Tie every selection to a spec, model number, lead time, and approved substitution rules. Material sourcing needs proof: availability, delivery windows, storage requirements, and warranty terms.
Verify Design consistency so colors, tolerances, and performance ratings match across sheets and specs. Then issue a controlled drawing log to every trade and require written acknowledgment before mobilization.
Set a Preconstruction Budget + 10–20% Contingency
Even if your plans look solid on paper, you still need a preconstruction budget that spells out real numbers for design fees, surveys, permits, utility connections, site prep, insurance, and early contractor input.
Build your Budget allocation by line item, not averages, and validate each number with recent local costs. Then add 10–20% for Contingency planning, because unknowns show up fast: unsuitable soils, hidden utilities, price spikes, inspection delays, or scope tweaks from code officials.
Keep contingency separate from your base budget so you don’t “spend” it early. Set triggers for using it, document every draw, and update forecasts weekly before you break ground.
If your total doesn’t fit, reduce scope now, not mid-build, when change costs multiply fast.
Choose Your Contractor and Sign a Clear Contract
How do you avoid budget blowups and schedule drift before the first shovel hits the dirt? You choose a contractor with proven performance, not just the lowest bid. Check licensing, insurance, safety record, and similar project references, then confirm subcontractor availability and lead times.
Ask for a detailed scope, exclusions, unit rates, and allowances so you can price change orders before they happen. During Contract negotiations, lock in payment milestones tied to inspected deliverables, retainage, and a realistic schedule with liquidated damages or incentives.
Put everything in writing: materials, specs, permits, cleanup, warranties, and who owns drawings. Finally, define dispute resolution upfront—notice periods, mediation, and venue—so a problem becomes a process, not a lawsuit.
Frequently Asked Questions
How Long Should I Expect the Overall Construction Timeline to Take?
You’ll typically see 4–18 months, coincidentally matching many budgets’ carry-cost limits. You’ll track Project milestones weekly and tighten schedules through smart contractor selection, avoiding change orders, permit delays, and overruns that spike risk.
What Insurance Coverage Do I Need Before Construction Begins?
You’ll need builder’s risk plus general liability before work starts, meeting insurance requirements. Add workers’ comp if you hire labor, and professional liability if design’s involved. Compare coverage options, set deductibles, and confirm your lender’s limits.
How Do I Minimize Noise and Disruption for Nearby Neighbors?
You minimize disruption by scheduling loud work in daytime, using Noise mitigation like barriers and quieter tools, and keeping sites tidy. Prioritize Neighbor communication: give notice, share contacts, log complaints, and adjust fast to avoid fines.
When Should I Notify My Lender or Update My Financing Terms?
Notify your lender before you sign contracts, before you break ground, before costs change. Keep lender communication tight, request financing updates when bids shift, delays hit, or scope expands, so you avoid penalties, lock rates, cap overruns.
Who Is Responsible for Securing and Protecting Materials On-Site?
You’ll usually make the contractor responsible for material security and site protection in the contract, but you must verify insurance and locks. If you supply materials, you’re accountable until acceptance—document deliveries, limit access.