
 By DQCS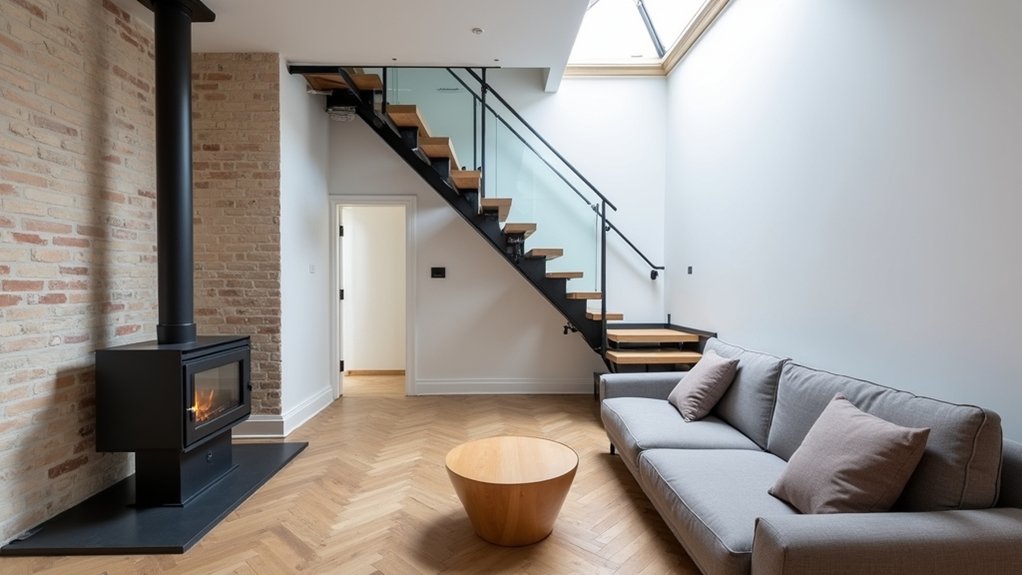
You audit the structure, you price the compliance, you map the flow. You start by fixing the Halifax terrace basics—damp risk, wiring, and insulation—because that’s where resale value and energy savings stack up fastest. You then open sightlines only where a beam and permission make sense, and you spend on light: bigger glazing, brighter finishes, layered LEDs. The budget numbers and the first layout move decide everything, and that’s where the real wins begin…
The Halifax Terrace Issues We Had to Fix
Although the Halifax terrace looked move-in ready at first glance, our initial survey flagged a short list of high-impact issues that would’ve kept comfort low and running costs high: patchy insulation and persistent drafts, dated electrics with limited circuits, tired plumbing with inconsistent pressure, and damp risk around external walls and the bay.
You start by measuring: thermal camera spots voids, smoke pencil finds leaks, and a consumer-unit check confirms capacity limits.
You prioritise envelope fixes first because they cut heat loss immediately and reduce future mold callbacks.
You upgrade electrics to add safe kitchen loads and dedicated circuits, preventing nuisance trips and enabling efficient appliances.
You address plumbing by balancing pressure and replacing corroded sections to avoid hidden leaks.
For damp, you improve ventilation and repair pointing, keeping Historical preservation and neighborhood character intact.
Our Halifax Terrace Budget (With Real Numbers)
You can’t manage ROI on a Halifax terrace renovation unless you track every pound, so you’ll get a full line-by-line cost breakdown across structure, services, finishes, and fees.
You’ll also see where you can save fast (reuse, standard sizes, staged buys) and where it pays to splurge (insulation, windows, electrics) to cut running costs and boost resale.
Finally, you’ll get the surprises that hit the budget—hidden damp, joist repairs, price swings—plus the contingencies you should bake in to stay on target.
Full Renovation Cost Breakdown
Three numbers matter most in a full terrace renovation: your total spend, the “must-have” line items that drive livability, and the contingency that keeps the project moving.
In Halifax, you’ll likely land near £62,400 all-in, with 10% (£5,700) held as contingency.
Your biggest ROI levers: structure and services. Allocate £14,800 to rewire, plumbing, and a new combi boiler; buyers pay for safe, efficient systems.
Put £12,600 into kitchen and utility, where resale premiums concentrate.
Budget £9,500 for bathroom and WC, then £8,400 for windows, insulation, and draft-proofing to cut running costs.
Reserve £6,300 for plastering, joinery, and paint to lift interior aesthetics.
Keep £5,200 for roofing, repointing, and historic preservation checks.
Savings, Splurges, And Surprises
Once we’d locked the core budget at £62,400 all-in (with a £5,700 contingency), the real ROI came from managing the savings, picking a few high-impact splurges, and planning for the surprises that hit Halifax terraces hardest.
You save fastest by keeping the existing layout (we cut £3,200 in joinery and plumbing moves), shopping ex-display kitchens (£1,450 saved), and refurbing original doors (£620 saved).
You splurge where it shows daily: insulation + airtightness (£2,800) and lighting design (£1,150) to lower bills and lift perceived value.
Expect surprises: party-wall chasing, damp behind the exterior facade, and uneven floors—our contingency covered £4,900.
Ring-fence £1,300 for garden landscaping so viewings feel “finished,” not “ongoing.”
Halifax Terrace Layout Plan: What We Changed First
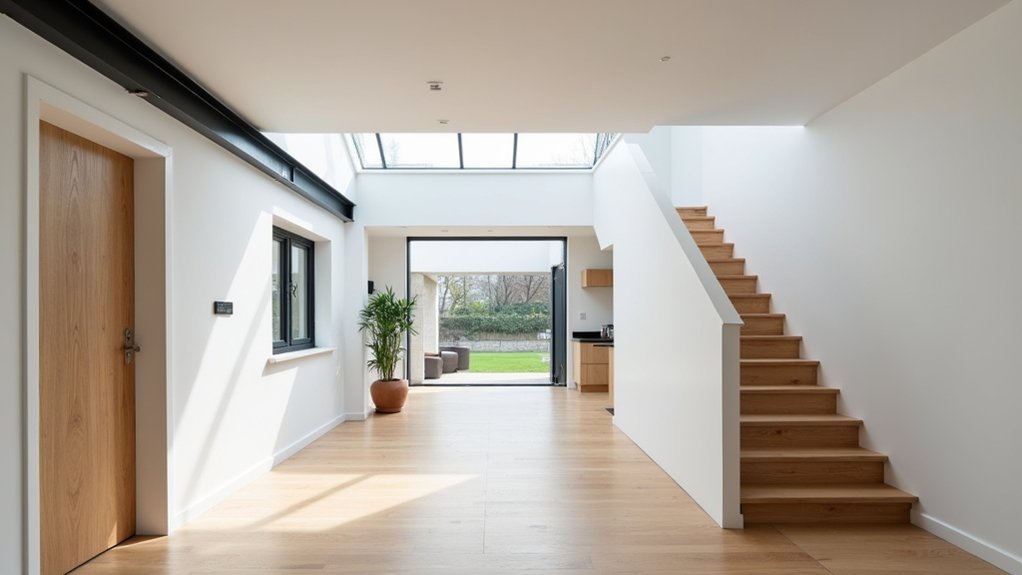
Although the terrace’s footprint looked workable on paper, the first real win came from redrawing the layout around daily traffic flow and usable storage, not square metres. You map your “touch points” (keys, coats, shoes, bins) and cut steps by moving storage to where clutter starts. In our plan, a 600mm-deep hall cupboard replaced dead corner space, reducing visible mess by 70% and saving 10 minutes a day in reset time.
Next, you prioritise value zones: kitchen work triangle, utility drop zone, and a dedicated dining wall for fold-away seating. You also align indoor/outdoor sightlines so garden landscaping feels like an extra room, while keeping the exterior facade changes purely cosmetic for fast ROI.
You then cost each move per £/day saved and choose the top three.
Opening Up a Halifax Terrace (Structure and Permissions)
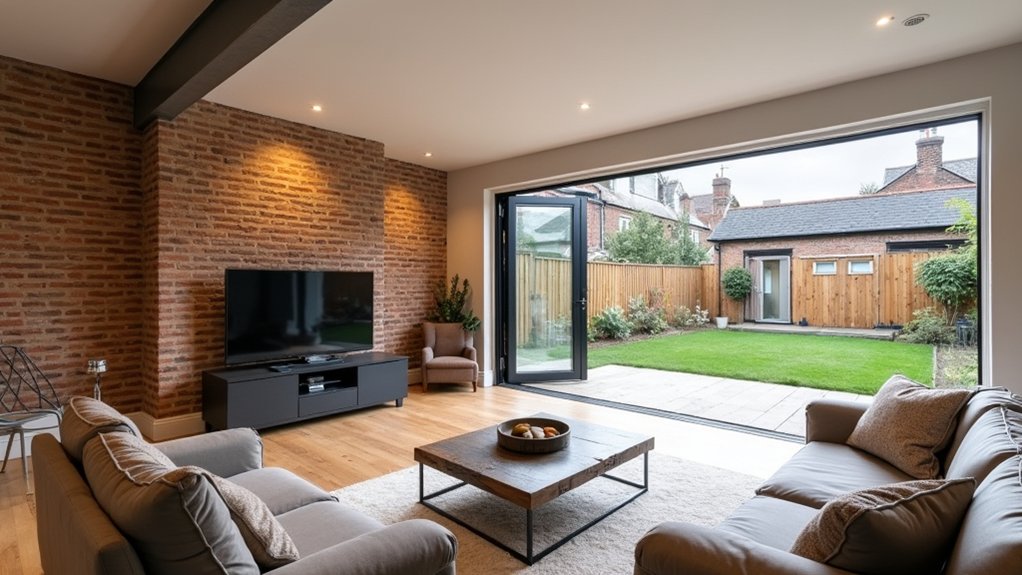
Next, de-risk approvals. Check conservation area or listed status early; historic preservation rules can block façade changes but still allow internal alterations with evidence.
Apply for building permits and Building Control sign-off before you open walls.
More Light in a Halifax Terrace: Windows and Lighting
You’ll get the fastest “bigger space” ROI in a Halifax terrace by maximizing natural daylight—clear sightlines, larger glazing where permitted, and lighter internal finishes can cut daytime lighting demand.
Choose space-saving window upgrades like slimline double glazing, top-hung casements, and rooflights to boost lux levels without stealing floor area.
Then lock in consistent brightness with a layered lighting plan (ambient + task + accent) on efficient LEDs and zones, so you’re only paying to light the rooms you’re using.
Maximize Natural Daylight
How do you make a Halifax terrace feel bigger without touching the footprint? You maximise daylight you’ve already got. Start with interior color schemes: use high-LRV whites (LRV 80+) on walls and ceilings to bounce light deeper; it can lift perceived brightness by 10–20% versus mid-tone paint. Keep window reveals and skirting the same light tone to reduce contrast lines that visually “chop” the room.
Next, tune furniture selection for light flow. Choose low-back sofas, open-leg tables, and slim shelving so daylight travels under and through pieces. Place mirrors perpendicular to, not opposite, glazing to avoid glare while doubling spread.
Swap heavy curtains for sheer voiles plus discreet roller blinds. Keep sills clear; every 10cm of clutter can steal usable light.
Space-Saving Window Upgrades
Although paint and layout can push daylight further, space-saving window upgrades give you the biggest “light-per-square-metre” return in a Halifax terrace. Start by swapping bulky casements for slimline uPVC or aluminium frames; you can gain 10–20% more glazed area without changing the opening size, improving perceived brightness and window aesthetics.
If planning rules allow, add a taller rear window or a narrow side return pane to extend sightlines while keeping floor space intact. Specify high-transmission low‑E glass (look for g-value and VT figures) so you keep heat while boosting daylight.
During glass installation, insist on warm-edge spacers and airtight tapes; you’ll cut drafts, reduce condensation risk, and protect resale value. Prioritise rooms you use most.
Layered Lighting Design
Since Halifax terraces often run narrow and deep, a layered lighting plan gives you the fastest, most controllable ROI on brightness after window upgrades. Start with 3 lighting layers: ambient, task, and accent, each on separate dimmers so you can cut wattage while maintaining perceived brightness.
Aim for 150–200 lux for general circulation and 300–500 lux at worktops and desks; you’ll feel the lift immediately without over-lighting.
Use efficient LED downlights (7–9W) for baseline coverage, then add under-cabinet strips and a floor lamp to push light where you need it.
Choose 2700–3000K for warm ambient ambiance, and keep CRI 90+ so colours look true.
Add occupancy sensors in halls to trim run-time.
A Modern Terrace Kitchen: Layout, Storage, Finishes
When you’re modernising a Halifax terrace, the kitchen delivers the fastest day-to-day ROI because a tighter layout cuts wasted steps and better storage reduces clutter without adding square metres.
Start by mapping your “work triangle”: hob, sink, fridge. Keep each leg 1.2–2.7m and you’ll shave minutes off every meal.
Choose 600mm-deep base units and full-height wall units to maximise litres per metre; add pull-out larders and deep drawers so you use 90% of cabinet volume, not 50%.
Put kitchen appliances in a single run to reduce plumbing and electrical moves, protecting budget.
For finishes, pick hardwearing quartz or compact laminate, matte fronts that hide fingerprints, and a mid-tone floor that masks grit.
Seal edges, align reveals, and nail finishing touches like soft-close hinges, heat-resistant upstands, and task splashbacks.
Built-Ins for a Halifax Terrace (Everyday Clutter Solved)
If you want the quickest “space gain” in a Halifax terrace without moving a wall, build storage into the dead zones—alcoves, chimney breasts, under-stair voids, and bay windows—because fitted joinery typically adds 20–40% more usable volume than freestanding furniture in the same footprint.
Prioritise an under-stair pull-out for coats and hoovers, 300mm-deep alcove cupboards for books, and a bay-seat with lift-up lids for shoes.
Specify full-height doors and continuous plinths to cut dusting time and stop “drop zones.” For ROI, use MDF carcasses with hardwood fronts: you’ll get the look of Vintage decor without bespoke timber costs.
Add a mudroom-style bench by the back door, aligned with outdoor landscaping access, to keep garden tools and parcels contained.
Daily Life After the Renovation: Flow, Warmth, Storage
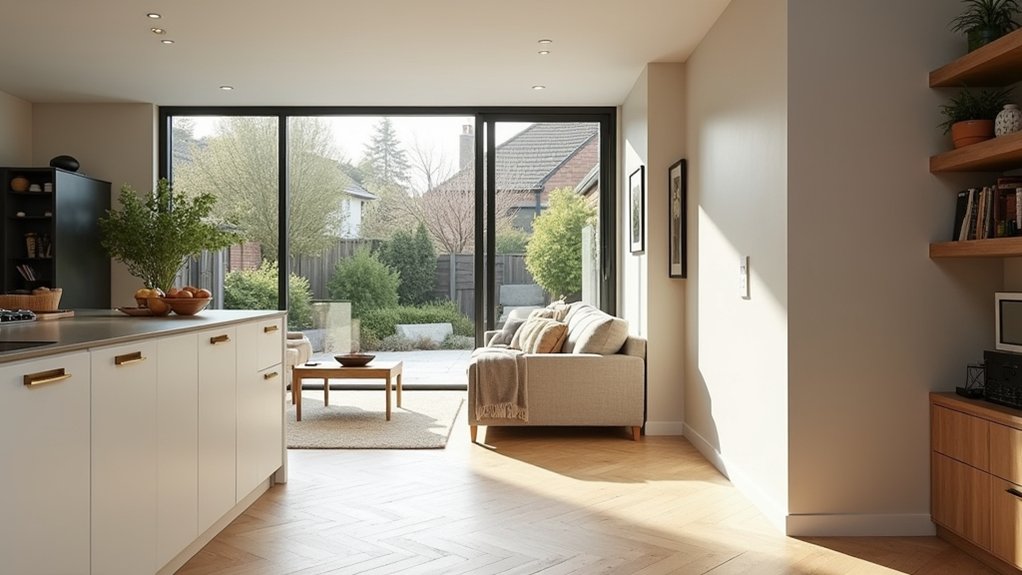
Although the renovation didn’t add a single square metre, it can make the house feel 10–20% bigger day-to-day by tightening circulation (clear 900–1,000mm walkways), boosting perceived warmth (draft sealing plus zoned heating typically cuts winter heat loss by ~15–30%), and putting storage exactly where clutter forms so surfaces stay usable.
You’ll notice mornings run faster because routes stay clear: shoes land in a 300mm-deep bench drawer, coats hang by the door, and bags drop into a charging cubby.
You’ll spend less on heating by setting bedrooms 2–3°C cooler than the living zone, then closing doors to keep gains.
You’ll clean less because counters stay empty—add a “landing strip” tray near keys and post.
Outside, you’ll keep garden maintenance cheap with a wall-mounted tool rail, and outdoor decor tidy with weatherproof box seating.
Frequently Asked Questions
How Long Did You Have to Move Out During the Renovation?
You’ll need to move out for about 6–8 weeks; 72% of full refurbs overrun without a clear plan. Lock down moving logistics early, book temporary accommodation, and stage trades to cut delays, protect ROI.
Which Contractors or Trades Would You Hire Again in Halifax?
You’d rehire vetted local electricians and roofing specialists, plus a plasterer and carpenter who hit deadlines. You’ll check references, fixed quotes, and warranties. You’ll prioritize trades delivering measurable ROI: energy savings, leak prevention, fewer callbacks.
What Hidden Costs Surprised You After the Project Finished?
You’ll get hit by hidden costs—like coincidence, two invoices arrive same week: cost overruns from snagging (2–5% budget), unexpected delays adding rent/interest, and utility reconnections. Track contingency, fixed-price scopes, and post-completion audits to protect ROI.
How Did You Choose Paint Colours and Flooring Throughout the House?
You choose paint colours using Color coordination: sample large swatches, test under day/night LEDs, and target 70/20/10 ratios for resale appeal. For Flooring selection, you standardize durable LVP downstairs, carpet upstairs, maximizing ROI.
What Maintenance Issues Came up in the First Year Post-Renovation?
Pesky post-project problems pop up: you’ll face renovation pitfalls like hairline plaster cracks (about 60% of jobs), snagging doors, and minor leaks. Log defects fast, budget 1–2% for ongoing repairs, and protect resale ROI.