
 By DQCS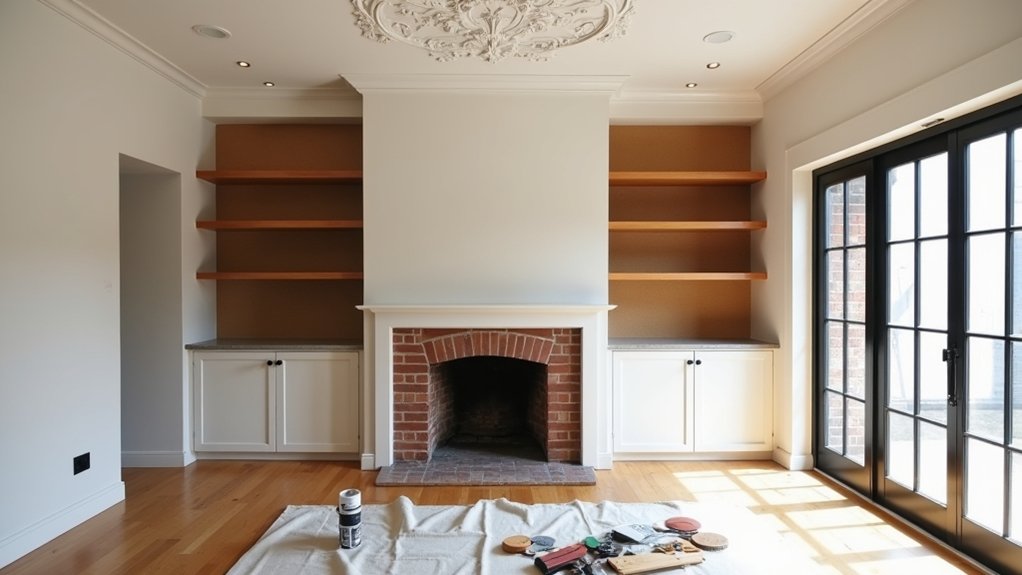
You can modernise an older home without touching the features that trigger heritage approvals, and many owners don’t realise which small changes can set that process off. Start by listing what must stay—windows, trim, fireplaces—then budget first for hidden risks like damp, joist rot, outdated wiring, and undersized plumbing. After that, you can add comfort with secondary glazing, sealing, and period-correct fixtures instead of full replacements. The tricky part is deciding what to fix first…
Identify Must-Keep Features (and Approvals)
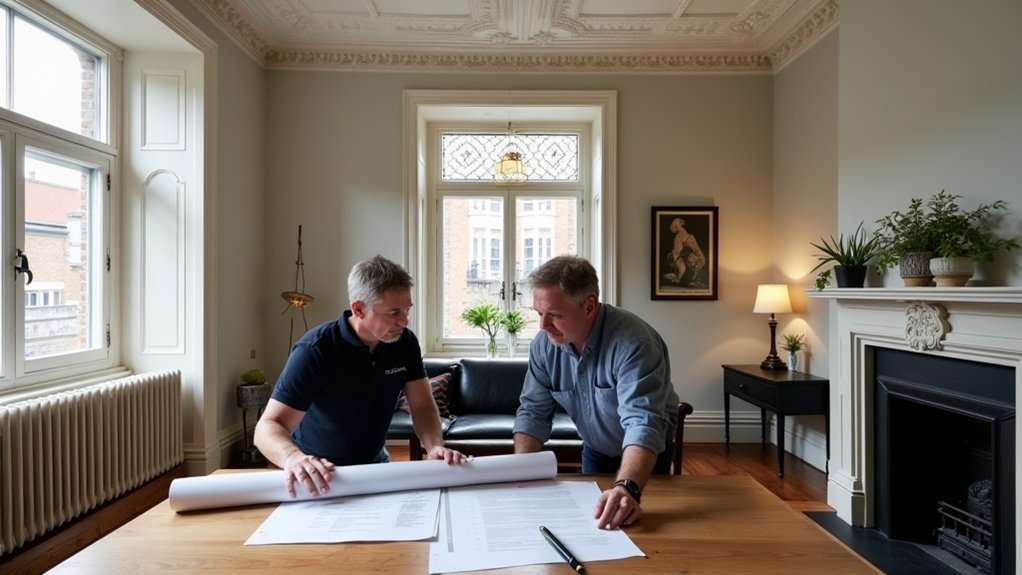
Before you price materials or start demo, walk through the house and list what you must keep—original trim, plaster walls, hardwood floors, stair parts, built-ins, windows, fireplaces, or any structural elements that can’t be altered without engineering. Photograph each item, note dimensions, and flag damage so you can budget repairs instead of replacements.
If you’re aiming for architectural preservation, confirm what’s protected by local register rules, HOA covenants, or landmark status. Call the planning office early and ask which permits trigger historical approvals, typical fees, and review timelines. Get decisions in writing, because a denied swap can force costly reorders.
Source matching profiles, salvage yards, or millwork shops, and price lead times now so your schedule doesn’t blow up later.
Fix Hidden Structural, Damp, and Safety Issues First
Once you’ve documented the features you’re keeping and confirmed what approvals apply, put finishes and layout changes on hold and hunt for the problems you can’t see: structural movement, moisture intrusion, and safety hazards. Walk the perimeter for stepped cracks, sticking doors, sloped floors, and gaps at skirting; photograph and date changes so you know what’s active.
In the roof and subfloor, check for rusted fixings, bouncy joists, and sagging rafters before you pay for plaster. Price a structural engineer’s visit early; it’s cheaper than redoing finishes after foundation repair.
Track damp with a moisture meter, then fix causes: gutters, downpipes, grading, and ventilation. Remove wet materials fast, dry cavities, and plan mold prevention with targeted dehumidification and airflow.
Rewire and Replumb Your Older Home With Minimal Mess
Although new paint and cabinetry look tempting, you’ll save time and money by tackling wiring and plumbing while walls and floors are still easy to open.
Start with a licensed electrician’s load calculation and a circuit map so you don’t overbuy panel capacity or chase faults later. Run Smart wiring (CAT6, coax, speaker, and conduit) in the same open bays, and label every drop at both ends.
For Plumbing upgrades, replace galvanised or polybutylene lines with PEX or copper, add accessible shutoff valves, and set a clean manifold location. Plan fixture locations before you rough-in to avoid costly reroutes.
Minimise mess by opening only targeted chases, protecting floors, and batching inspections so you close walls once. Photograph everything before patching.
Boost Insulation and Glazing Without Replacing Windows
You can cut heat loss fast without new windows by adding secondary glazing, from magnetic acrylic panels to slim interior storm frames that you can remove seasonally.
Next, you’ll draft-proof like a pro: replace worn sash cords and weatherstrips, seal gaps at trim and meeting rails, and cap it with a bead of paintable caulk where it counts.
Then you’ll boost performance further with thermal curtains—tight top seals, side returns, and a weighted hem—so you trap warm air at night without blowing your budget.
Secondary Glazing Options
How do you boost insulation and cut draughts without paying for full window replacements? Add secondary glazing: a discreet inner pane that keeps original sashes and trims untouched while improving comfort.
You can choose magnetic acrylic panels for DIY installs and easy removal, or hinged/sliding units for frequent access and better durability. Aim for a sealed air gap of 20–50mm; it’s the trapped air that delivers much of the performance, often approaching double glazing results at a lower price.
For budgets, combine secondary glazing with window film on the original glass to reduce radiant heat loss and glare. Specify low‑E glass or coated acrylic if you want maximum gains.
Check sightlines, handle clearance, and cleaning access before ordering.
Draft-Proofing And Sealing
Before you spend on new glazing, stop the air leaks that do most of the damage: draught-proofing a sash or casement typically costs little, takes basic tools, and can noticeably lift comfort in a day.
Start with a smoke pen or damp hand to find gaps at meeting rails, staff beads, and the frame-to-wall joint.
Fit brush or compression strips to moving parts, then add discreet foam or rubber seals where the sash meets the stop.
Use sealing methods like backer rod plus paintable acrylic caulk for small cracks, and low-expansion foam for hidden voids behind architraves.
Check the lock pulls the window tight; adjust keeps, replace worn parting beads, and lubricate pulleys.
These draft proofing techniques cut heat loss without changing profiles.
Thermal Curtain Enhancements
Although new windows promise big gains, a well-fitted thermal curtain often delivers a cheaper, faster insulation boost by trapping a still-air layer and cutting cold radiant “downdraughts” from the glass.
Choose a dense, lined curtain with a taped or interlined thermal backing, and size it wider than the reveal so it overlaps the frame. Mount tracks close to the wall and ceiling to reduce gaps; add a pelmet or header seal to stop warm air spilling over the top.
If you’ve got sash windows, use side seals or magnetic strips to limit flapping. Smart fabric options can add reflective layers without looking bulky.
Pair them with curtain automation so you close at dusk and open for solar gain.
Update Kitchens and Bathrooms the Period-Friendly Way
When you update an older home’s kitchen or bath, you’ll get the best return by improving function and efficiency without erasing the era’s character. Keep the original layout and save money by refinishing cabinets, regrouting tile, and reglazing tubs instead of replacing them.
Choose period appropriate fixtures like bridge faucets, porcelain lever handles, and exposed shutoff valves, but pair them with modern internals for leak-free reliability. Swap failing galvanized pipes for PEX where you can hide runs, and add a shutoff at each fixture to simplify future repairs.
Use warm LED bulbs in schoolhouse or globe shades, and add vintage inspired accessories—bin pulls, towel bars, and framed mirrors—to tie the room together. Spend on ventilation and water-saving valves; skimp on trendy surfaces.
Improve Flow and Storage Without Deleting Old Rooms
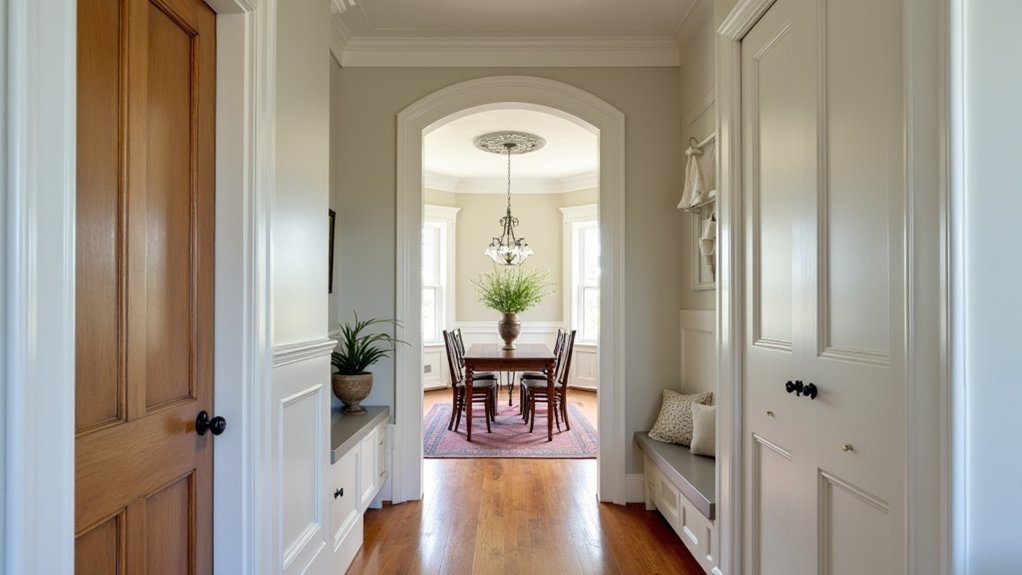
If your old house feels chopped up, you can improve circulation and storage without knocking down the rooms that give it character. Start by widening pathways: swap door swings for pocket doors where plumbing and wiring won’t be hit, or rehang doors to open against walls. Add glass panes to solid doors to borrow light and make halls feel longer.
Use built-ins to keep Vintage charm: fit shallow cabinets in odd alcoves, add drawers under stairs, and install picture-rail-height shelving that doesn’t fight original trim. Create “drop zones” near entries with a narrow bench, hooks, and labeled baskets.
In closets, add double rods, shelf risers, and motion-sensor lights for modern convenience. Keep costs down by reusing existing doors and hardware when possible.
Choose New Finishes That Match the Home’s Era
Before you buy paint, tile, or lighting, take a quick inventory of what your house already “says” about its era—trim profiles, floor species, door styles, and hardware finishes—and let those cues narrow your choices.
Then match sheen, scale, and materials: satin or eggshell walls suit older plaster; ultra-flat can look chalky, and high-gloss can read new.
If you’re replacing tile, pick smaller formats and simple patterns that echo the period, and use grout colors that don’t shout.
Save money by keeping original doors and upgrading knobs to Vintage fixtures in the same metal family.
For counters and floors, prioritize durable, mid-tone surfaces with Authentic textures over trendy veining.
Test samples in morning and evening light before you commit.
Frequently Asked Questions
How Do I Budget for Surprises When Renovating a Century-Old Home?
Don’t let surprises throw you for a loop: you’ll budget by adding 15–25% for contingency planning, tightening cost estimation with inspections, and pricing worst-case repairs. You’ll track allowances, lock bids early, and reserve cash monthly.
Should I Live in the House During Renovations or Move Out?
Move out if you can; you’ll save time and stress. If you stay, plan Temporary living zones, secure utilities, and expect higher cleanup costs. Track your Renovation timeline weekly to avoid expensive delays.
How Long Does a Typical Character-Preserving Renovation Take?
You’re usually looking at 3–9 months; bigger “surprises behind the walls” can stretch to a year. For Historic preservation and Architectural authenticity, you’ll schedule specialty trades, custom millwork, and inspections—budget time for lead.
Do I Need Specialist Insurance Cover While Renovating an Older Property?
Yes, you usually need specialist insurance while renovating an older property, because standard policies may exclude building work. Get renovation coverage for theft, fire, liability, and vacant periods, and update sums insured. Compare excesses.
How Can I Find Trustworthy Tradespeople Experienced With Period Homes?
Finding period-home trades is like hunting hidden treasure: use local conservation groups, heritage builders’ lists, and neighbour referrals. Check portfolios for craftsman expertise, ask about sourcing vintage materials, verify insurance, and get itemised quotes.