
 By DQCS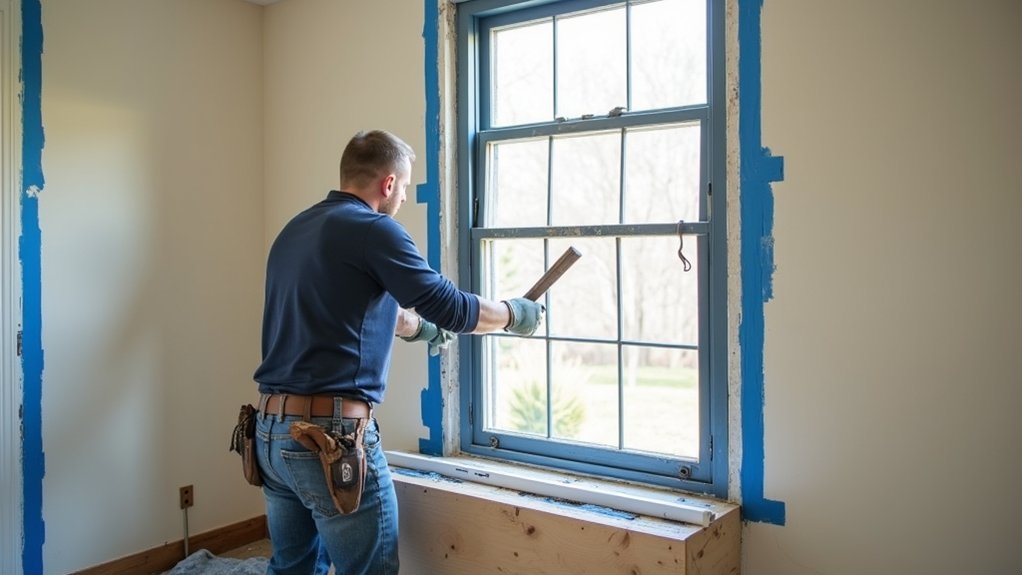
Most window-replacement “cost overruns” start with a cracked plaster edge or torn drywall paper. You can avoid that by figuring out your window type, choosing insert vs. full-frame only when it pays back, and protecting trim with tape and sacrificial shields before you touch a pry bar. Cut paint and caulk cleanly, support the sash, and work in controlled steps so the wall stays intact—and your budget doesn’t get hit by patching and repainting…
Identify Your Window Type and Frame

Before you buy a replacement window, identify whether you’ve got a full-frame unit or an insert (pocket) setup, because that choice drives your labor time, trim work, and total cost.
Start by opening the sash and checking the jamb: if you see a distinct, squared wood frame with separate interior stops, you’re likely working with an older built-up assembly. If the unit looks like one integrated box with nailing fins hidden behind siding, it’s a newer construction frame.
Measure the visible frame depth, note any rot, and photograph corners so you don’t pay for surprise carpentry.
Confirm window material—wood, vinyl, fiberglass, or aluminum—because matching it protects resale value and avoids uneven expansion that cracks caulk.
Record your frame style (brickmold, flush, or flanged) for accurate ordering.
Choose Insert vs. Full-Frame Window Replacement
Where you put your money matters most here: an insert (pocket) replacement reuses the existing frame and trim, so you’ll usually pay less in labor, finish work, and repainting while still getting new glass and weatherstripping. If your frames are square and solid, inserts deliver strong ROI with quick installs and minimal disturbance to interior and exterior finishes. You keep your existing casing, so your walls stay safer and touch-ups stay small.
Choose full-frame replacement when rot, water stains, or chronic drafts suggest the old frame is failing. You’ll pay more upfront, but you reset flashing and insulation, often boosting energy efficiency and cutting future repair risk. Full-frame also lets you change window style for better aesthetic appeal, which can help resale—especially on dated façades.
Measure for Replacement Windows the Right Way
You’ll protect your budget and ROI by measuring the window opening accurately before you order anything, because a wrong size triggers costly returns and rework.
Measure width and height in three spots and use the smallest numbers so the replacement fits without forcing the wall or trim.
Then check the frame for squareness by comparing diagonals, since an out-of-square opening can cause gaps, drafts, and extra labor.
Accurate Opening Measurements
Even if you’re planning a “simple swap,” accurate opening measurements decide whether your replacement window drops in cleanly or turns into a costly fix with shims, trim work, and return trips.
Measure the rough opening width at three points—top, middle, bottom—and record the smallest number. Do the same for height at left, center, and right, again using the smallest.
Measure depth from interior stop to exterior sheathing so you don’t buy a unit that forces new trim or drywall repairs.
Note your window styles and any framing techniques that affect stops, jamb extensions, or exterior brickmold.
Confirm whether you’re ordering a full-frame or insert replacement, then match measurements to that product’s requirements.
A $10 tape check can protect a $500–$1,500 window purchase.
Check Frame Squareness
Before you order or pull the old unit, confirm the frame’s square by measuring diagonally from corner to corner inside the opening. Compare the two diagonal numbers: if they match or stay within 1/8 inch, you’re good; if not, you’ve got frame distortion that can force shims, crack trim, and telegraph stress into drywall.
Next, check wall alignment by placing a level on the side jambs and head, then sight along the interior casing line for bows. Write down the worst out-of-square difference and plan your window size and shim strategy around it.
Catching this now saves return trips, prevents rework, and protects your ROI by avoiding patching, repainting, and premature seal failure. Spend five minutes here to save hours later.
Gather Tools to Protect Walls and Trim
While the right pry bar can save you minutes, the right wall- and trim-protection tools can save you hundreds in patching and repainting. Start with wide putty knives or a painter’s tool to act as a sacrificial shield between your bar and drywall for solid wall protection.
Add thin shims, scrap plywood, or rigid plastic wedges so you can spread force instead of denting corners.
For trim safeguarding, keep a sharp utility knife, a set of nylon trim tools, and a small block of wood to back up delicate profiles.
Masking tape and rosin paper protect painted faces and flooring from scuffs and grit.
A shop vac with a brush head keeps debris from grinding into surfaces as you work.
Cut Paint and Caulk Before Removing the Window
Set your wall and trim protection in place, then stop and break the paint and caulk seals that glue the old window to the jamb and casing. Run a sharp utility knife along every joint where trim meets wall, trim meets jamb, and stops meet sash. Use light, repeated passes to avoid gouges that trigger patching and repainting costs.
If caulk is thick, switch to a stiff putty knife to separate it after scoring.
Treat this as painting prep that protects your budget: clean cuts keep drywall paper and wood fibers intact, so you’ll spend less on filler, primer, and touch-up labor. Careful scoring also preserves window aesthetics by preventing torn edges, cracked paint halos, and ragged caulk lines. Vacuum dust so your knife tracks cleanly.
Remove the Old Window Without Breaking Plaster
Once you’ve cut every paint and caulk bond, pull the old window out with controlled force so you don’t fracture plaster that’s expensive to patch and repaint. Support the sash as you lift or tilt it free, and have a helper hold the weight so it doesn’t rack and pop the surrounding keys.
Pry only against wood, not plaster; slip a wide putty knife behind your flat bar to spread pressure and protect edges. If it’s a double-hung, remove stops gently and label parts you’ll reuse for Historical preservation and to avoid buying new trim.
Pull nails and screws straight with end-cutters to prevent blowout. Work slow; saving one repair day improves ROI and keeps Energy efficiency upgrades on budget.
Prep the Rough Opening for a Tight, Square Fit
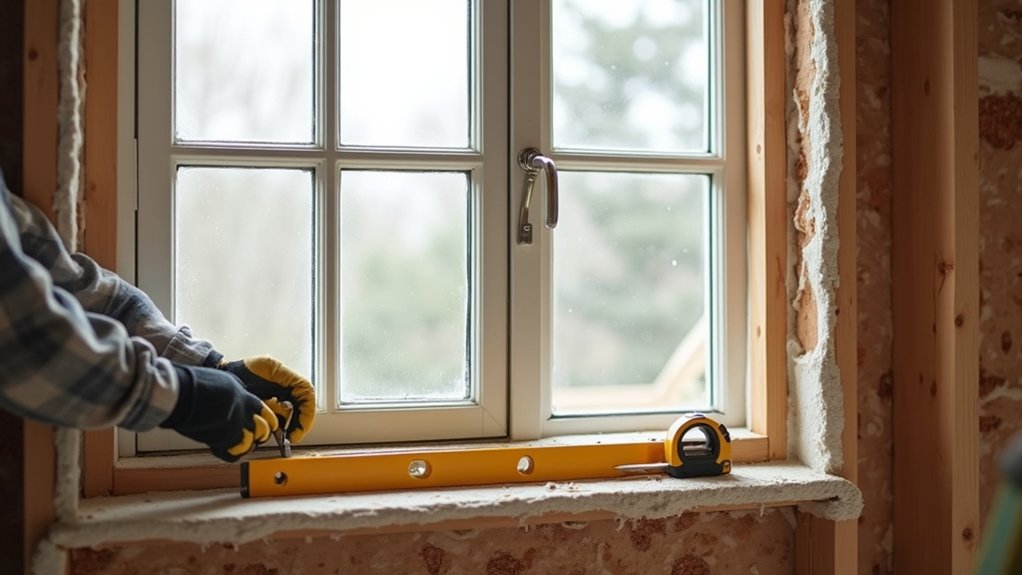
After the old unit comes out clean, you’ll get the best ROI by turning the rough opening into a flat, square, solid surface that lets the new window seal tight without fighting twists or gaps. Scrape loose paint, vacuum dust, and pull old shims so you’re not paying later for callbacks, drafts, or cracked trim.
Check for rot at the sill and jambs; replace only damaged sections with matching lumber, then treat exposed wood so repairs last. Measure diagonals to confirm squareness, and plane high spots instead of forcing the frame.
Add solid backing where plaster edges are weak to protect surrounding walls. If you’re matching decorative window styles, keep reveals consistent.
For historical window preservation, avoid widening openings; correct, don’t reframe.
Install and Seal the Replacement Window Cleanly
Set the replacement window in place, square it up, and shim it tight so you don’t pay later for sticky sashes or call-backs.
Fasten it per the manufacturer’s schedule, then run a clean, continuous bead of quality caulk around the exterior seams to lock out water and air.
Finish with proper weatherproofing (backer rod, flashing tape, or low-expansion foam as needed) so you protect the opening and boost energy ROI.
Square And Shim Window
How do you keep a replacement window from leaking air (and money) without tearing up your walls? You square it and shim it before you drive more fasteners. Set the unit in the opening, then check plumb, level, and diagonals so the frame isn’t racked.
A $10 level and a tape measure protect your ROI better than any upgrade. Slip composite shims at the sill and at each jamb fastener point; keep them tight, not bowed. Recheck operation: the sash should move smoothly, lock easily, and reveal even gaps—critical for sash replacement performance.
Trim shims flush so the interior casing sits flat. Done right, you’ll get consistent window insulation and fewer call-backs without touching surrounding drywall or exterior trim.
Caulk And Weatherproof Seams
Once the window sits square and the sash operates cleanly, your next ROI move is sealing the gaps so conditioned air can’t slip out and water can’t sneak in. Choose a high-quality exterior-grade elastomeric caulk and a low-expansion foam for Window insulation, not bargain tubes that crack fast.
Clean the jamb and trim, then tape edges for sharp lines and fewer touch-ups. Cut the nozzle small, keep steady pressure, and run one continuous bead; that sealant application saves material and prevents callbacks. Tool the bead to push it into the joint, then pull tape before skinning.
Outside, seal the top and sides, but leave the bottom weep path open so moisture can drain. Inside, foam sparingly and trim flush after curing. You’ll lower drafts, reduce rot risk, and protect your finish.
Frequently Asked Questions
Do I Need a Permit or HOA Approval to Replace Windows?
Yes—you’ll often need a permit and sometimes HOA approval; nothing says “simple upgrade” like paperwork. Check local permit requirements and hoa approvals before ordering, so you avoid fines, delays, rework, and protect your window ROI.
How Much Does Professional Window Replacement Typically Cost per Window?
You’ll typically pay $500–$1,500 per window installed, depending on size, materials, and labor. Upgrading the window frame and using quality glass sealant boosts efficiency, reduces callbacks, and improves resale ROI over time.
What’s the Best Time of Year to Replace Windows for Energy Savings?
Replace windows in early fall or spring: mild temps cut weather impact, protect seals, and reduce HVAC downtime. You’ll also benefit from seasonal considerations like contractor availability and off-peak pricing, improving ROI quickly.
How Long Does a Typical Window Replacement Project Take per Window?
A stitch in time saves nine: you’ll spend about 1–2 hours per window, including window measurement and material selection. You’ll cut labor costs and boost ROI by batching installs and avoiding custom sizes.
How Do I Dispose of Old Windows and Glass Safely and Legally?
You’ll dispose of old windows by taping glass, wrapping shards, and using your city’s glass disposal rules or a certified hauler. Choose window recycling when available to cut fees, avoid fines, boost your ROI.