
 By DQCS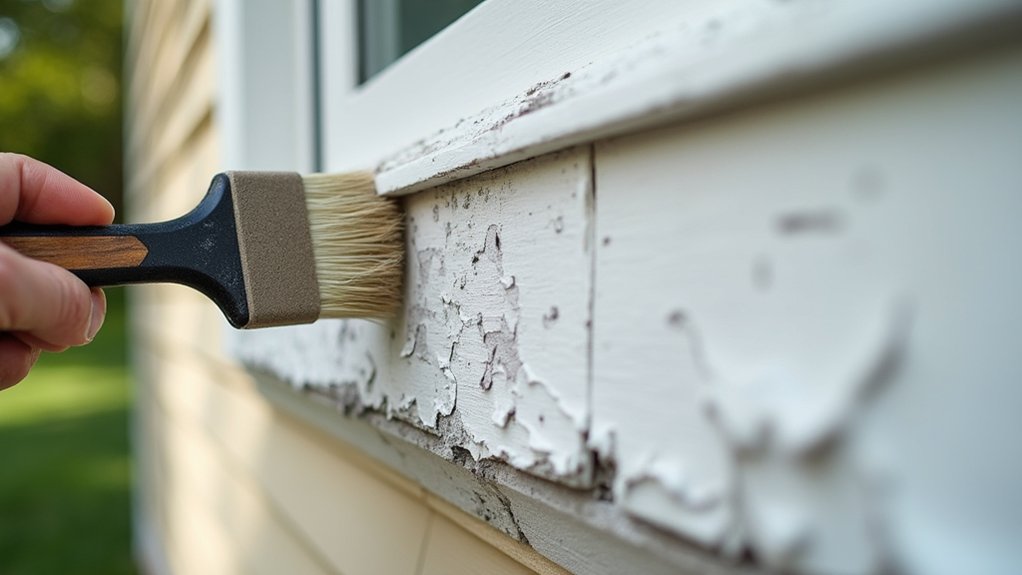
You can’t get a long-lasting exterior paint job until you treat the wood like an investment. Start by inspecting every board for soft spots, cracks, and peeling paint, then mark trouble areas so you don’t waste time or materials. Scrape what’s loose, clean what’s dirty, and repair only what’s failing with filler, hardener, or epoxy. Once the surface is sound, you’re ready for the steps that lock in adhesion and durability…
Inspect Weathered Exterior Woodwork for Damage
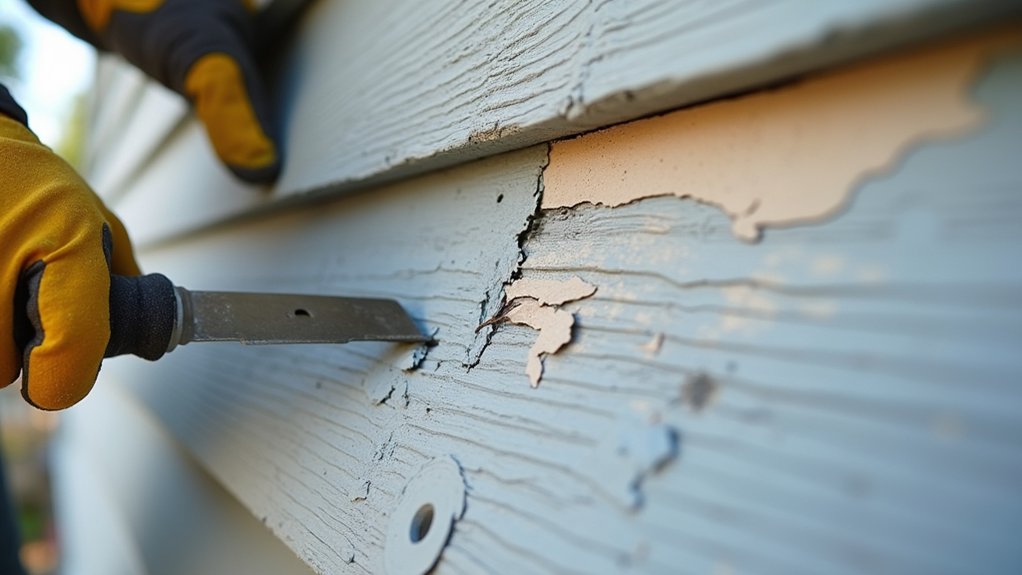
Before you spend money on primer, paint, or replacement boards, inspect every piece of exterior woodwork up close so you only fix what’s truly failing. Start with a slow walkaround in daylight and note soft spots, splits, and gaps at joints.
Press with a screwdriver handle; solid wood rebounds, rot feels spongy and sounds dull. Follow the wood grain to spot raised fibers, checks, and end-grain cracking where water wicks in.
Probe trim bottoms, window sills, corner boards, and anywhere sprinklers hit. Look for stains, fungi, or nail heads backing out—each signals moisture entry and reduced weather resistance.
Measure problem areas, mark them with painter’s tape, and photograph for a tight materials list. Prioritize repairs where structural strength and water shedding matter most.
Remove Loose Paint and Prep Exterior Woodwork
Start by spotting where the paint’s failing—peeling edges, bubbles, and bare patches—so you only fix what’s needed and keep costs tight.
Next, scrape off anything loose and sand the surface smooth to help the next coat bond and last longer.
Finish by cleaning off dust and priming any bare wood, because that small step prevents early failure and protects your repaint investment.
Assess Paint Failure Areas
If you map out where the paint’s failing now, you’ll spend your time and money only where it pays back. Walk the house in daylight and mark each problem spot with painter’s tape: peeling edges, cracking, bubbling, mildew staining, and bare wood. Note exposure—south and west faces, rooflines, and near sprinklers—because recurring moisture means higher repair ROI if you fix the cause first.
Next, test adhesion by pressing tape onto suspect areas and pulling; if flakes lift, flag that zone for deeper prep. Check joints, end grain, and nail heads for gaps or rust bleed, and record any soft or dark wood that suggests water intrusion.
Finally, plan paint color choices that reduce heat stress, and list targeted weatherproofing techniques like caulk replacement and drip-edge fixes.
Scrape And Sand Surfaces
With your taped-off failure zones mapped, you can keep prep time tight by scraping and sanding only where the paint’s already lost its bond. Start with a sharp pull scraper, working with the grain to lift flakes without gouging sound layers. Switch to a putty knife for tight corners and profiles. Follow safety precautions: wear eye protection, a dust-rated mask, and gloves, and keep a drop cloth down for quick cleanup.
Next, feather edges with 80–120 grit so ridges won’t telegraph through your finish, then smooth with 150 grit for better adhesion. Vacuum or brush off dust using brush techniques—short, firm strokes—so you don’t regrind debris into the surface. Stop when gradual feels flush to your fingertips.
Clean And Prime Bare Wood
Once you’ve exposed bare wood, clean it thoroughly so your primer bonds for years instead of peeling after one season. Start with a stiff brush to remove dust, then wash with mild detergent and water; rinse well.
Kill mildew cheaply with a 3:1 water-to-bleach mix, then rinse again. Let everything dry fully—rushing traps moisture and ruins ROI.
Next, protect your budget with Wood preservation: spot-treat end grain and checks using a liquid wood preservative or exterior wood hardener where fibers feel soft. When dry, prime every bare area, feathering onto sound paint.
Use a high-quality exterior bonding primer (oil or acrylic, matched to your topcoat). Tint primer toward your paint color selection to reduce finish coats.
Fix Rot, Cracks, and Soft Spots in Woodwork
Next, you’ll save money and extend the life of your trim by spotting rot, cracks, and soft spots before they spread. Cut out or treat any punky wood, then harden and fill soft areas with a wood consolidant and exterior filler so you’re not paying for bigger repairs later.
Finally, seal every crack with paintable exterior caulk to lock out water and make your topcoat last.
Identify Rot And Damage
Before you spend money on primer and paint, you’ll get the best ROI by finding every spot of rot and damage so you only replace what’s truly failing. Start with a slow walkaround after rain; look for staining, peeling paint edges, and open joints where water sits.
Press suspect areas with a screwdriver tip: sound wood resists; wood decay feels spongy, dents easily, or flakes. Probe end grain on sills, trim bottoms, and near gutters first.
Check for hairline cracks that telegraph movement, and note nail heads that lift or rust. Tap with a hammer handle; a dull thud signals hidden voids.
Mark every weak area with painter’s tape and measure it so you can plan efficient patches and protect structural integrity.
Harden And Fill Soft Spots
With your taped-off weak spots mapped, you can save money by repairing small areas instead of swapping entire boards.
First, dig out punky fibers with a pick or chisel until you hit firm wood; leaving any rot behind wastes filler and guarantees paint peeling later.
Check wood moisture: if it feels damp or reads high on a meter, pause and let it dry so your repair bonds and lasts.
Brush on a liquid wood hardener to soak in and lock down remaining soft grain; it’s cheaper than replacement and boosts ROI by extending repaint cycles.
When it cures, pack the cavity with an exterior-grade epoxy filler, overfill slightly, then shape it flush as it firms up.
Sand smooth once fully hard.
Seal Cracks Before Painting
Even if the wood looks solid after your epoxy work, tiny cracks and open seams can still wick in water and sabotage your paint job. Seal cracks now so you don’t pay later in peeling paint and repeat labor—this is cheap weatherproofing with big ROI.
1) Scrape and sand the seam edges, then vacuum dust so caulk bonds.
2) Choose paintable exterior acrylic-urethane caulk; skip bargain latex that shrinks.
3) Cut a small nozzle opening and run a thin, continuous bead—less product, fewer splits.
4) Tool it with a damp finger or caulk tool to press it deep and smooth the surface.
5) Let it cure fully (per label), then spot-prime any bare wood before topcoats.
Sand and Seal Exterior Woodwork for Smoothness
Vacuum dust, then wipe with a damp rag or tack cloth—skipping this wastes paint and highlights grit.
Spot-seal bare or fuzzy areas with an exterior wood sealer or conditioner, brushing it thin and even.
Let it dry fully, then scuff lightly with 150 grit for a smooth, uniform surface.
Prime Exterior Woodwork for Paint Adhesion
Once the sealer has dried and you’ve scuffed the surface smooth, lock in that prep work with primer so your topcoat bonds tight and lasts longer. Pick an exterior bonding primer matched to your wood and prior coating; it’s a small cost that prevents peeling and saves repainting later.
Spot-prime any bare areas first, then coat the full face for uniform adhesion and color holdout. Brush primer into end grain, joints, and cracks so it seals thirsty wood grain and blocks moisture entry.
Roll broad flats to stretch material, then back-brush to level. Keep a wet edge, and don’t overwork it. Let it dry fully, then lightly scuff to knock down nibs; that controls final paint sheen and reduces finish flaws.
Paint Exterior Woodwork for a Durable Finish
After the primer cures and you’ve given it a quick scuff, you’re ready to lay down paint that pays you back in fewer touch-ups and longer repaint cycles.
Start by picking a 100% acrylic exterior topcoat; it flexes with wood and saves money by resisting peel. Choose smart Color options: lighter shades run cooler, reducing cracking, while deep colors may need extra coats.
Next, decide paint sheen for ROI: satin balances washability and hides flaws; semi-gloss lasts longer on trim but shows defects.
Stir well, then cut in edges and end-grain first. Roll or brush with the grain, keeping a wet edge. Apply two thin coats, not one thick.
Respect recoat times and avoid late-day dew. Inspect, then spot-seal gaps early.
Frequently Asked Questions
What’s the Best Time of Year to Repaint Exterior Woodwork?
You’ll get the best results in late spring or early fall, when it’s mild and dry—no surprise tantrums. Step-by-step: check forecast, plan Color matching, optimize Tool selection, paint, and protect your ROI. Save money.
How Long Should Primer and Paint Cure Before Exposing to Rain?
Give primer 24 hours and paint 24–48 hours before rain; wait 72 hours for full cure. Step-by-step: check forecast, follow Painting safety, prioritize weather considerations—dry, warm days protect your budget and ROI.
Do I Need to Use a Specific Paint Type for Coastal Climates?
Yes—you should. Choose marine grade paint, choose salt resistant coatings, choose UV blockers. Step-by-step: prime with bonding primer, topcoat twice, seal end grain. You’ll spend slightly more now, save repairs later.
How Can I Safely Dispose of Old Paint Chips and Sanding Dust?
Bag paint chips and sanding dust in heavy-duty plastic, seal, and label. Check local Environmental regulations for approved disposal methods. Use a HEPA vacuum, avoid washing into drains, and drop off at hazardous waste sites.
When Should I Hire a Professional Instead of Doing It Myself?
Hire a pro when you spot lead paint or rot; EPA says 24 million U.S. homes still have lead hazards. Step-by-step: price bids, check DIY safety, confirm paint color selection, and compare ROI.