
 By DQCS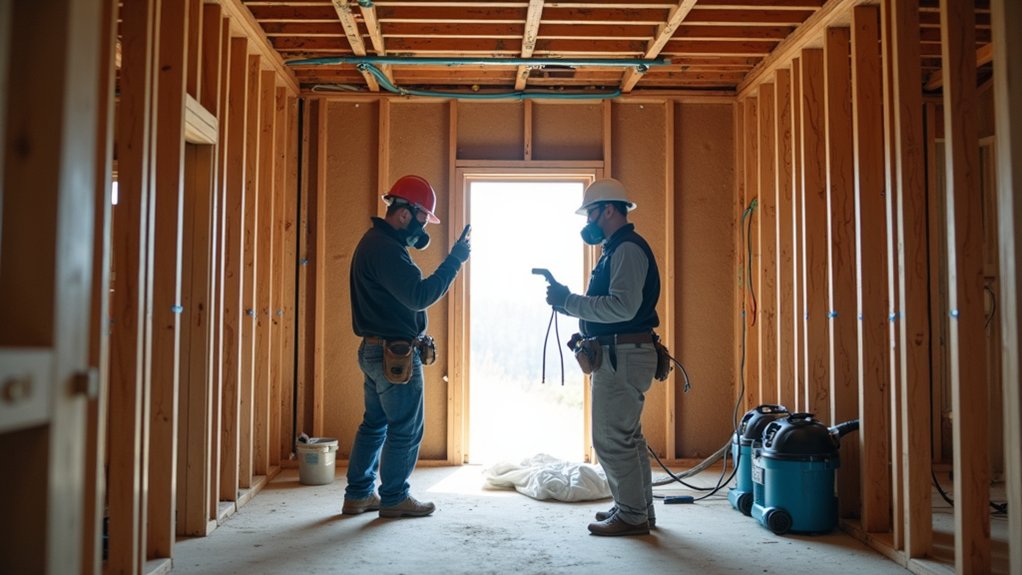
Before you swing a hammer, you need to know a safe strip-out isn’t full demolition—it’s controlled removal of fittings and finishes, and mistakes can get expensive fast. You’ll map the scope room by room, check for asbestos, lead paint, and hidden mould, then make services safe by isolating power, gas, and water. Permits, PPE, dust control, and legal disposal all matter—and one missed step can stop the job cold…
Safe Strip-Out vs Demolition: What’s the Difference?
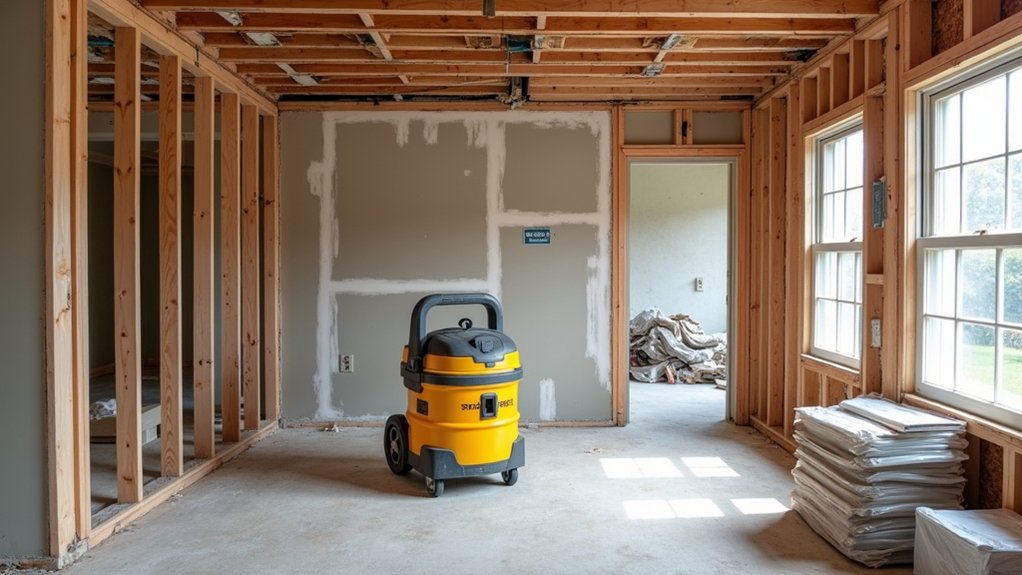
Although people often use the terms interchangeably, a safe strip-out isn’t the same as demolition: strip-outs remove internal fixtures, fittings, and services in a controlled, selective way to prepare a building for refurbishment, while demolition breaks down the structure itself.
You’ll usually choose a strip-out when you need access for rewiring, replumbing, or insulation without risking Structural integrity. Demolition suits projects where you’re removing loadbearing elements or the whole building, which brings higher approvals, waste volumes, and safety controls.
A strip-out can cut costs by separating salvageable materials, reducing mixed waste fees, and supporting Historical preservation when features must stay. You still need surveys for asbestos and live services, because “internal only” doesn’t mean “low risk.”
Plan the Safe Strip-Out Scope Room by Room
Before you price work or book trades, map the strip-out scope room by room so you don’t miss hidden services, duplicate labour, or create avoidable hazards.
Do Room specific planning: list every fixture, finish, and built-in to remove, what stays, and what must be protected. Note live services—water, gas, electrics—and set isolation points and temporary supplies to keep the home usable.
Define access routes, skip location, and manual handling limits to prevent damage and injuries.
Choose Material removal techniques per surface: unscrew cabinets, lift flooring in sections, cut plasterboard cleanly, and cap pipes as you go.
Sequence rooms to contain mess: start with least-used areas, then kitchens and bathrooms.
Photograph before/after for variations and claims.
Check for Asbestos, Lead Paint, Mould, and Dust
Before you start stripping out, you should identify asbestos risks in suspect materials and stop work until they’re tested or surveyed, because a mistake can shut the site and blow your budget.
You’ll also need to test for lead paint and plan safe removal or encapsulation to avoid exposure, fines, and rework.
Control mould and dust from day one with isolation, ventilation, and the right PPE so you don’t contaminate clean areas or rack up extra cleaning costs.
Identifying Asbestos Risks
If you don’t confirm what’s lurking in the building fabric, a “simple” strip-out can quickly turn into a costly shutdown. Treat asbestos as a budget and safety issue, not a guesswork item.
Build Asbestos awareness into your planning: homes built or renovated before the late 1980s can hide asbestos in soffits, eaves, wall linings, backing boards, vinyl floor underlay, textured coatings, and old duct wraps.
Don’t disturb suspect materials—no sanding, drilling, or ripping. Arrange a licensed inspector to sample and run lab analysis, then complete a documented risk assessment before you price labour, skips, and timelines.
If asbestos is confirmed, use a licensed removalist, set up exclusion zones, and plan clearance certification to avoid rework, fines, and delays.
Lead Paint Testing
Where does the real hazard hide in a strip-out? Often it’s under old coats of lead paint on skirtings, windows, doors, and trim. If your home predates modern paint rules, don’t guess—test before you sand, scrape, or demolish.
Use a certified inspector or a licensed risk assessor for XRF scanning, or send paint-chip samples to an accredited lab. Follow documented testing procedures: target friction surfaces, multiple layers, and renovated areas, and keep a simple room-by-room map of results.
This upfront cost can prevent expensive stop-work orders, medical risks, and contaminated waste fees. If tests come back positive, plan controlled removal, proper disposal, and contractor quotes accordingly before you start.
Mould And Dust Control
Lead test results tell you what’s in the paint, but your biggest day-to-day exposure during a strip-out often comes from what ends up in the air—mould spores and fine dust from asbestos-containing materials, lead paint, plaster, insulation, and old flooring adhesives.
Start by stopping spread: seal vents, close doors, and hang plastic sheeting with taped seams. Use ventilation strategies that control flow, not just “airing out”—set a fan in a window exhausting outward and crack another window for make-up air, or use a HEPA air scrubber.
Mist surfaces before disturbing them, and bag debris as you go. Wear personal protective equipment: P2/P3 respirator, goggles, gloves, and disposable coveralls.
If you suspect asbestos or heavy mould, don’t DIY—testing and licensed removal costs less than medical bills and re-cleaning.
Make Services Safe Before Strip-Out Starts
Before any strip-out work begins, you need to make every service to the area safe—power, gas, water, telecoms, and any live fire or security systems—because one missed feed can cause injury, flooding, fire, or expensive downtime.
Start with Utility disconnections: isolate at the main switchboard, close and cap gas, shut water and drain lines, and label anything that must stay live. Don’t trust old tags—test for dead, then lock out where possible.
Protect shared circuits and neighbouring feeds so you don’t wipe out alarms, fridges, or comms.
Factor in Structural considerations: hidden cables and pipes often run through stud walls, soffits, and floor voids you’ll open up. If you’re unsure, pay for tracing now to avoid rework, callouts, and claims later.
Get Permits, Approvals, and Neighbour Sign-Offs
Even if you’ve made every service safe, you still need the right permits and written approvals in place so the strip-out doesn’t get shut down mid-job. Check whether your council treats the work as exempt, minor, or requires a demolition or building permit, then map the permits process early. Allow time for drawings, fees, inspections, and any heritage, strata, or asbestos notifications that apply.
Get written sign-offs from your body corporate, landlord, or insurer before you start, and confirm working hours and waste rules in writing.
If you share walls, access, driveways, or scaffolding zones, lock in neighbour agreements covering timing, noise, protection of finishes, and making good. Clear approvals reduce disputes, delays, and expensive rework.
Use the Right PPE and On-Site Safety Controls

Once you’ve got permits and sign-offs, you’ve still got to protect your crew and your budget with the right PPE for the hazards on site.
Set clear safety zones and access controls so trades don’t wander into live strip-out areas and create costly incidents or stoppages.
Control dust and debris with containment, extraction, and disciplined clean-up to cut exposure risks, prevent damage, and avoid rework.
Select Appropriate PPE
How do you keep a strip-out moving fast without paying for avoidable injuries, stoppages, or fines? You choose Personal protective equipment that matches the hazards, not what’s cheapest on the shelf.
Start with a quick task list: dust, sharp edges, noise, falling debris, chemicals, and confined voids. Then specify PPE: P2/P3 respirators for dust, cut-resistant gloves, safety glasses or sealed goggles, hearing protection, steel-toe boots, and hard hats where overhead work happens.
If you’re disturbing old paint, insulation, or adhesives, upgrade to disposable coveralls and taped cuffs.
Fit matters: poor seals and loose gloves waste money and time. Don’t skip safety training—show everyone how to fit-test masks, inspect gear, and replace damaged items immediately.
Establish Site Safety Zones
Where do injuries, delays, and penalties usually start on a strip-out? At the boundary between “work” and “not work.” Establish clear safety zones before anyone lifts a tool. Mark an exclusion zone with tape or temporary fencing, post simple signage, and control access with a single entry point for Site security.
Keep kids, pets, and visitors out—no exceptions. Set a clean walk route to the exit, and keep it unobstructed for Emergency preparedness.
Create a designated PPE-up area at the entry so you don’t “just step in” without protection. Store tools and materials in a defined laydown zone to stop trips and theft.
Finally, brief everyone on stop-work rules and who’s authority to enforce them.
Control Dust And Debris
Even if the strip-out looks “dry” and straightforward, dust and flying debris can rack up the quickest injuries and clean-up costs. Treat dust control as a budget line, not an afterthought, and protect your air quality from minute one.
Wear a P2/N95 respirator, sealed goggles, gloves, and tough boots; add hearing protection for grinders and hammer drills. Hang plastic sheeting, tape seams, and use a zip door to contain spread. Mist surfaces lightly, or use a HEPA vacuum at the tool to capture dust at source.
Bag rubble as you go, don’t overfill, and keep sharp offcuts in rigid bins. Set a daily sweep/HEPA-vac routine so debris doesn’t migrate. For noise mitigation, limit loud tasks to set hours and shut doors/windows.
Handle Strip-Out Waste, Recycling, and Disposal Rules
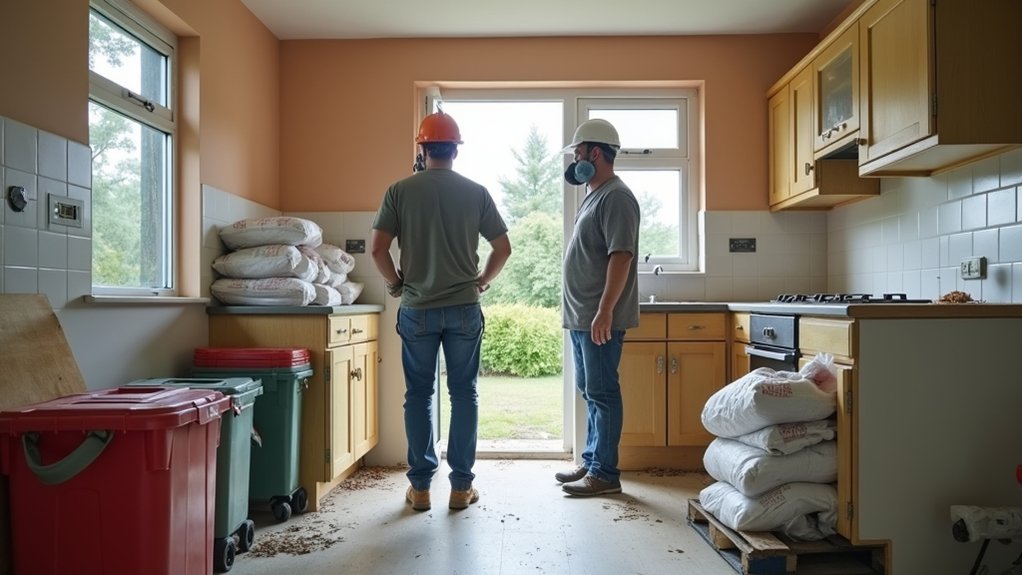
Before you start tearing out finishes, set up a waste plan that matches local disposal rules, keeps hazardous materials out of general skips, and minimizes disposal fees.
Map your Waste management zones: clean timber, metals, plasterboard, masonry, and mixed waste.
Book the right skip sizes and placement permits to avoid overfill charges and roadside fines.
Follow recycling procedures: de-nail timber, keep plasterboard dry, and separate scrap metal for buy-back.
Bag insulation and soft furnishings to stop fibers spreading.
Treat anything suspect—paint chips, old vinyl, adhesives, treated timber, batteries, e-waste, and fluorescent tubes—as controlled waste; label it and use approved drop-offs.
Photograph loads and keep receipts so you can prove lawful disposal if a dispute or audit happens later.
Frequently Asked Questions
How Long Does a Typical Safe Strip-Out Take for a Standard Home?
You’ll typically need 2–5 days for a standard home safe strip-out. You’ll speed it up with clear access, but safety precautions and cost estimation add time for surveys, isolation, waste handling, and sign-off.
Will My Home Insurance Cover Accidental Damage During Strip-Out Work?
Often not—many policies exclude renovation mishaps; around 1 in 5 Insurance claims get denied for “workmanship.” You’ll cut costs by confirming cover, documenting scope, and insisting on contractor licensing and liability insurance before work.
Should I Move Out During the Strip-Out, and for How Long?
You should move out if strip-out affects kitchens/bathrooms, creates heavy dust, noise, or exposes hazards; plan 3–14 days. Budget Tenant relocation costs, keep Emergency preparedness essentials, and return once utilities, access, and safety clear.
How Can I Protect Furniture and Valuables if I’M Staying in the House?
Seal rooms with plastic and tape, create a dust barrier, and move essentials into a clean zone. Use furniture protection wraps and covers. For valuables safeguarding, lock items away, photograph, and insure. Upgrade HVAC filters.
What Qualifications or Licences Should a Strip-Out Contractor Have?
You should hire a strip-out contractor with proven contractor licensing, trade registration, and current safety certifications (asbestos awareness, first aid, site safety). Choose verified paperwork over slick promises—avoiding fines, delays, rework, and extra waste-disposal costs.