
 By DQCS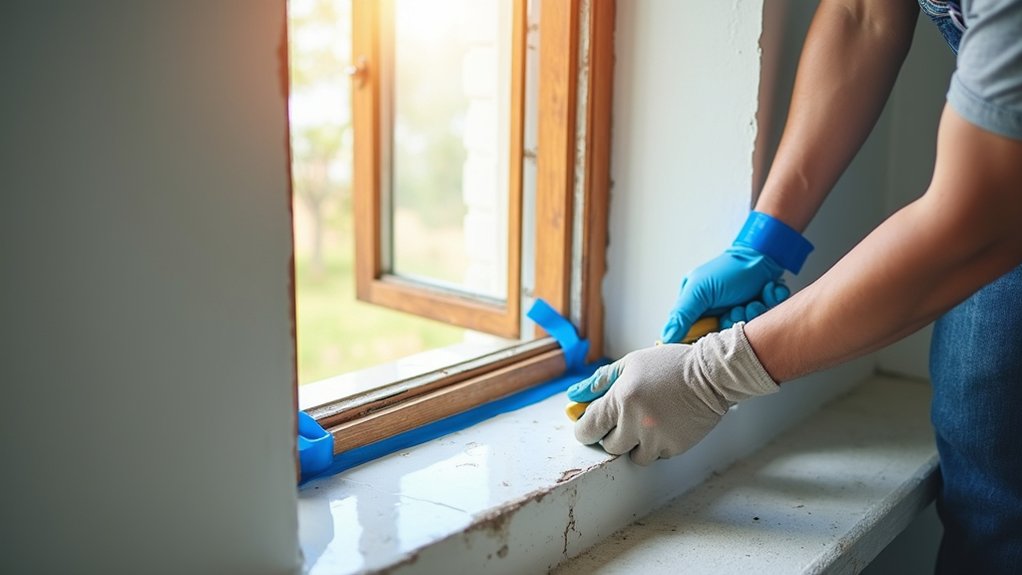
You probably don’t know that most wall damage during window swaps comes from hidden paint bridges and fasteners, not from the window itself. If you score every seam, pull trim with wide backing, and cut the frame free instead of prying on drywall, you’ll avoid costly plaster repairs and keep your ROI intact. But the real savings come from choosing the right replacement type and shimming strategy, because one wrong move can turn a simple job into…
Decide if You Need Full-Frame or Insert Replacement

Before you order anything, decide whether a full-frame replacement or an insert makes the most financial sense, because the wrong choice can turn a “no-wall-damage” project into an expensive trim and drywall repair.
Choose an insert when your window framing is square, solid, and dry, and you want fast labor, lower disposal costs, and minimal disturbance to interior finishes. You’ll usually get a strong ROI by improving energy efficiency without paying to rebuild the opening.
Pick full-frame when you find rot, chronic leaks, failed flashing, or out-of-plumb frames; covering defects with an insert can trap moisture and force a bigger teardown later. Budget for full-frame if you’re changing window size or reworking trim lines.
Verify warranty terms, too.
Measure the Opening So the New Window Fits
Before you order, measure the rough opening width, height, and depth in multiple spots so you don’t pay twice for the wrong unit or extra trim work.
Then verify the opening is square and level, because even small racking can force shimming that hurts performance and long-term ROI.
Catching these issues now lowers the risk of binding sashes, air leaks, and avoidable wall disturbance during install.
Check Rough Opening Dimensions
Although it’s tempting to order a replacement window based on the old unit’s label or “standard” sizing, you’ll save money and avoid a costly return by measuring the rough opening itself. Remove interior trim carefully, then measure the stud-to-stud distance at the opening to confirm frame width.
Take three measurements (top, middle, bottom) and record the smallest so you don’t pay for a unit that won’t slide in without drywall repairs. Next, measure sill-to-header for window height at left, center, and right, again keeping the smallest number.
Write measurements to the nearest 1/8 in. and note any obstructions like shims, straps, or damaged wood that could force upsizing labor. Accurate dimensions protect your budget and your walls.
Verify Squareness And Level
Accurate rough-opening numbers keep you from ordering the wrong size, but they won’t save you if the opening’s out of square or out of level. Check squareness by measuring diagonals corner to corner; if they don’t match within 1/8 inch, you’ll fight the install and risk cracked drywall, costly shimming, and callbacks that kill ROI.
Next, set a 4-foot level on the sill and both jambs. If you see more than 1/8 inch of out-of-level or plumb over 4 feet, plan corrections now: plane high spots, add tapered shims, or address framing before you set the unit. Mark trouble areas and recheck after adjustments for measuring accuracy.
Protect wall integrity by fixing geometry instead of forcing the window into place.
Protect Walls, Trim, and Floors Before Removal

Before you pull the old window, you’ll save money and avoid rework by masking and covering nearby walls and trim.
You can pry off trim without gouges by scoring paint lines, using a thin putty knife as a shield, and working slowly from nailed points.
You’ll protect your ROI by shielding floors with a drop cloth and rigid cover so falling glass, screws, and debris don’t cause costly dents and scratches.
Mask And Cover Surfaces
Once you start pulling a window, gravity and sharp edges don’t care about your paint job or flooring budget, so mask and cover everything in the work zone upfront.
Start with surface cleaning: vacuum sills, wipe dust, and scrape loose caulk so tape actually sticks and you don’t grind grit into finishes.
For paint preparation, run painter’s tape along drywall corners and trim edges, then press it down with a putty knife to prevent bleed and tearing.
Hang plastic sheeting to isolate the opening and catch debris; it’s cheaper than repainting a room.
Lay a rosin-paper path and a drop cloth over floors, then tape seams to stop trips.
Cover nearby furniture and vents.
This protection buys cleaner removal and fewer repair hours.
Remove Trim Without Gouges
With your floors, furniture, and drywall masked off, the next money-saving move is pulling the interior trim without turning the wall into a patch-and-paint project. Score the paint line with a sharp utility knife so the trim releases cleanly instead of tearing paper face.
Slip a thin putty knife behind the casing first, then work a flat bar against the putty knife to spread pressure and prevent wall damage. Start near nails, pry in small increments, and move along the length so you don’t snap brittle profiles you may reuse.
If nails fight you, cut them with an oscillating tool or pull them through the back to avoid blowing out plaster. Label pieces as you go to speed reinstall and protect your ROI.
Shield Floors From Debris
Because window tear-outs rain down grit, paint chips, and sharp fasteners, you’ll protect your budget by treating floor coverage like a control layer, not an afterthought. Lay rosin paper or hardboard first, then overlap a thick drop cloth; tape seams so debris can’t migrate underfoot. Run coverage 3 feet past the opening and up the wall a few inches to guard baseboards.
Set a dedicated “fastener cup” near your feet and vacuum often; one stray nail can puncture flooring and wipe out your savings. If you’re staging materials, use cardboard skid paths to prevent dents.
Clean dust before you set new window insulation and before exterior sealing, so grit won’t compromise adhesion, force rework, or trigger callbacks.
Remove Old Window Sashes Without Breaking Plaster

Before you pry anything loose, plan your sash removal so you don’t crack plaster that’s expensive to patch and easy to damage. Score paint lines with a sharp utility knife, then pull interior stops gently with a thin putty knife and a wide pry bar backed by a scrap shim to spread pressure.
Label and save stops and parting beads for Historical preservation and better Window aesthetics, which protects resale value.
Remove sash cords or chains carefully; clamp weights or tie off cords so they don’t slam inside the pocket. Lift the lower sash out, then the upper, keeping them square to avoid racking the jamb.
If glazing is loose, tape the panes to prevent breakage. Work slow—one cracked plaster key can erase your labor savings quickly.
Cut the Frame Free Instead of Prying on Drywall
Although it feels faster to muscle the old unit out, you’ll save real money by cutting the window frame free at the fasteners and shims instead of levering against drywall. Score paint lines with a utility knife, then run an oscillating multi-tool along the jambs to slice nails, screws, and hidden brackets.
If you hit foam or caulk, cut it cleanly rather than tearing it loose. Pull interior stops only after fasteners are severed, and use a thin pry bar over a putty knife to spread pressure.
This frame removal approach lowers the odds of cracked corners, popped tape seams, and blown-out texture that trigger patching, sanding, priming, and repainting. Drywall preservation protects your finish budget and keeps the project on schedule, while reducing the chance you’ll expose weak framing or wiring.
Install the Replacement Window Plumb and Sealed
With the old frame cut free and the drywall intact, you can focus on the part that protects your investment: setting the new window plumb, square, and tightly sealed. Dry-fit the unit, then use a level to check jambs and sill. Shim at the corners and meeting rails, not in the middle, so you don’t bow the frame and ruin operation. Fasten through manufacturer points, recheck for square, and adjust before tightening.
Next, lock in ROI with window insulation and smart air sealing. Use low-expansion foam sparingly in the gap; too much pressure can rack the window and force a redo.
Apply flashing tape in shingle fashion and integrate it with the WRB to shed water. These weatherproofing techniques cut drafts, prevent rot, and avoid costly callbacks later.
Reattach Trim and Caulk for a Clean Finish
Once the window operates smoothly and your foam has cured, reinstall the interior casing and exterior trim to protect the opening and avoid paying later for water or air leaks.
For Trim reattachment, pre-drill and reuse existing nail holes when possible so you don’t split old casing or crack plaster. Set nails into studs, not just sheathing, and keep reveals even to prevent future binding and call-backs.
Replace any rotten sections now; patching later costs more and can hide structural decay.
Then handle Caulk finishing: run a continuous bead where trim meets siding and casing meets drywall, then tool it tight for adhesion. Use paintable acrylic-latex inside and high-quality exterior sealant outside.
Don’t caulk weep paths; trapped water ruins frames and your ROI fast.
Frequently Asked Questions
How Long Does a Window Replacement Typically Take per Window?
You’ll typically spend 1–3 hours per window installation, or 4–6 hours if framing repairs pop up. You’ll protect ROI by planning wall protection, minimizing patch costs, and reducing leakage and damage risks.
Do I Need a Permit to Replace Windows in My Home?
Yes—you often do, but sometimes you don’t: simple swaps versus size changes. Check local Permit requirements, HOA rules, and egress codes. Skipping permits can kill ROI. DIY risks raise costly fixes and delays.
What’s the Average Cost Difference Between Vinyl, Wood, and Fiberglass Windows?
You’ll typically pay least for vinyl, more for wood, and most for fiberglass; expect roughly $200–$600, $400–$900, and $600–$1,200 per window installed. Window frame materials and installation techniques affect ROI and risk.
How Can I Improve Energy Efficiency Beyond Replacing the Window Itself?
You improve energy efficiency by tightening the envelope: prioritize window sealing, then insulation upgrades, and upgrade HVAC controls. Like patching a leaky boat, you’ll cut bills fastest, boost ROI, and avoid moisture risk.
When Should I Hire a Professional Instead of Doing It Myself?
Hire a professional when DIY safety feels uncertain, measurements aren’t precise, or you face rot, lead paint, or structural issues. Pros optimize material selection, reduce costly mistakes, preserve warranties, and deliver better ROI. You’ll save time, too.