
 By DQCS
Your room can feel cramped and gloomy, yet the fix can be straightforward and cost-smart. You start by spotting what’s blocking light—small windows, heavy trim, dark finishes, or poor bulb placement—so you don’t waste money on cosmetic swaps. Then you prioritize upgrades with payback: better glazing, interior glass, lighter paint, and layered LED lighting with dimmers. The key is choosing the few changes that move the needle most, because the next step matters.
Diagnose Why Your Dark Room Stays Dim
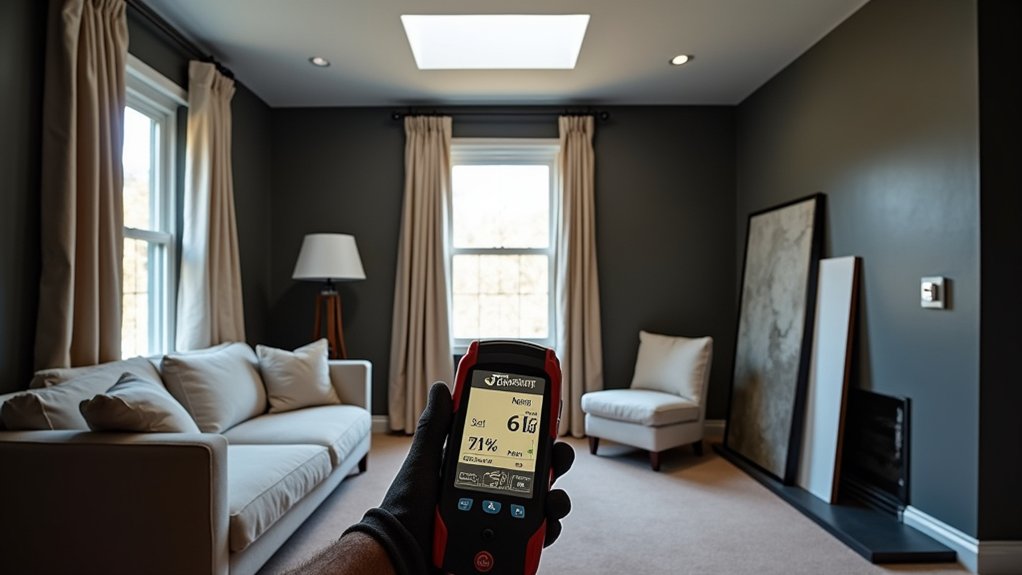
If your room still feels dim after you’ve swapped bulbs or added a lamp, you’re probably fighting the space’s “light leaks” and bottlenecks, not a lack of fixtures. Start by mapping light paths: stand where you sit most and note what blocks glow—tall bookcases, heavy drapes, dark rugs, or a TV wall that eats reflection.
Next, audit surfaces. A gloomy color palette (charcoal walls, matte ceilings, deep wood) absorbs lumens you’ve already paid for. You’ll get better ROI by shifting to lighter paint sheens, brighter textiles, and a higher-LRV ceiling than by buying another fixture.
Finally, fix furniture arrangement: pull bulky pieces off the window wall, lower sightline blockers, and angle mirrors to bounce existing light where you work and relax.
Upgrade Windows for More Natural Light
Where does the cheapest daylight upgrade start? With your windows. First, clean glass, remove heavy screens, and trim exterior shrubs—nearly free gains.
Next, evaluate glazing: swap hazy panes for clear, low‑E glass that boosts visible light while cutting heat loss.
If your frames are warped or bulky, upgrade to slimmer window frame styles that maximize glass area without enlarging the opening. Consider casements for tighter seals and better ventilation, or picture windows where airflow isn’t needed.
Keep ROI in mind: prioritize south- and east-facing openings, then add quality weatherstripping and insulated spacers.
These energy-efficient upgrades reduce HVAC costs, offsetting the window expense.
Get quotes, compare U‑factor and VT ratings, and budget for proper flashing to avoid leaks.
Add Glass Doors and Interior Windows
Because walls block light long before your fixtures do, adding glass doors and interior windows often delivers the best daylight ROI without changing your home’s footprint. Swap solid doors for glazed slabs to push borrowed light into halls, offices, and kitchens, so you’ll rely less on daytime bulbs.
Choose translucent glass where you need privacy; it diffuses glare while still lifting ambient brightness. Add a transom or clerestory-style interior window above a doorway to brighten adjacent rooms without touching exterior walls, which keeps labor and permitting lighter.
Use factory-made units for predictable pricing, then spend on good seals and tempered glass for durability. If you’re zoning spaces, pick glass interior dividers; they keep function separate while keeping your light investment working all day.
Open Doorways and Sightlines to Share Light
Although you mightn’t add a single new window, opening up doorways and tightening your sightlines can make your existing daylight travel farther, so you’ll spend less on daytime lighting.
Start by widening cased openings between bright and dim rooms, or replace a tight door with a broader opening to reduce shadows and bounce light deeper. Open doorways also improve flow, which raises resale appeal without pricey glazing.
For Sightline enhancement, clear straight paths from the sunniest window to interior zones: move tall bookcases, relocate a pantry cabinet, or swap a solid door swing for a pocket or barn track.
Keep structural costs down by using existing openings when possible and confirming load-bearing walls before cutting. Measure light levels before and after to quantify ROI.
Pick Light Paint and Bright Ceiling Finishes

You’ll stretch your renovation budget by choosing high-reflectance wall paint that bounces daylight deeper into the room, so you can rely less on fixtures.
Then you’ll boost the payoff with a bright, clean ceiling finish that lifts the space and reads “new” to buyers for minimal material cost.
These two upgrades are quick, low-risk, and they typically deliver a strong visual ROI without moving a single wall.
Choose High-Reflectance Paint
When you want a room to feel larger without moving a single wall, high-reflectance paint delivers one of the cheapest, highest-ROI upgrades you can make. Choose light, neutral shades with a higher LRV (Light Reflectance Value) to bounce available daylight deeper into the space. You’ll spend more time enjoying brightness and less money adding fixtures.
Use eggshell or satin on walls to boost reflectivity while still hiding minor imperfections; save flat finishes for problem surfaces only. If you’re repainting anyway, the incremental cost is minimal, yet the perceived “new room” payoff is huge for resale photos and daily comfort.
Pair reflective wall treatments with simple, washable trim paint. Finish with luminous accent accessories to amplify the effect without remodeling.
Brighten With Ceiling Finishes
Because ceilings act like a room’s light diffuser, a brighter finish overhead boosts perceived height and overall brightness for a small paint budget. Pick a flat or matte bright white if your ceiling has flaws; it hides better while still bouncing light.
If you’ve got a smooth ceiling, consider a washable, low-sheen ceiling paint for extra reflectance and easier touch-ups. Don’t ignore ceiling texture: heavy popcorn can trap shadows, so skim-coat or sand it when feasible, then repaint.
For fast ROI without full drywall work, add decorative ceiling panels in a light tone; they cover stains, modernize the room, and reduce labor versus replacing boards.
Finish by painting crown molding the same ceiling color to blur edges and lift the space visually.
Use Mirrors and Gloss to Bounce Light
You can make a room feel brighter without adding fixtures by placing mirrors where they catch windows and bounce daylight deeper into the space.
You’ll stretch your budget further with glossy surface finishes—like semi-gloss trim, satin cabinetry, or a polished backsplash—that reflect light and look higher-end for a modest cost.
Use both strategically to boost perceived square footage and improve resale appeal with minimal labor.
Strategic Mirror Placement
One well-placed mirror can do the job of an extra light fixture—without the electrician. Put it opposite a window to throw daylight deeper into the room, or angle it across from a lamp to double the useful reach of a bulb you already own.
Mount it at eye level in tight halls to remove the “tunnel” feel, and go larger than you think; bigger panes reflect more usable light per dollar. If a full-size mirror won’t fit, try artistic mirror arrangements to spread brightness across multiple angles.
Finish the look with reflective decor accents like mirrored trays or metal frames near your light source. You’ll spend less than rewiring, and you’ll see an immediate, measurable lift in perceived brightness.
Glossy Surface Finishes
Mirrors handle the big bounce, but glossy finishes keep light moving across the rest of the room for a fraction of the cost. Choose semi-gloss or satin paint on trim, doors, and built-ins; you’ll get more reflectance than flat for only a small upcharge and faster wipe-downs.
Add reflective textures where they matter: a glazed tile backsplash, lacquered cabinet fronts, or a glass-topped console near a window. Stick to polished surfaces on large, simple planes so you don’t spotlight clutter.
If you’re on a tight budget, swap matte hardware for brushed nickel or chrome and refresh a tabletop with clear coat. You’ll see an immediate brightness boost and better resale photos without moving walls.
Add Ambient, Task, and Accent Lighting
Because lighting changes how every finish reads, layering ambient, task, and accent fixtures delivers one of the highest-ROI upgrades per dollar.
Start with ambient layering: swap a single ceiling light for a slim LED flush mount or recessed kit to lift overall brightness with low wattage and long life. Add dimmers so you can tune output and cut energy costs.
Next, prioritize task illumination where you work—under-cabinet strips in kitchens, vanity lights at eye level, and a reading sconce by the sofa—so you don’t overlight the whole room.
Finish with accent lighting: aim a small adjustable spotlight at art, bounce light off a wall with a floor lamp, or add LED toe-kick tape for depth. Buy in matching trims to save.
Frequently Asked Questions
How Much Do Daylighting Renovations Typically Cost per Room?
Daylighting renovations typically cost you $500–$6,000 per room; U.S. homes average about $3,000. Use lighting strategies and cost analysis to pick skylights, solar tubes, or glazing upgrades—you’ll cut lighting bills and boost resale.
Do I Need Permits to Add Interior Windows or Widen Doorways?
You’ll often need permits, especially if you touch load-bearing walls, fire ratings, or egress. Check local building codes and permit requirements; skipping them risks fines, delays, and resale issues that crush ROI and budgets.
What’s the Best Window Glass for Privacy Without Losing Daylight?
You might worry frosted glass cuts brightness, but you’ll keep plenty of daylight with satin-etched glass. Use frosted glass for permanent privacy; choose privacy films for cheaper, removable ROI-friendly upgrades. You’ll avoid glare, too.
How Can I Reduce Glare and Overheating After Increasing Natural Light?
You’ll reduce glare and overheating with glare control films, solar shades, and exterior awnings; pair them with low-e coatings for thermal management. You’ll spend modestly, cut cooling bills, protect furniture, and boost comfort quickly.
Which Renovations Add the Most Resale Value While Improving Brightness?
HomeAdvisor reports minor kitchen remodels can return about 70%, so you’ll boost resale most by opening kitchens with wider doorways and bigger windows, then using light wall colors and layered decorative lighting to brighten affordably.