
 By DQCS
Choosing a foundation is like picking the shoes your house will wear for decades. You’ve got to balance upfront cost with the risks your lot hides—soil movement, drainage, slope, and a high water table. A slab can save money fast, but cracks and plumbing access can cost you later. Crawl spaces and basements add flexibility, yet moisture control and excavation can blow your budget. So what fits your site best?
How to Choose Among Foundation Types (Lot + Budget)?

Where should you start when you’re choosing a foundation type? Start with your budget range and the build’s complexity, then pick the simplest option that still meets your needs.
Slabs often cost less upfront and can shorten schedules, but you’ll pay more later if you need access for repairs.
Crawlspaces typically cost more than slabs, yet they give you service access and can reduce retrofit costs.
Basements add the most cost, but you get usable space that can offset price per square foot if you’ll finish it.
Compare bids by holding Foundation material constant and pricing upgrades separately.
Don’t ignore aesthetic considerations: floor height, entry steps, and exterior proportions affect curb appeal and resale.
Price risk, not hype.
Site Checklist: Soil, Drainage, Slope, and Water Table
Once you’ve narrowed your foundation options by budget and complexity, put the site under a microscope—because soil, drainage, slope, and the water table can swing your costs and your risk more than any sales pitch.
Start with soil stability: order a geotech report, flag expansive clay, loose fill, or organics, and price the fix (over-excavation, compaction, piers) before you commit.
Next, map water flow after a hard rain; if it ponds, budget drainage solutions like swales, perimeter drains, sump pits, and impermeable backfill.
Check slope: steep lots add excavation, retaining, and longer utilities, so compare total installed costs, not just the slab price.
Finally, verify seasonal high water table—too high means uplift, seepage, and costly waterproofing.
Frost Depth and Building Codes That Shape Foundation Types
You’ll need to build below your local frost line, because shallow footings can heave, crack, and trigger expensive repairs.
Your building code then narrows your options—slab, crawl space, or basement—based on required footing depth, insulation, and drainage details.
Check frost-depth maps and your permit office early so you can price the right foundation the first time and avoid redesigns or failed inspections.
Frost Line Depth Requirements
Two numbers will steer your foundation choice more than most design upgrades: the local frost line depth and the code-required footing depth tied to it. If you pour footings above the frost line, freezing soil can lift them, crack slabs, and rack framing—repairs that quickly erase any upfront savings.
Check your jurisdiction’s depth requirements early, because they set excavation volume, concrete quantity, and labor hours. A deeper frost line often means more digging, more spoil hauling, and higher rebar and form costs.
It can also push you toward insulated strategies that reduce freeze risk without overbuilding. Ask your engineer or builder for the published frost depth, then price the delta between minimum-compliant depth and your site’s actual soil and drainage conditions.
Code-Driven Foundation Choices
How do building codes and frost-depth rules narrow your foundation options before you even price finishes? Your local code sets minimum footing depth, concrete strength, rebar schedules, drainage, and anchor requirements, so a “cheaper” concept can fail at permitting.
If frost depth is deep, you’ll likely need full-depth footings, a basement, or a frost-protected shallow foundation designed to code. Each path changes excavation volume, foundation material quantities, and inspection steps—real costs that are hard to value-engineer later.
You’ll also face energy and moisture rules that affect foundation insulation, vapor control, and slab-edge details. Skipping them risks heave, cracked slabs, water intrusion, and denied occupancy.
Ask your designer to confirm amendments, soil bearing assumptions, and required details before bidding so you can compare bids on compliant scopes.
Slab-on-Grade Foundation Type: Cost, Pros, Cons
Because it skips a basement or crawl space, a slab-on-grade foundation often ranks as the lowest-cost path to get a new build on the ground—but that savings comes with tradeoffs you’ll want to price in upfront.
You’ll typically pay less for excavation, forming, and framing, and you can pour quickly on flat sites. To keep operating costs down, budget for Foundation insulation at the slab edge and under-slab where required, plus vapor barriers and proper drainage details.
Risk-wise, you’re tying finished floors to the concrete: cracks, uneven settling, and heave can affect structural stability and force expensive flooring repairs. Plumbing and electrical runs embedded in the slab can raise future retrofit costs.
If you expect major layout changes, the slab’s rigidity can become a long-term expense.
Crawl Space Foundation Type: Moisture Risks and Access
With a crawl space, you’ve got to budget for moisture control because water can sneak in from poor grading, plumbing leaks, and groundwater.
You’ll reduce rot and mold risk by choosing the right ventilation approach and installing a continuous vapor barrier.
You also gain access for inspections and repairs, so plan for a properly sized, sealed entry that keeps maintenance costs predictable.
Moisture Intrusion Sources
Even if your crawl space sits above the waterline most of the year, moisture still sneaks in through ground vapor, wind-driven rain, and plumbing or HVAC leaks. It can quietly rack up costs in mold cleanup, insulation replacement, and wood repair.
Ground moisture rises through exposed soil, especially where soil stability is poor or grading funnels water toward the foundation. Seasonal groundwater levels can lift damp air into the space and wet piers, beams, and subflooring.
Rain enters when splashback hits vents or when gutters dump runoff near the perimeter. Inside the home, a slow supply-line drip, leaky drain trap, or sweating ducts can soak insulation and invite rot.
You’ll spend less if you spot stains, musty odors, and pooling early.
Ventilation And Vapor Barriers
If you don’t manage airflow and ground vapor in a crawl space, moisture will keep cycling up into the framing and insulation, raising the odds of mold, rot, and repeat repair bills.
Start with a durable vapor barrier sealed at seams and edges, lapped up piers and walls, then secure it so it won’t tear during service work.
In many climates, you’ll spend less long-term by conditioning and sealing the crawl space instead of relying on open vents that pull in humid air.
Use controlled ventilation or a dehumidifier sized for the volume, and seal rim joists to cut condensation.
Plan insulation integration: pair wall insulation with an air barrier so you don’t trap moisture.
Better control improves Indoor air quality and protects your HVAC.
Access For Inspections
Moisture control in a crawl space only pays off when you can actually check it and fix small problems before they turn into rot and mold. Budget for a full-size access door, not a tiny hatch, so you can bring in a dehumidifier, replace a torn vapor barrier, and inspect plumbing without paying extra labor.
You’ll also want clear sightlines: keep insulation techniques tidy and labeled so you can spot wet batts, sagging foam, or termite tubes fast. Choose foundation material that supports durable, sealed access framing; weak wood curbs invite leaks and callbacks.
Add lighting and an outlet now—cheap during the build, expensive later. Plan a service path and minimum clearance so inspectors can reach rim joists, vents, and sump equipment without damage.
Basement Foundation Type: Storage, Comfort, and Cost
While a basement can give you the most usable square footage for the money, it also brings the biggest swings in cost and risk, depending on your soil, water table, and local frost depth. You’ll pay more for excavation, hauling, and reinforced walls, and you’ll need a clear waterproofing plan before you dig.
If drainage is marginal, budget for perimeter drains, a sump pump, and backup power, or you’ll risk chronic moisture and costly finishes.
To keep it comfortable, you can’t skip Basement insulation at the rim joist and walls, or you’ll bleed heat and invite condensation.
Pair tight air-sealing with Ventilation systems that control humidity, and you’ll protect framing, reduce odors, and preserve storage value.
Pier-and-Beam Foundation Type: Best for Slopes and Repairs
Because pier-and-beam foundations lift your home above grade on spaced footings and beams, they often pencil out best on sloped or uneven lots where a full cut-and-fill or deep excavation would drive up costs. That slope suitability can save you on grading, trucking, and retaining walls, while keeping drainage paths more natural.
One of the key Pier and beam advantages is access: you can reach plumbing, wiring, and duct runs without jackhammering concrete, so future repairs usually cost less and finish faster.
You’ll also reduce risk from expansive soils by isolating movement at individual piers, but only if your engineer specifies proper bracing and pier depth.
Budget for crawlspace moisture control, pest screening, and insulation, since neglect there can erase savings quickly.
Foundation Types Compared: Cost, Efficiency, and Upkeep
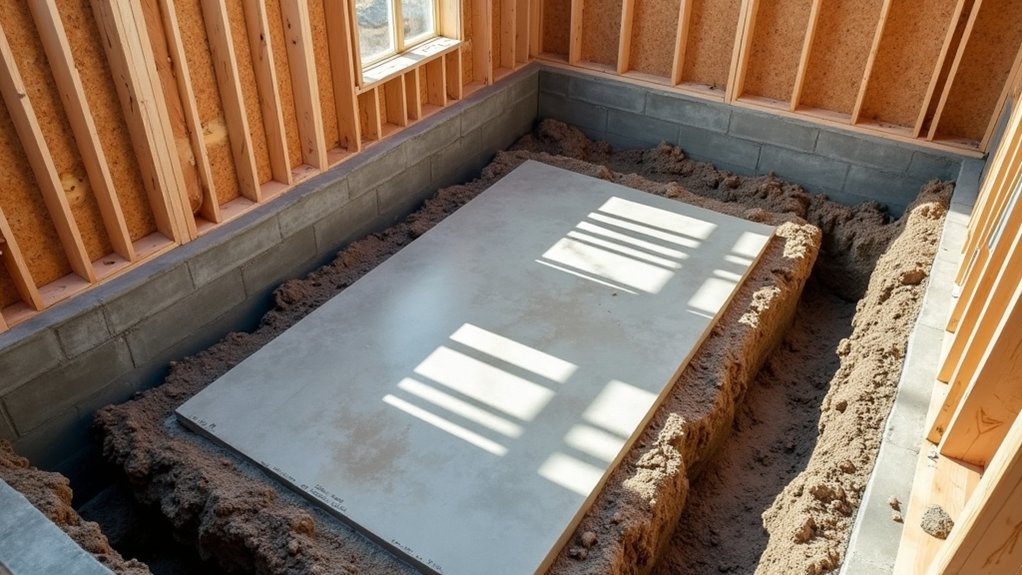
If you’re trying to keep your build on budget without buying future headaches, compare slab-on-grade, crawlspace/pier-and-beam, and basement foundations on three fronts: upfront price, energy performance, and long-term maintenance risk.
Slabs usually cost least and go in fast, but they can hide plumbing and crack if soil shifts, so your Foundation material prep matters.
Crawlspace or pier-and-beam costs more but lets you reach utilities and correct settling; you’ll pay for ventilation, vapor barriers, and pest control.
Basements cost most due to excavation, walls, and waterproofing, yet they can boost efficiency if you insulate well and seal rim joists.
For Structural integrity, match drainage, soil conditions, and detailing to your climate, then budget annual inspections.
Frequently Asked Questions
How Long Does Each Foundation Type Take to Build and Cure?
You’ll build slabs in 1–3 days; curing process needs 7–28 days. Crawlspaces take 1–2 weeks. Basements run 2–4 weeks. Foundation materials affect schedules; budget for weather delays and crack-risk mitigation.
Which Foundation Type Has the Best Resale Value in My Area?
In your area, a well-built slab or crawlspace usually sells best—picture a straight, crack-free floor under morning light. Match Foundation materials to Soil stability, minimize repair risk, and keep costs predictable for buyers.
Can I Change Foundation Type After Permits Are Approved?
Yes, you can, but you’ll likely need amended Construction permits and revised plans. Changing Foundation materials triggers engineering updates, inspections, and fees. You’ll risk delays, rework, and contractor change orders—price impacts quickly.
What Warranties Cover Foundation Defects, and for How Long?
Like a safety net under tightrope feet, you’ll get coverage via builder workmanship warranties (1 year), systems (2 years), and structural/foundation defects (10 years). Check Warranty policies and exclusions tied to Foundation materials to control costs.
How Do Foundation Choices Affect Indoor Radon Mitigation Needs?
Your foundation choice changes radon entry paths, so you’ll adjust Radon reduction measures. Slabs need sealed penetrations and sub-slab piping; basements need depressurization. Crawlspaces rely on Foundation ventilation or encapsulation, balancing upfront cost against risk.