
 By DQCS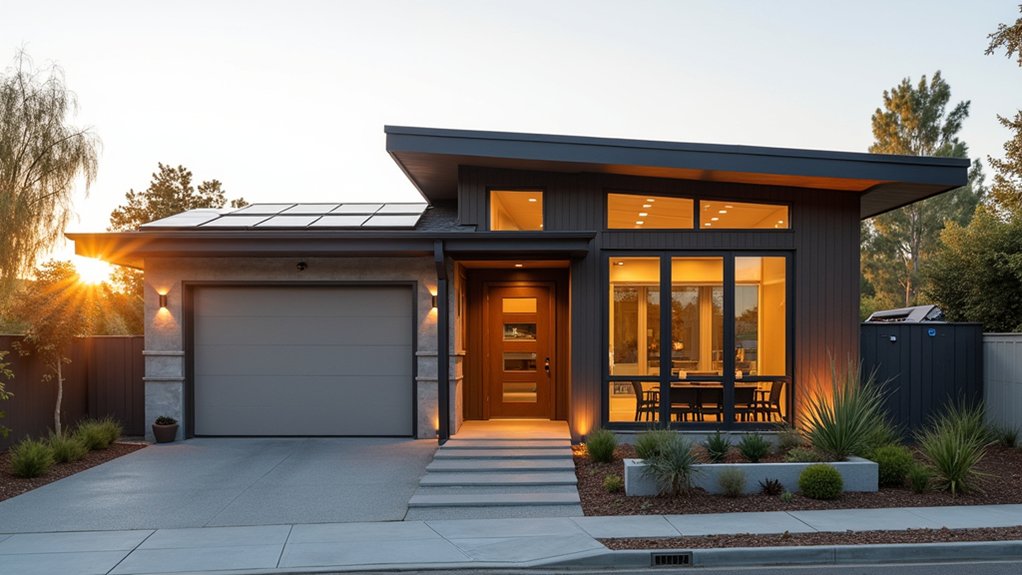
Most people don’t realize your cheapest chance to add future tech and cut lifetime energy costs is before drywall goes up. You’ll get better ROI by planning flexible spaces, an airtight high‑performance envelope, and scalable wiring for solar, EV charging, and smart controls than by chasing gadgets later. If you place mechanicals and chases strategically now, upgrades stay simple and resale stays strong—but the biggest payoff comes from one early decision you might be overlooking…
Future-Proof Your New Build: Priorities and Budget
If you want a new build that won’t feel dated—or expensive to upgrade—in five years, you need to set clear future-proofing priorities before you lock in your budget. Start by ranking upgrades by payback: envelope first (insulation, airtightness, high-performance windows), then efficient systems (heat pump, HRV/ERV), then renewables-ready wiring and roof capacity. These choices compound energy savings and protect resale value.
Budget for “low-cost now, high-cost later” items: extra conduit, a larger electrical panel, EV charger prep, and dedicated network cabling so your smart home runs reliably. Pick open standards and scalable hubs to avoid vendor lock-in.
Finally, set a contingency line for code shifts and rebates so you can capture incentives without redesigning midstream.
Design a Flexible Floor Plan for Changing Needs
Once you’ve locked in the big-ticket “can’t change later” upgrades like the envelope and core systems, the smartest ROI move is to make the floor plan work harder over time. Plan for life stages and resale by prioritizing adaptable layouts: straight runs of plumbing, stacked wet walls, and clear structural grids keep future remodels cheaper.
Use multi purpose rooms instead of single-use spaces—an office that becomes a nursery, a guest room with a Murphy bed, or a dining zone that doubles as homework hub. Add pocket doors, wide cased openings, and movable built-ins so you can re-zone without new walls.
Place a main-floor flex room near a full bath to support aging-in-place or rental income later.
Lock In Efficiency With a High-Performance Envelope
Because you can’t swap out wall assemblies and roof details without major disruption, the building envelope is where you lock in the most durable efficiency gains and long-term ROI. Prioritize continuous thermal insulation, minimize thermal bridges, and spec high-performance windows matched to your climate.
Then insist on airtight sealing at every junction—sill plates, rim joists, penetrations, and attic hatches—so your HVAC runs smaller, longer, and steadier. Verify it with blower-door testing and clear air-barrier details, not assumptions.
Add rain-screen drainage, robust flashing, and vapor-smart layers to cut moisture risk, protect finishes, and preserve resale value. With energy codes tightening and buyers tracking operating costs, a tighter, better-insulated shell pays you back through lower bills, fewer comfort complaints, and reduced maintenance over decades.
Prewire Your New Build for Solar, EV, and Smart Tech
While your walls are still open, you can lock in low-cost infrastructure for solar, EV charging, and smart controls that’s expensive to retrofit later. Run a roof-to-panel conduit and leave a pull string so adding PV or battery storage becomes a one-day job, not drywall surgery.
Oversize your main panel, reserve breaker space, and prewire a 240V circuit to the garage for Level 2 charging—buyers now expect it.
Add Ethernet to key rooms, plus low-voltage runs for sensors, cameras, and shades to simplify Smart home integration.
Install a dedicated circuit and data line for an energy monitor so you can automate load shifting, track usage, and support time-of-use rates—practical energy management with measurable payback.
Rough-In Mechanicals for Heat Pumps and Ventilation

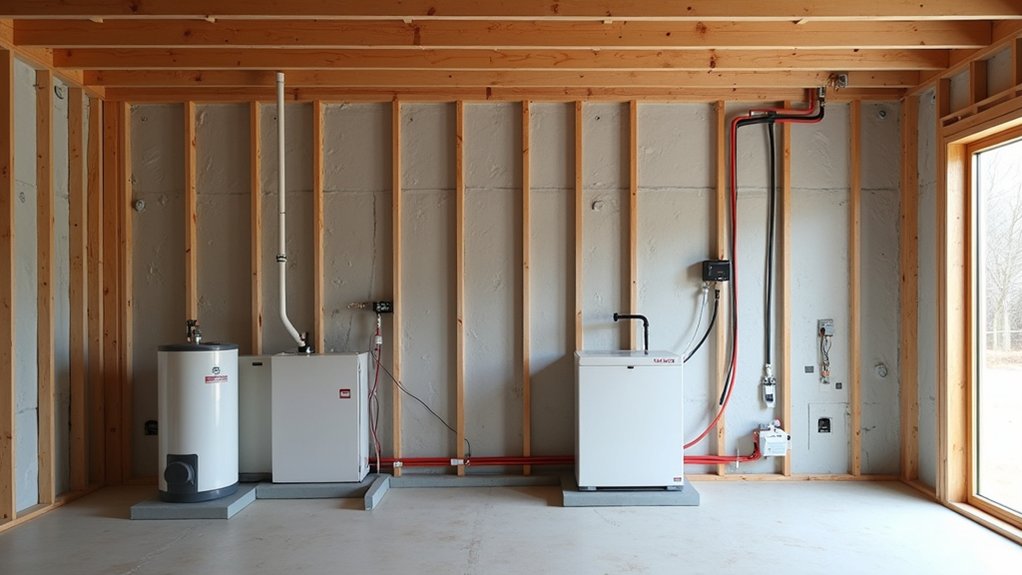
When you rough-in mechanicals for a heat pump early, you lock in clean heat pump piping layouts that cut install time, reduce rework, and protect your margins as electrification demand rises.
You’ll also want ventilation duct rough-ins planned for balanced airflow, quieter operation, and easier compliance with tighter indoor air quality codes.
Get these routes and chases set now, and you’ll avoid costly framing changes later while keeping the home upgrade-ready.
Heat Pump Piping Layout
How do you rough-in heat pump piping so it stays serviceable, efficient, and upgrade-ready? Start by planning heat pump piping routes with straight, accessible runs: short line sets, minimal elbows, and clear service corridors near the air handler and outdoor unit pad.
Stub sleeves through framing, protect bends, and leave extra length for future equipment swaps without opening walls.
Centralize isolation valves, cleanouts, and pressure/temperature ports so diagnostics take minutes, not hours—saving labor and lowering lifecycle costs.
Size pipe chases for expansion: larger refrigerant lines, condensate drains, or a second circuit if you later add zoning configurations.
Keep penetrations grouped and flashed, and label every run at both ends. You’ll reduce commissioning time now and avoid expensive rework when refrigerants, efficiency targets, and control strategies evolve.
Ventilation Duct Rough-Ins
Serviceable heat pump piping sets you up for fast swaps and low labor later, but you’ll only keep those gains if the ventilation duct rough-in is just as disciplined. Lock in straight runs, gentle radius elbows, and dedicated chases so you don’t sacrifice head pressure or pay for rework when codes tighten.
Size trunks for today’s ERV/HRV and leave space for higher‑capacity upgrades driven by tighter envelopes and wildfire smoke events.
Place supply and return grilles to support airflow optimization, avoiding dead zones and noise complaints that trigger callbacks.
Plan ductwork integration with the heat pump air handler: align plenum locations, filter access, and condensate routing so techs can service without drywall cuts.
Seal and test early, and document runs for future retrofits, quickly.
Choose Durable, Low-Maintenance Exterior Materials
You’ll protect your build’s long-term value by choosing exterior materials that resist weather, fading, and impact with minimal upkeep. Specify weather-resistant cladding options—like fiber cement, engineered wood, or high-performance metal panels—to cut repainting and repair cycles.
Pair that with low-upkeep roofing materials such as standing-seam metal or high-quality architectural shingles to reduce call-backs, extend service life, and improve resale appeal.
Weather-Resistant Cladding Options
In a climate that swings from driving rain to UV-heavy heat, which cladding holds up without constant repainting or patch jobs? Fiber-cement boards, engineered timber composites, and quality brick slips deliver strong ROI by resisting rot, warp, and fade while keeping maintenance predictable.
For coastal or high-pollution zones, consider aluminum or zinc rainscreen systems; they shed water fast, tolerate salt, and look sharp for decades.
You’ll protect your envelope by pairing smart cladding installation with proven weatherproofing techniques: ventilated cavities, compatible membranes, correct flashing, and sealed penetrations. Specify UV-stable finishes and tested fixings to avoid callbacks.
Choose modular panels where possible—faster installs cut labor costs and reduce site delays. Finally, confirm warranty terms and local fire ratings before you lock in the spec.
Low-Upkeep Roofing Materials
While flashy roof finishes come and go, the smartest ROI play is a roofing spec that shrugs off UV, wind uplift, and freeze–thaw cycles without routine sealing or repainting. Specify standing-seam metal for long spans, fewer penetrations, and easy solar integration; you’ll boost roofing longevity and cut call-backs.
In hail zones, Class 4 impact-rated asphalt or composite shingles keep premiums and repairs down, while still penciling on upfront cost.
For flat or low-slope areas, choose single-ply TPO or PVC with heat-welded seams to reduce leaks and maintenance.
Don’t ignore underlayment and ventilation: synthetic underlay plus a balanced intake/exhaust setup prevents moisture damage that shortens service life.
Pick light, recyclable finishes to improve material sustainability and cooling loads.
Frequently Asked Questions
What Permits Are Required for Solar Panels and EV Chargers on New Builds?
You’ll typically need building and electrical permits, utility interconnection approval, and sometimes zoning/HOA sign‑off; EV chargers usually need an electrical permit and inspection. Treat solar panel installation like a sunkey—master the permit application process to accelerate ROI.
How Do I Verify a Builder’s Energy Claims With Third-Party Testing?
Ask for a HERS rater or RESNET-certified audit with blower-door and duct-leakage tests, plus Energy benchmarking reports. Verify Renewable certifications (LEED, ENERGY STAR). You’ll protect ROI, cut utility risk, and validate performance.
Which Home Insurance Discounts Apply to Energy-Efficient or Resilient Construction?
You can score Insurance discounts for energy efficiency and resilience: LEED/Energy Star, new‑home, fortified roof, impact‑resistant materials, smart sensors, and higher deductibles. One in five U.S. homes faces flood risk—ask your insurer to verify savings.
What Smart-Home Systems Are Easiest to Upgrade Without Vendor Lock-In?
You’ll upgrade easiest with Matter/Thread or Zigbee systems plus a local hub (Home Assistant) that prioritizes Smart device compatibility and Modular architecture. You’ll avoid lock-in, swap brands fast, reduce downtime, and protect resale value.
How Can I Improve Resale Value Without Over-Customizing the Design?
You’ll boost resale value by keeping finishes timeless, prioritizing design flexibility, and avoiding niche built-ins. Choose upgrade-ready lighting and wiring, add storage, and hit resale balance with neutral palettes plus one standout, replaceable feature.